19 Beginner Hand Lettering Practice Sheets You’ll Actually Use
Disclosure: Some of the links in this post are affiliate links. This means if you click on the link and purchase an item, I will receive an affiliate commission at no extra cost to you.
One of the lessons I learned while practicing hand lettering was that more practice doesn’t always mean better results.
I could fill page after page with letters and still wonder why my lettering wasn’t improving. The problem wasn’t that I needed to practice longer. I simply wasn’t practicing the right things.
Once I started using exercises that focused on one skill at a time, I noticed my strokes became smoother, my spacing improved, and lettering finally began to feel easier. That’s exactly what good Beginner Hand Lettering Practice Sheets are meant to do.
If you’re like most beginners, you’ve probably searched online for practice sheets, printed a few, and hoped they would magically improve your lettering.
Then you discover that some sheets move too quickly, others repeat the same exercise over and over, and a few leave you wondering what you’re supposed to learn. Don’t let that discourage you.

Every practice session should have a clear purpose, and that’s much easier to achieve with the right exercises. Before you get started, 15 Hand Lettering Drills That Will Improve Your Skills Fast will help you build stronger control and confidence.
In this guide, I’ll walk you through 19 practice sheets that I believe every beginner should spend time with. Each one targets a different lettering skill, so you’ll always know what you’re practicing and why it matters.
Instead of filling pages with random letters, you’ll build a routine that helps you improve a little every time you pick up your pen.
19 Beginner Hand Lettering Practice Sheets You’ll Actually Use
1. Basic Stroke Practice Sheet

If I could recommend only one practice sheet to every beginner, this would be it. It may not look exciting because it doesn’t include beautiful words or fancy quotes.
Instead, it focuses on the simple strokes that create almost every letter you’ll write. Spending a few minutes here saves you hours of frustration later.
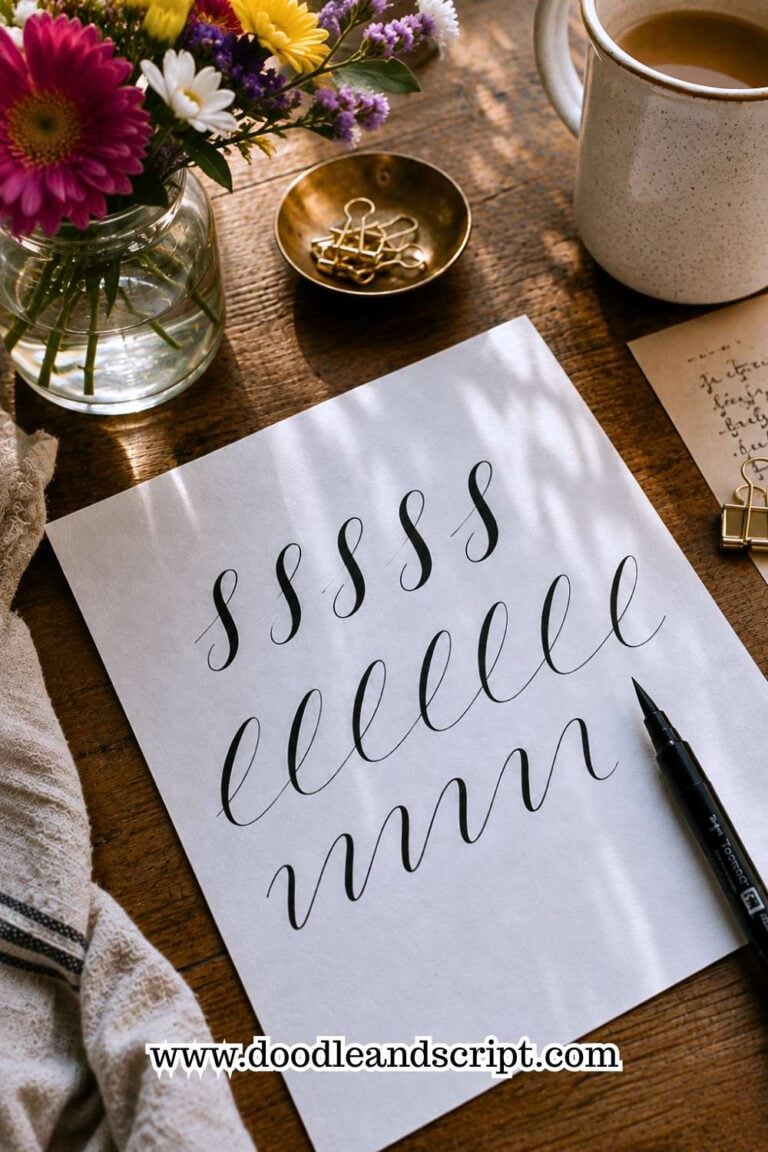
Fill the page with straight lines, underturns, overturns, loops, compound curves, and gentle ovals. Don’t rush to finish the sheet. Slow, controlled strokes teach your hand much more than quickly filling the page.
As you practice, pay attention to how smoothly your pen moves instead of trying to make every stroke perfect.
I still like returning to this exercise whenever my lettering starts to feel shaky. It’s a simple way to reset my hand before moving on to more detailed practice.
If you’re completely new to lettering, How to Learn Hand Lettering Step-by-Step (Even If You Can’t Draw) will show you how these basic strokes fit into the learning process.
2. Straight Line Control Practice Sheet

Most beginners don’t realize how much straight lines affect their lettering. We usually focus on curves and flourishes, but clean vertical and horizontal lines build the control needed for neat, balanced letters.
Fill this sheet with slow, even lines from top to bottom. Then practice short horizontal lines without lifting your pen too quickly. Don’t worry if your first few rows look uneven. The goal is to make each row a little smoother than the one before it.
I like to use this sheet as a quick warm-up before every practice session. It only takes a few minutes, but it helps my hand feel more relaxed and ready to letter.
3. Oval and Curve Practice Sheet

Look closely at lowercase letters like a, c, d, e, g, o, and q. They all rely on smooth curves. That’s why practicing ovals deserves its own sheet instead of being treated like a small warm-up exercise.
Draw large ovals first, then make them gradually smaller while keeping the shape consistent. After that, practice circles, loops, and flowing curves across the page. Don’t squeeze your pen too tightly. A relaxed grip usually creates smoother shapes.
This exercise also teaches patience. Some days your curves will feel effortless. Other days they’ll feel awkward. Keep practicing anyway because every page strengthens your muscle memory.
If you’d like even more exercises like this, 25 Beginner Lettering Exercises That Actually Work is packed with beginner-friendly practice ideas.
4. Lowercase Alphabet Practice Sheet

The lowercase alphabet is where most beginners spend their time, and for good reason. You’ll use these letters in almost every word you create.
Instead of writing the alphabet from beginning to end over and over, divide the letters into smaller groups with similar shapes.
Practice letters like i, l, t, and j together because they share simple strokes. Then move to rounded letters such as a, c, e, and o. Finally, work on letters with loops and descenders like g, y, and f.
Breaking the alphabet into groups makes practice feel less overwhelming. It also helps you recognize patterns that make learning much easier.
5. Uppercase Alphabet Practice Sheet

Uppercase letters often receive less attention, but they’re just as important. You’ll use them for names, titles, greeting cards, and quote designs. Since they appear less often, beginners sometimes feel less confident writing them.
Spend time practicing one row of each uppercase letter instead of rushing through the entire alphabet. Notice which letters feel comfortable and which ones need extra attention.
Some uppercase letters are much larger than others, so focus on keeping their proportions balanced.
I always encourage beginners to slow down with uppercase letters. A little extra patience here makes a noticeable difference when you start creating finished lettering projects.
If you want to improve every letter you write, How to Master the Hand Lettering Alphabet in 15 Simple Steps is an excellent next step.
6. Thick and Thin Stroke Practice Sheet

If you’re using a brush pen, learning pressure control is one of the biggest challenges you’ll face.
Many beginners either press too hard all the time or forget to add pressure during downstrokes. This practice sheet helps you build that control through repetition instead of guesswork.
Fill each row with simple upstrokes and downstrokes. Press lightly as your pen moves upward and increase pressure as it moves downward.
Don’t worry if the difference isn’t dramatic at first. Consistency matters much more than exaggeration.
Whenever I switch to a new brush pen, this is the first sheet I complete. It helps me understand how the pen responds before I begin lettering words.
7. Letter Spacing Practice Sheet

Beautiful letters can still look untidy if the spacing isn’t consistent. That’s why I always recommend practicing spacing separately instead of hoping it improves on its own.
This is one of the most valuable Beginner Hand Lettering Practice Sheets because it trains your eye as much as your hand.
Write simple words several times while paying close attention to the gaps between each letter. Then compare your words.
Are some letters crowded together? Are others too far apart? Small adjustments quickly make your lettering look cleaner and more balanced.
Spacing takes time to master, so don’t expect perfect results immediately. Keep practicing, and your eye will gradually learn to recognize balanced layouts.
If spacing is something you struggle with, 13 Secrets to Creating Beautiful Hand Lettering Compositions explains how good spacing improves every lettering project.
8. Word Connection Practice Sheet

Writing individual letters is one thing. Connecting them into smooth, natural-looking words is another challenge entirely.
Many beginners notice that their letters look good on their own but lose their shape once they start writing complete words. That’s why I always recommend spending time on a word connection practice sheet.
Choose short words with simple letter combinations like hello, happy, smile, home, or dream. Write each word several times without rushing.
Pay attention to how one letter flows into the next. If a connection feels awkward, stop and practice just those two letters before writing the whole word again.
I still use this exercise whenever I learn a new lettering style. It reminds me that beautiful lettering isn’t just about drawing nice letters. It’s about making them work together as one word.
9. Common Letter Combination Practice Sheet

Some letter pairs appear so often that they deserve their own practice sheet. Combinations like th, er, in, an, ou, ll, and ing show up in countless words. The more comfortable these combinations become, the smoother your lettering will look.
Instead of writing random words, fill your page with these common combinations. Repeat each one until your hand starts making the movement naturally. Then place them inside simple words to see how they flow with the surrounding letters.
This exercise may seem repetitive at first, but you’ll quickly notice that everyday words become much easier to letter.
10. Simple Word Practice Sheet

Once you’re comfortable with individual letters, it’s time to build confidence with complete words. I always suggest starting with short words because they allow you to focus on consistency without feeling overwhelmed.
Choose encouraging words like joy, hope, grow, peace, create, or believe. Write each one several times while keeping your letters the same height and your spacing as even as possible.
Don’t rush to fill the page. A few carefully written words teach you much more than dozens of rushed ones.
This sheet is also a great confidence booster. Watching the same word improve from the top of the page to the bottom reminds you that every practice session is making a difference.
If you’d like more ideas for building stronger daily habits, 21 Proven Ways to Improve Your Hand Lettering Faster is a helpful next read.
11. Quote Practice Sheet

After practicing single words, challenge yourself with a short quote. This is where many beginners discover that lettering isn’t only about drawing letters. It’s also about arranging words so they feel balanced across the page.
Choose a quote with no more than five or six words. Write it once without worrying about perfection.
Then write it again, making small improvements to your spacing, alignment, and letter size. Comparing the two versions helps you see your progress much more clearly.
I often encourage beginners to keep every quote they practice. Looking back a month later is one of the best ways to see how much you’ve grown as a lettering artist.
If you’d like fresh inspiration, 19 Beautiful Ways to Letter Quotes Like a Pro is full of creative ideas to explore.
12. Bounce Lettering Practice Sheet

Bounce lettering looks effortless when experienced artists do it, but it can feel confusing at first. That’s because beginners often make every letter bounce, making the word difficult to read. A dedicated practice sheet helps you learn where to add movement without losing balance.
Start with simple words and allow only one letter to dip below the baseline. Once that feels comfortable, experiment with a second bounce in longer words.
Keep your movements gentle because small changes usually look more elegant than dramatic ones.
I always tell beginners that bounce lettering should feel playful, not chaotic. When used carefully, it adds personality without making your words look messy.
If you want a complete walkthrough, How to Create Beautiful Bounce Lettering in 13 Easy Steps will guide you through each stage.
13. Style Exploration Practice Sheet

One of the easiest ways to grow as a lettering artist is to stop writing every word the same way. A style exploration sheet gives you the freedom to experiment without worrying about creating a finished project.
Choose one simple word and write it in several different styles. Try block lettering, script lettering, monoline lettering, or modern lettering.
You don’t need every version to look perfect. The goal is to discover which styles feel the most natural and which ones you’d like to practice more.
I still enjoy doing this exercise because it reminds me that creativity grows through experimentation. Trying something new often teaches you more than repeating the same style every day.
If you’re looking for inspiration, 11 Hand Lettering Styles Every Beginner Should Try introduces several beginner-friendly styles worth exploring.
14. Name Practice Sheet

Your name is probably the word you’ll letter more than any other. That’s why I believe every beginner should have a dedicated name practice sheet. It’s personal, useful, and a great way to measure your progress over time.
Write your name several times using different sizes, spacing, and lettering styles. Try making one version bold, another simple, and another slightly decorative. As your confidence grows, experiment with shadows or small flourishes.
Save your first page instead of throwing it away. After a few weeks of regular practice, compare it with a new version.
You’ll probably notice smoother strokes, cleaner spacing, and much stronger letter shapes. Those small improvements are proof that your practice is paying off.
15. Layout Planning Practice Sheet

One mistake I see many beginners make is jumping straight into lettering without thinking about where the words will go. I’ve done it myself more times than I can count.
I would finish a quote, only to realize the last word didn’t fit on the page. A layout planning sheet helps you solve that problem before you pick up your favorite pen.
Start by lightly sketching boxes, circles, or simple guidelines. Then decide which word should be the largest and where the supporting words should sit.
Don’t focus on beautiful letters yet. You’re simply creating a plan that makes the finished piece look balanced.
I like to sketch two or three different layouts before choosing one. It only takes a few extra minutes, and it almost always leads to a stronger design.
If planning your layouts feels challenging, 13 Secrets to Creating Beautiful Hand Lettering Compositions will help you arrange your words with confidence.
16. Shadow and Dimension Practice Sheet

Adding a simple shadow can completely change the look of your lettering. It gives flat letters more depth and helps important words stand out.
The trick is to keep the shadow consistent instead of changing direction halfway through the word.
Choose one word and draw a light shadow on the same side of every letter. Then try adding a slightly thicker shadow on another row to see how the overall look changes. Don’t worry about making it dramatic. Even a thin shadow can make your lettering look more polished.
I always recommend practicing shadows on a separate sheet before adding them to a finished project. It’s a simple way to build confidence without worrying about ruining your final design.
17. Flourish Practice Sheet

Flourishes can make your lettering feel elegant, but they should never take attention away from the words themselves. Many beginners add loops and swirls too early, making their lettering look crowded instead of beautiful.
Start with simple entrance and exit flourishes. Practice long, smooth curves before attaching them to letters. Once those movements feel comfortable, add a flourish to one word instead of decorating every letter on the page.
I remind my students that flourishes are like jewelry. One or two well-placed details often look much better than adding them everywhere.
If you want to strengthen the control needed for smooth flourishes, 15 Hand Lettering Drills That Will Improve Your Skills Fast includes exercises that improve your pen movement.
18. Finished Project Practice Sheet

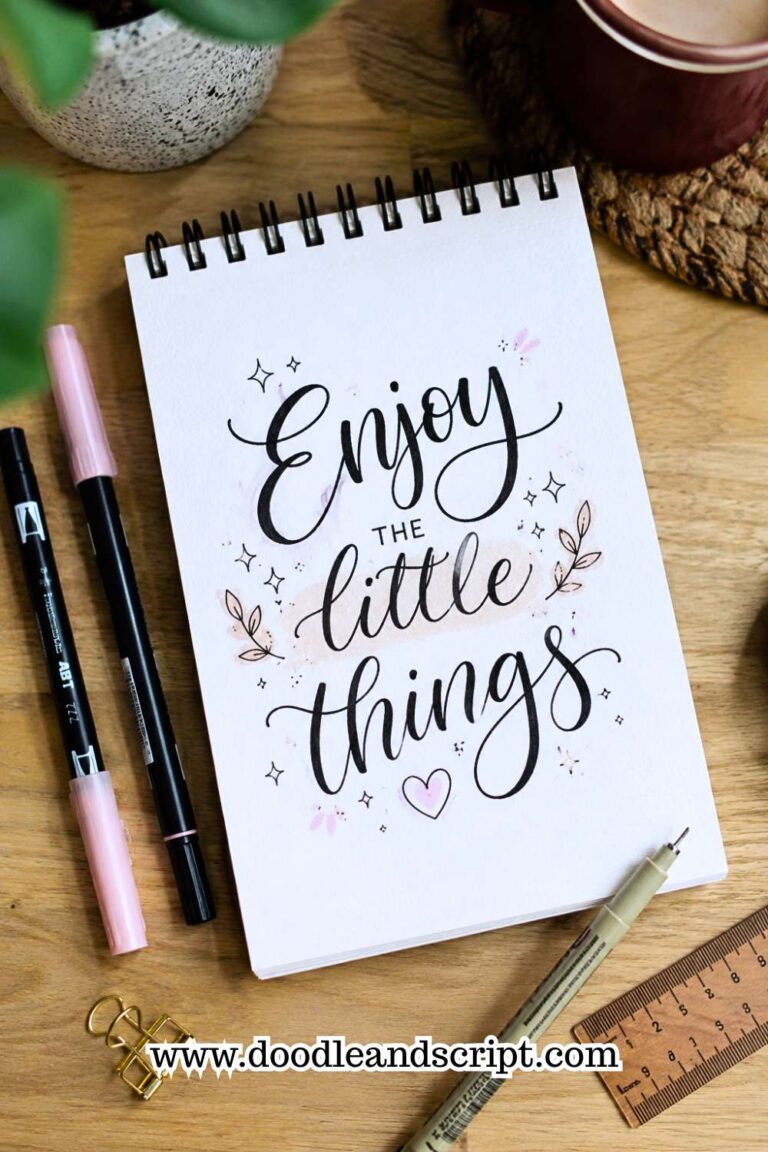
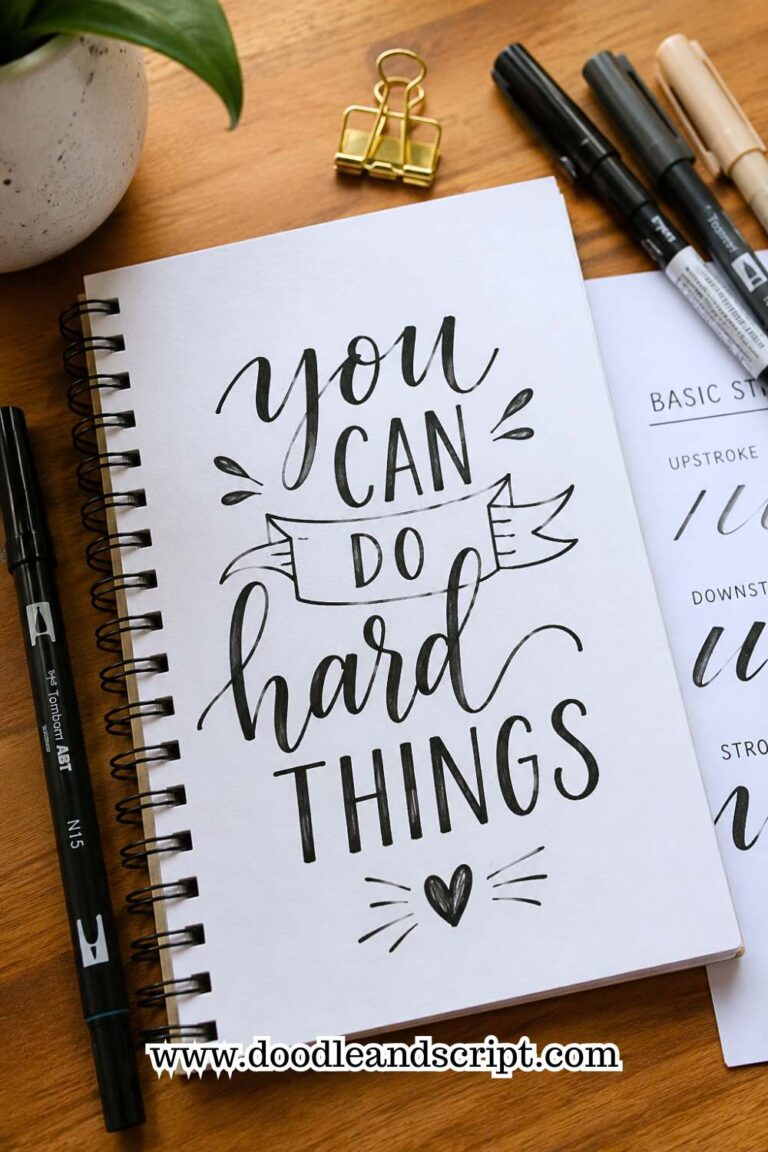
At some point, it’s important to stop practicing isolated skills and create something complete. This practice sheet brings everything together.
You’ll use your strokes, spacing, layout, and creativity to design a finished piece you can actually display or share.
Choose a short quote, your favorite Bible verse, an encouraging word, or a meaningful phrase. Sketch your layout first, letter it slowly, and add small decorative details only after you’re happy with the words. Don’t rush this process. Treat it as a celebration of everything you’ve learned.
One finished project teaches you far more than another page of random practice because it shows how all your skills work together.
19. Progress Tracker Practice Sheet

This is the one practice sheet I hope you never throw away. Instead of focusing on a new skill, it helps you see how far you’ve come. Every month, write the same alphabet, the same word, and the same short quote on a fresh page.
When you compare your newest page with the first one, you’ll notice improvements you probably missed during daily practice.
Your spacing becomes cleaner, your strokes look smoother, and your confidence shows in every letter. Those changes don’t happen overnight, but they do happen.
I’ve found that this sheet keeps beginners motivated because it replaces frustration with proof. Even when progress feels slow, your older pages remind you that you’re improving.
That’s why I believe it’s one of the most valuable Beginner Hand Lettering Practice Sheets you can keep.
Final Thoughts
One of the best decisions you can make as a beginner is to practice with intention instead of practicing at random.
Every one of these Beginner Hand Lettering Practice Sheets focuses on a specific skill, making it easier to improve without feeling overwhelmed.
You don’t have to complete all nineteen in one week. Pick one or two, practice them consistently, and move on when you feel ready.
Remember that beautiful lettering is built through small improvements repeated over time. Some days your letters will look amazing.
Other days they may feel awkward. Don’t let those slower days discourage you. They are part of the learning process, and every page teaches your hand something new.
Most importantly, enjoy the journey. Save your practice sheets, celebrate your progress, and don’t be afraid to revisit earlier exercises whenever your lettering needs a refresh.
If you’re ready to take everything you’ve learned to the next level, Creating Hand Lettering Compositions: 13 Secrets to Beautiful Layouts will help you turn your practice into polished, eye-catching designs you’ll be proud to share.