How to Learn Hand Lettering Step-by-Step (Even If You Can’t Draw)
Disclosure: Some of the links in this post are affiliate links. This means if you click on the link and purchase an item, I will receive an affiliate commission at no extra cost to you.
Almost everyone who starts hand lettering believes the same thing: “I can’t draw, so this probably isn’t for me.” It’s an easy conclusion to reach when every example you see looks polished and perfect.
You compare your first practice page to the work of someone who has practiced for years, and it’s easy to feel discouraged before you’ve really begun.
If you’ve been searching for a guide on How to Learn Hand Lettering Step-by-Step, you don’t need better talent. You need a better place to begin.
If you’re completely new, you’ll also enjoy 17 Hand Lettering Tips Every Beginner Should Know before moving through this guide.
Here’s something many beginners don’t realize. Hand lettering isn’t about drawing beautiful pictures. It’s about learning a series of simple strokes and repeating them until your hand remembers what to do.
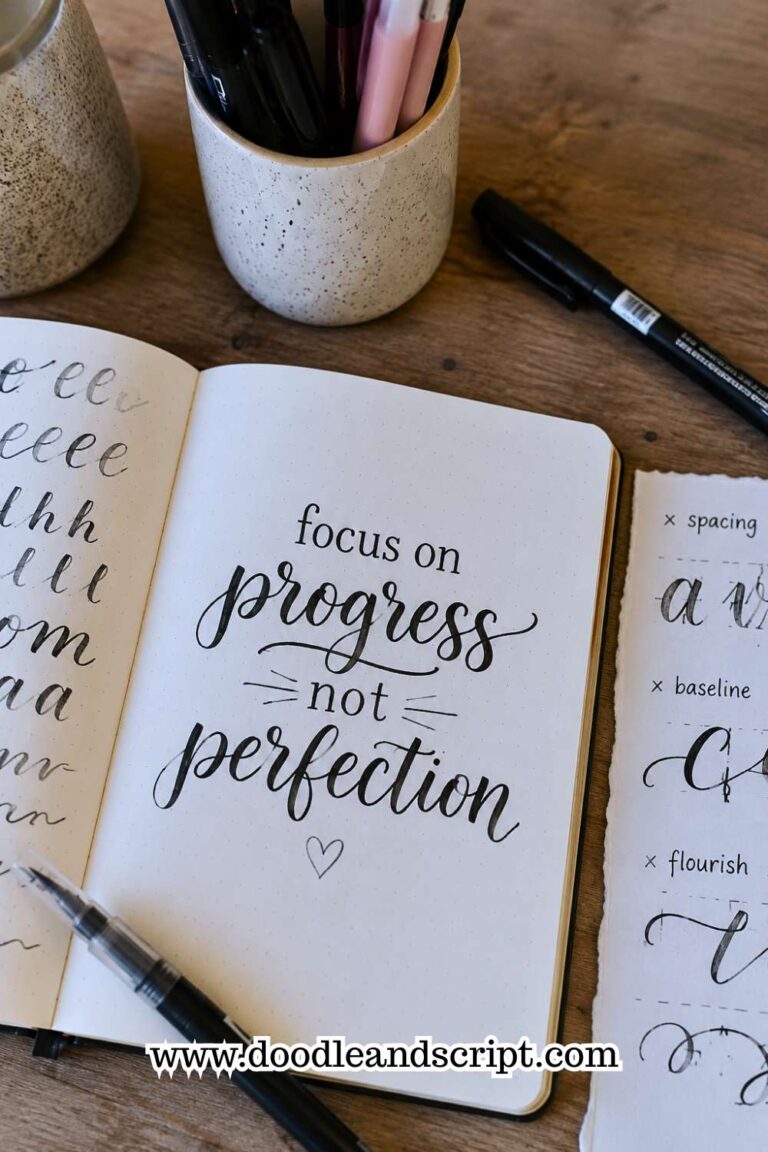
Some days your letters will look great. Other days they won’t. Both kinds of practice help you improve.
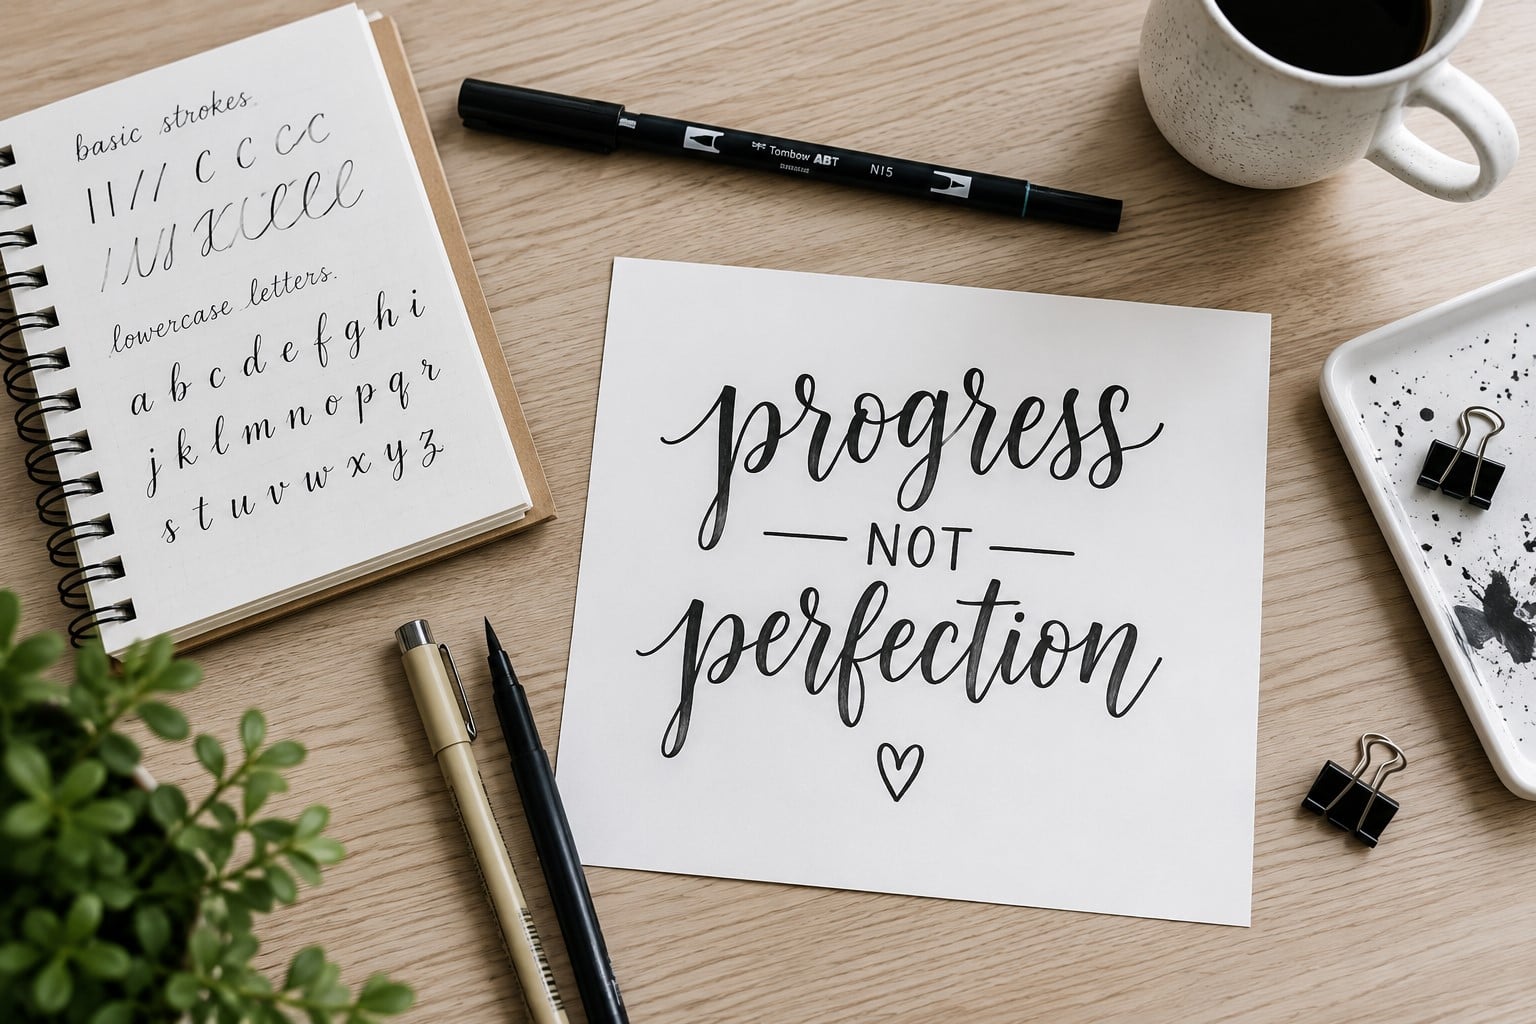
This guide is for anyone who has ever looked at their handwriting and thought, “Mine will never look like that.” We’ll keep everything simple, practical, and easy to follow.
By the end, you’ll know exactly what to practice first, what to ignore for now, and how to keep improving without feeling overwhelmed.
How to Learn Hand Lettering Step-by-Step (Even If You Can’t Draw)
Step 1: Understand That Hand Lettering Is Different From Handwriting
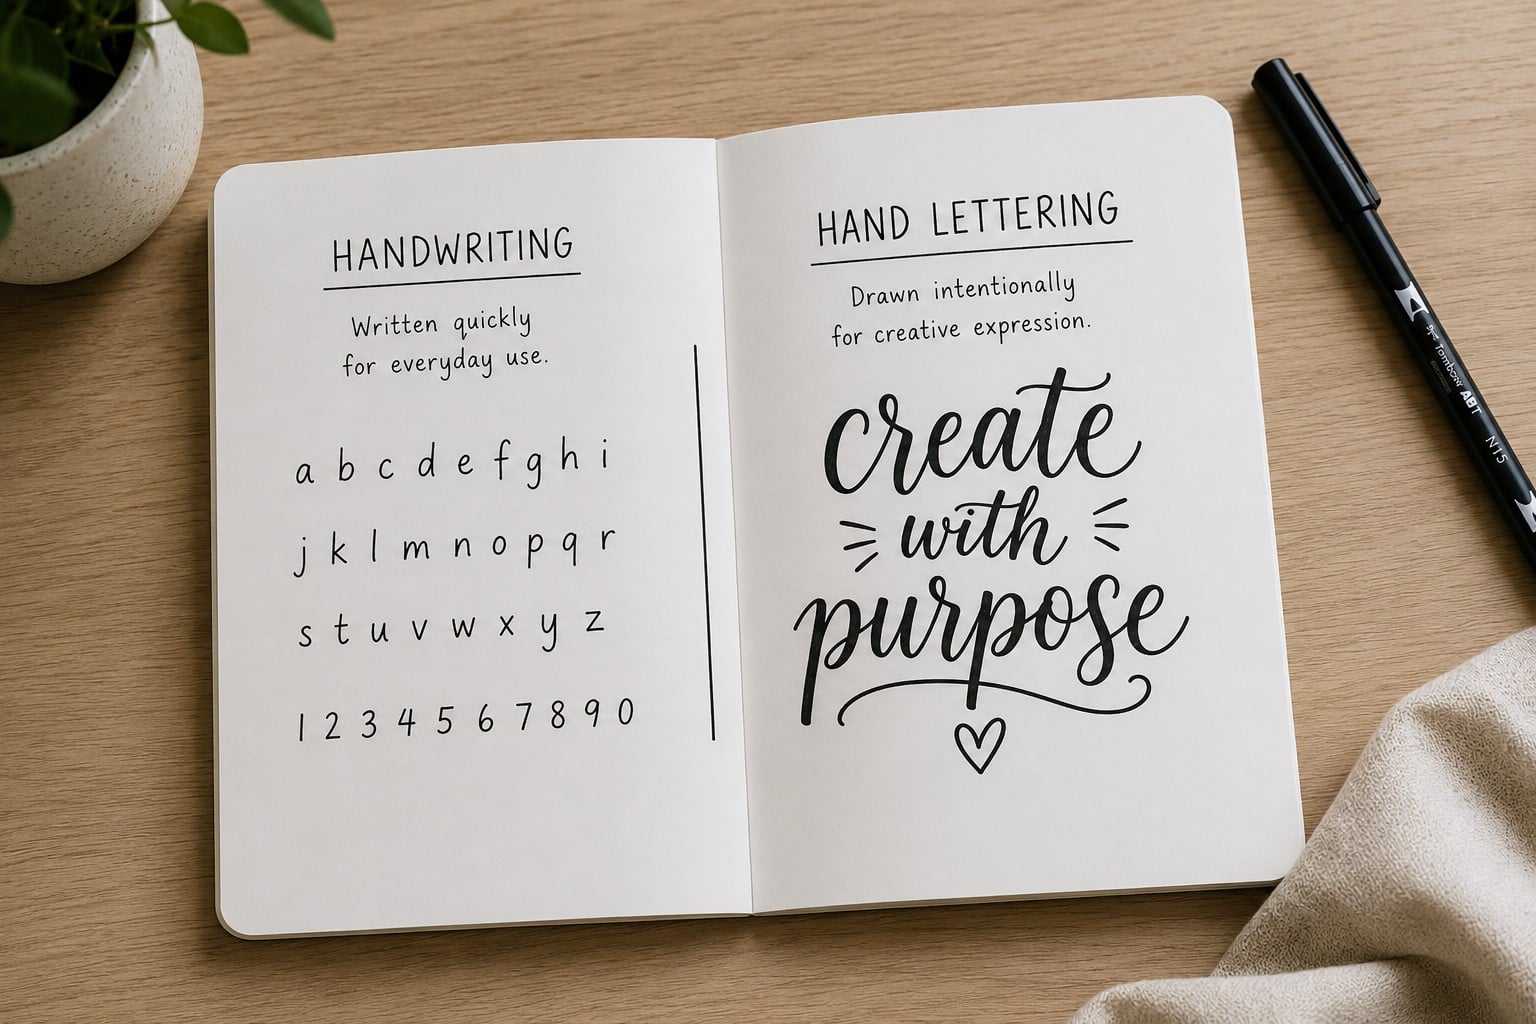
Many beginners think they need beautiful handwriting before they can learn lettering. That isn’t true at all. Handwriting is something you do quickly without much thought.
Hand lettering is the art of drawing each letter with care. Once you understand that difference, learning becomes much less intimidating.
Think of each letter as a small design instead of something you rush to finish. Slow movements help you notice where each line begins and ends.
Your first pages may look uneven, but that is completely normal. Every practice session teaches your hands something new.
Don’t worry if your natural handwriting looks messy. Many talented lettering artists started with handwriting they didn’t like. They improved because they practiced the right skills, not because they had perfect handwriting from the beginning.
If you want to build a stronger foundation, How to Master the Hand Lettering Alphabet in 15 Simple Steps will help you understand how each letter is formed.
Step 2: Gather Only the Supplies You Really Need

One of the biggest mistakes beginners make is buying every pen they can find. Expensive supplies won’t make your lettering better overnight. A few simple tools are more than enough to get started.
Begin with a beginner-friendly brush pen, smooth paper, a pencil, an eraser, and a notebook for daily practice. These basics allow you to focus on learning instead of wondering which tool to use next.
As your skills improve, you can try different pens and papers. For now, keep things simple. The more comfortable you become with basic supplies, the easier it will be to experiment later. If you’re unsure where to begin, Easy Hand Lettering Tutorial: Learn in 21 Minutes offers a simple starting point without making the process feel overwhelming.
Step 3: Learn the Basic Strokes Before Drawing Letters
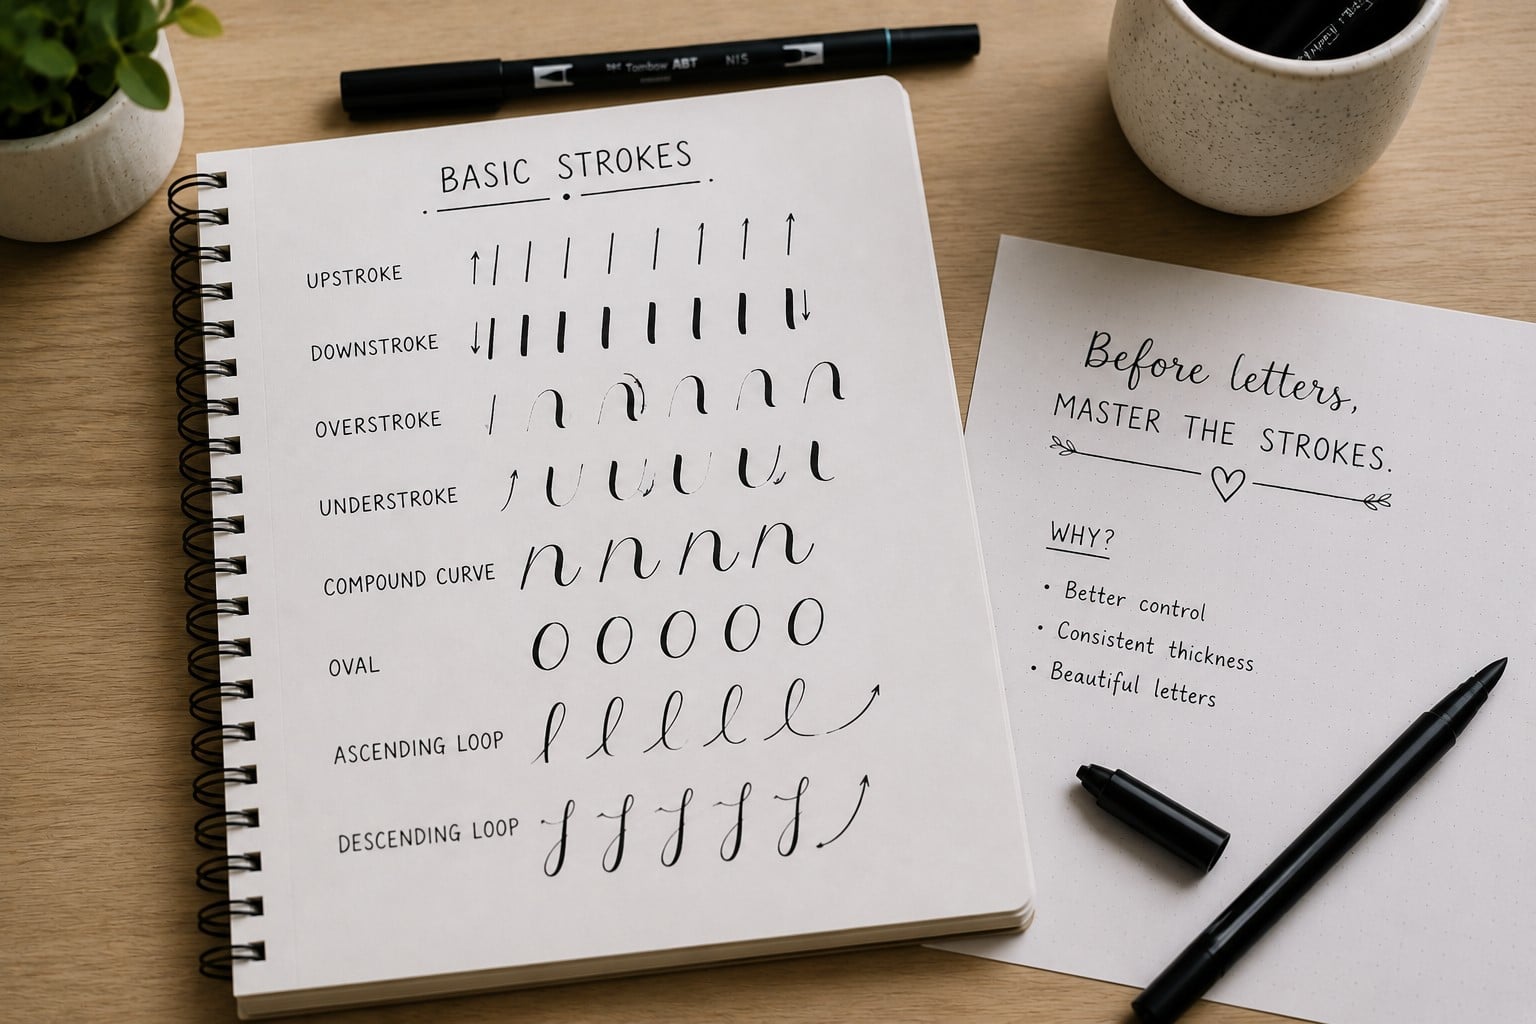
This is the step many people skip because they want quick results. It feels more exciting to write pretty words than to practice lines and curves. Still, those simple strokes are the reason experienced artists create smooth, balanced lettering.
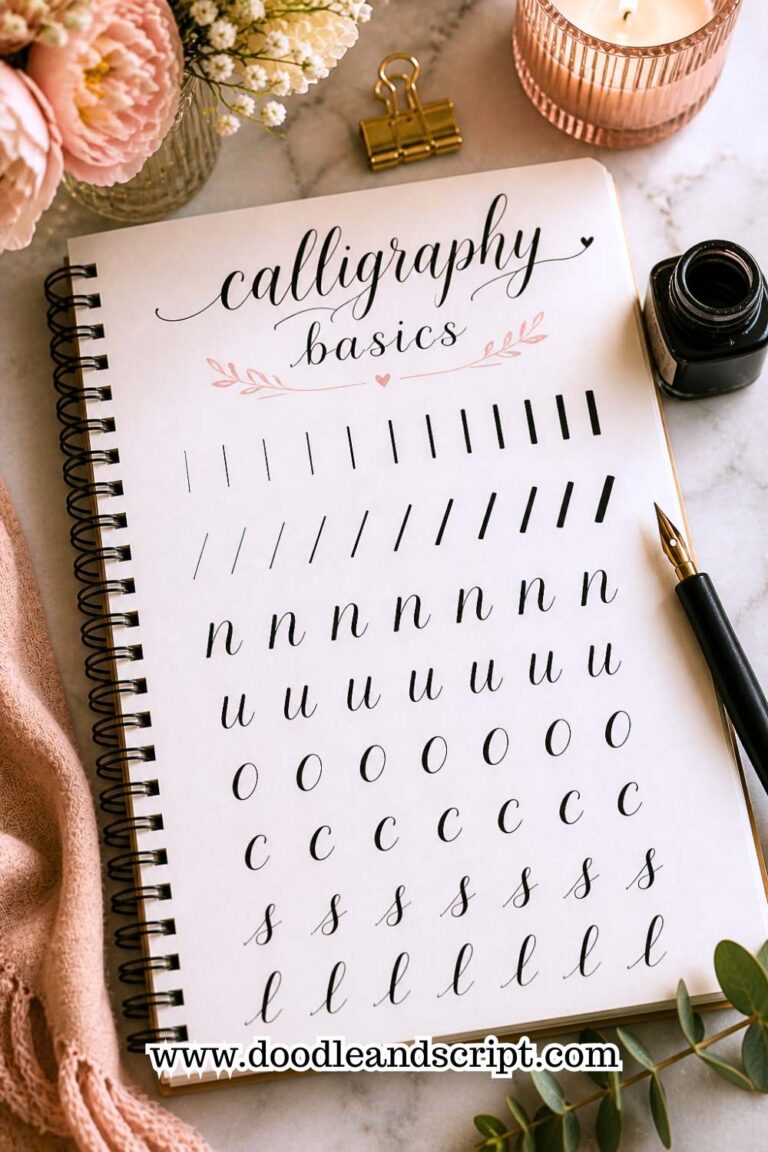
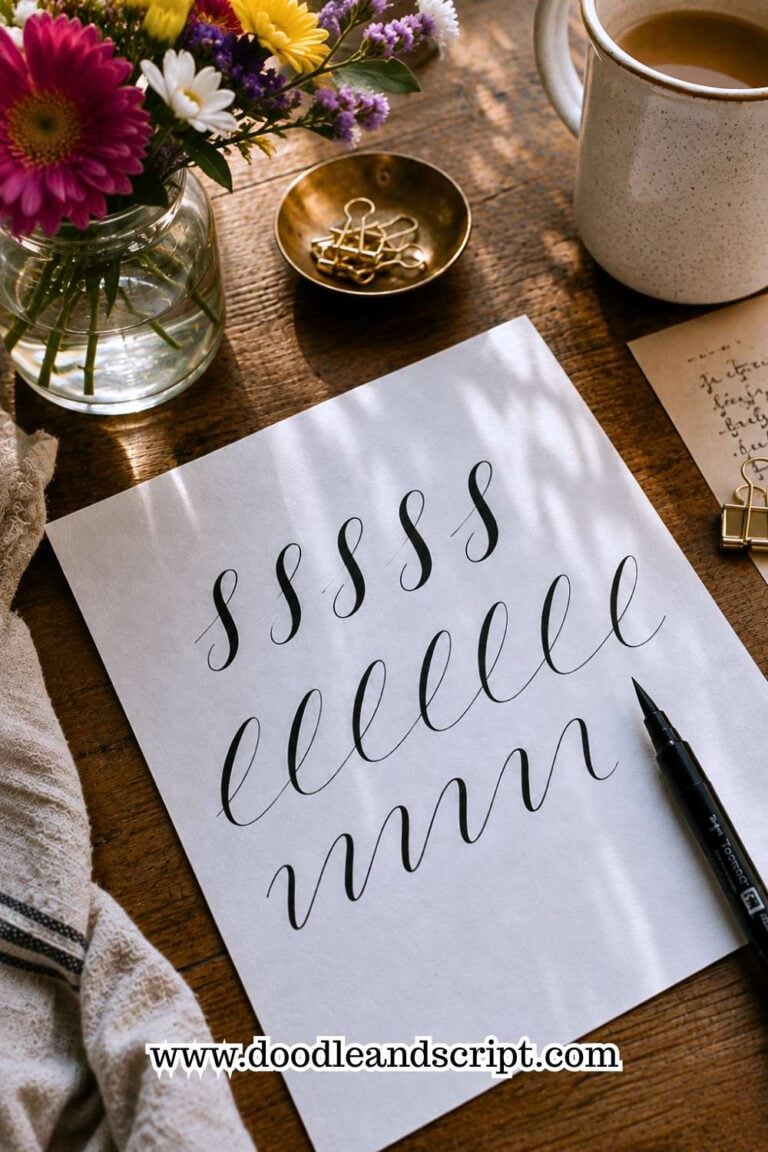
Most letters come from a handful of basic movements. Straight lines, underturns, overturns, entrance strokes, exit strokes, and loops appear again and again. Once your hand remembers these movements, creating letters becomes much easier.
Practice each stroke several times before moving to the next one. Don’t rush through the page just to finish it. Quality practice always beats fast practice. If you want more structured drills, 25 Beginner Lettering Exercises That Actually Work will give you plenty of ideas to strengthen these foundational skills.
Step 4: Practice Thick and Thin Strokes
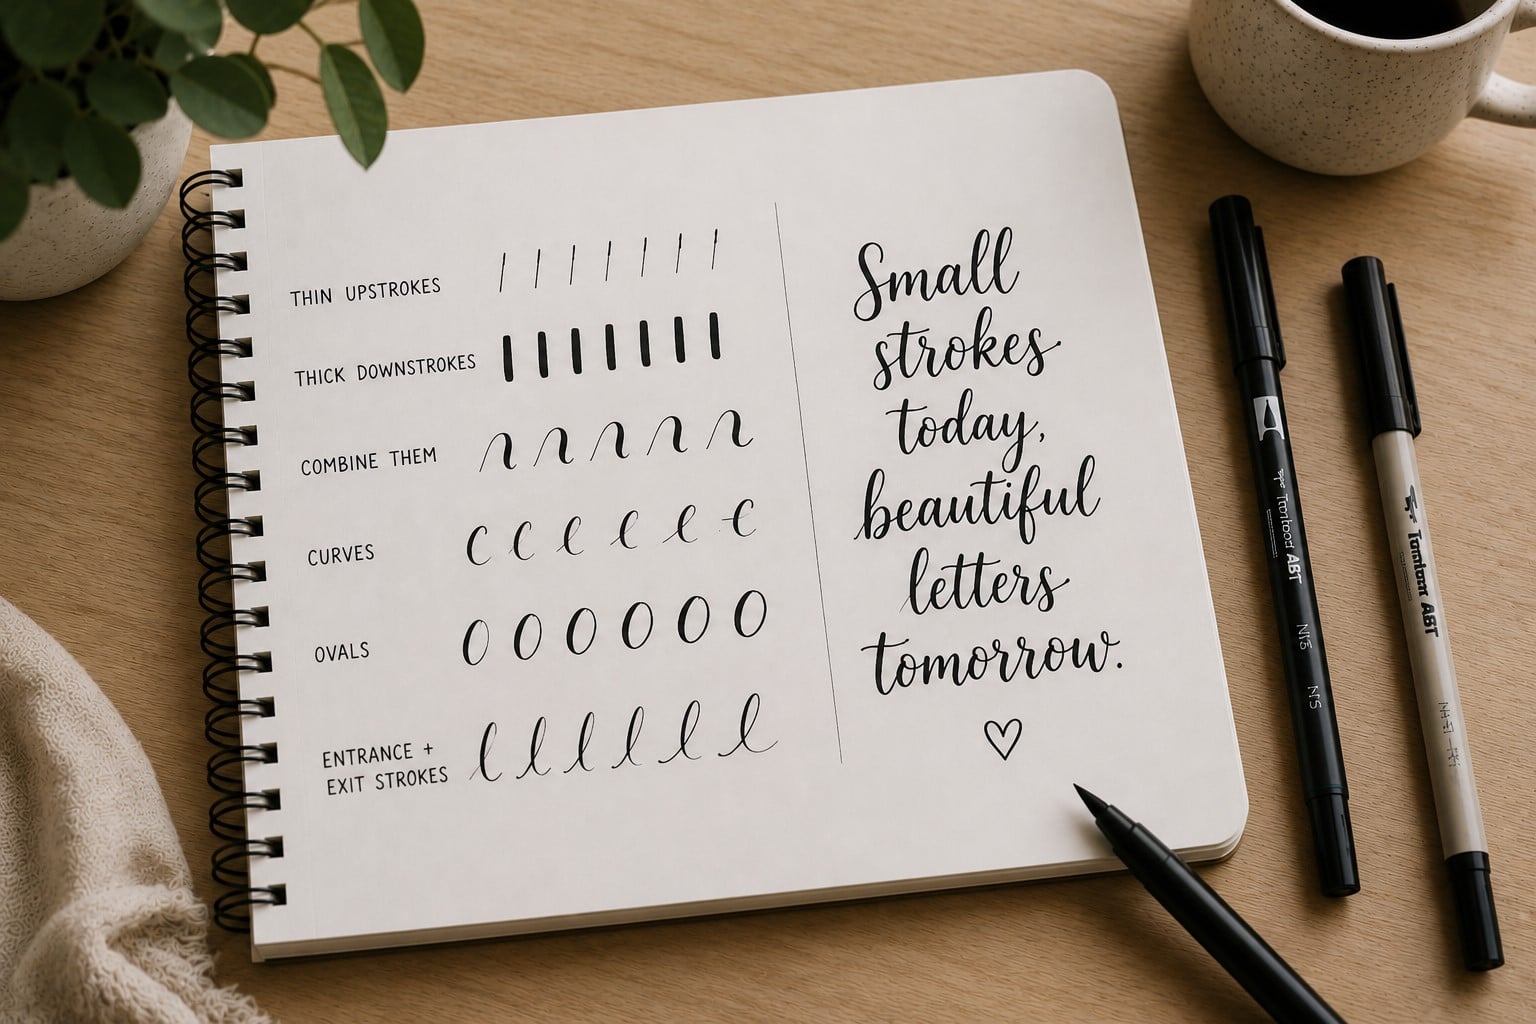
One thing makes brush lettering stand out. Thick downstrokes and thin upstrokes create that beautiful contrast everyone notices.
This takes practice because your hand must learn how much pressure to apply. Press harder as you move your pen downward. Relax your pressure as you move upward. At first, your strokes may look uneven. That’s completely expected.
Instead of trying to write full words immediately, spend a few minutes practicing pressure changes. Over time, your muscles will remember what to do without much effort. If controlling your pen feels difficult, 17 Lettering Exercises That Instantly Improve Pen Control can help you build confidence.
Step 5: Slow Down More Than You Think You Should
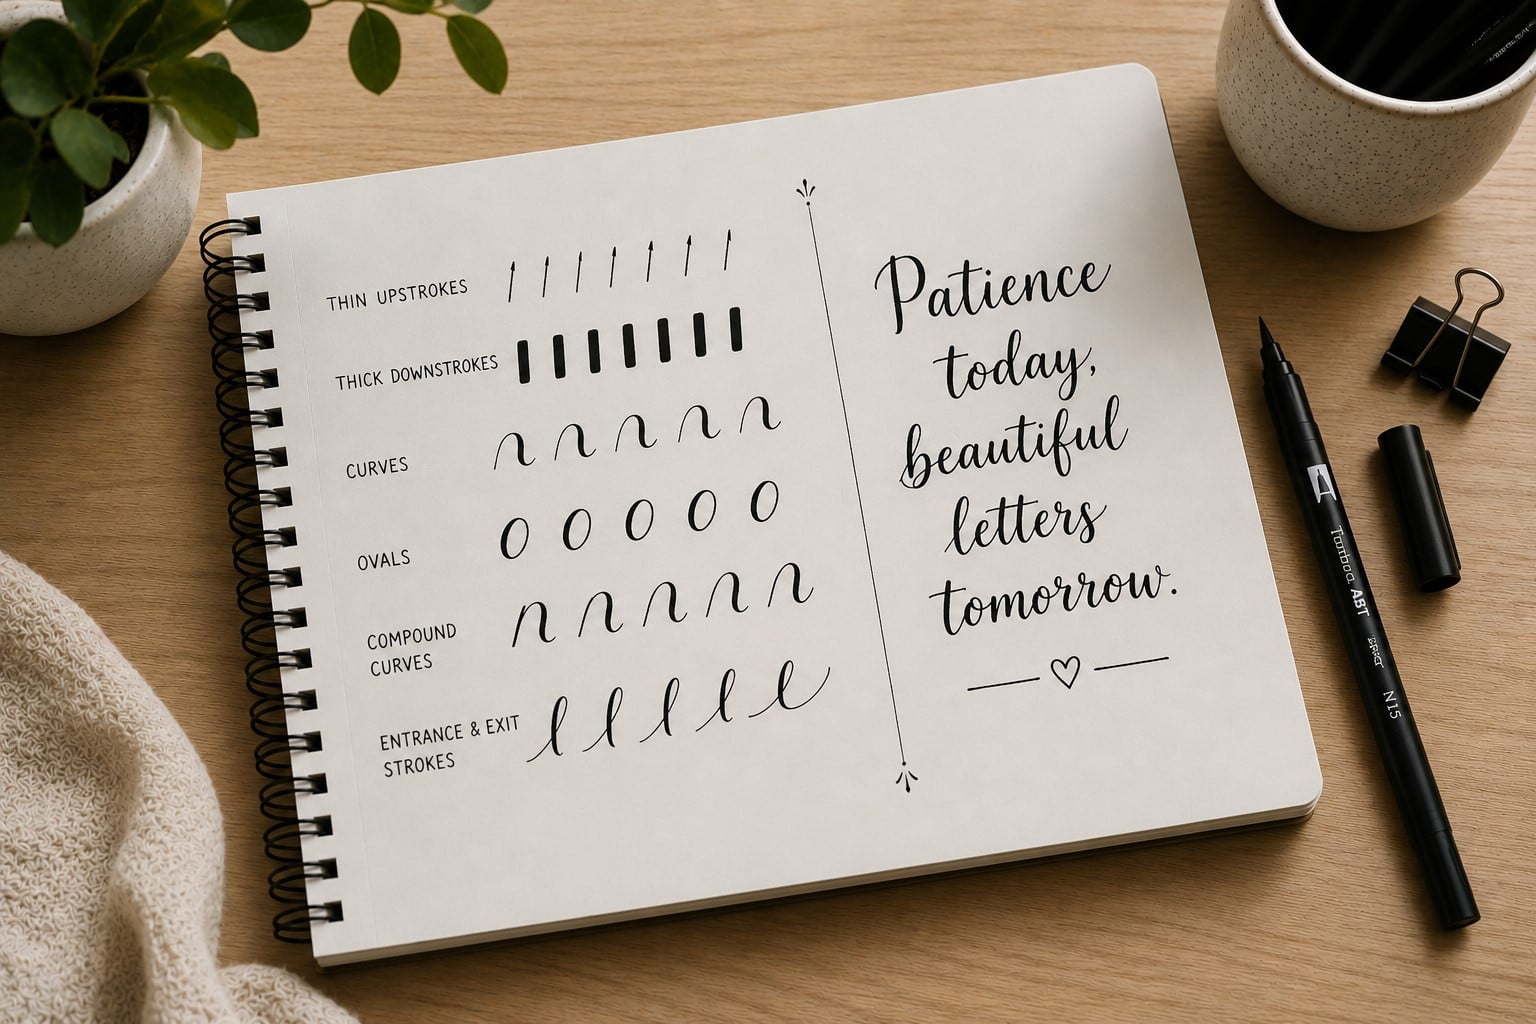
Most beginners write far too quickly. They want every word to look finished within minutes. That rush often creates shaky lines, uneven spacing, and unnecessary frustration.
Give yourself permission to move slowly. Pause between letters if you need to. Look at each stroke before starting the next one. You aren’t racing anyone. You’re teaching your hands a completely new skill.
As strange as it sounds, slowing down often helps you improve faster. You begin noticing small mistakes before they become habits.
That’s one reason learning How to Learn Hand Lettering Step-by-Step works so well when you focus on steady progress instead of instant perfection.
If you’d like to improve even faster after mastering the basics, 21 Proven Ways to Improve Your Hand Lettering Faster is a great next read.
Step 6: Practice the Same Letters Again and Again
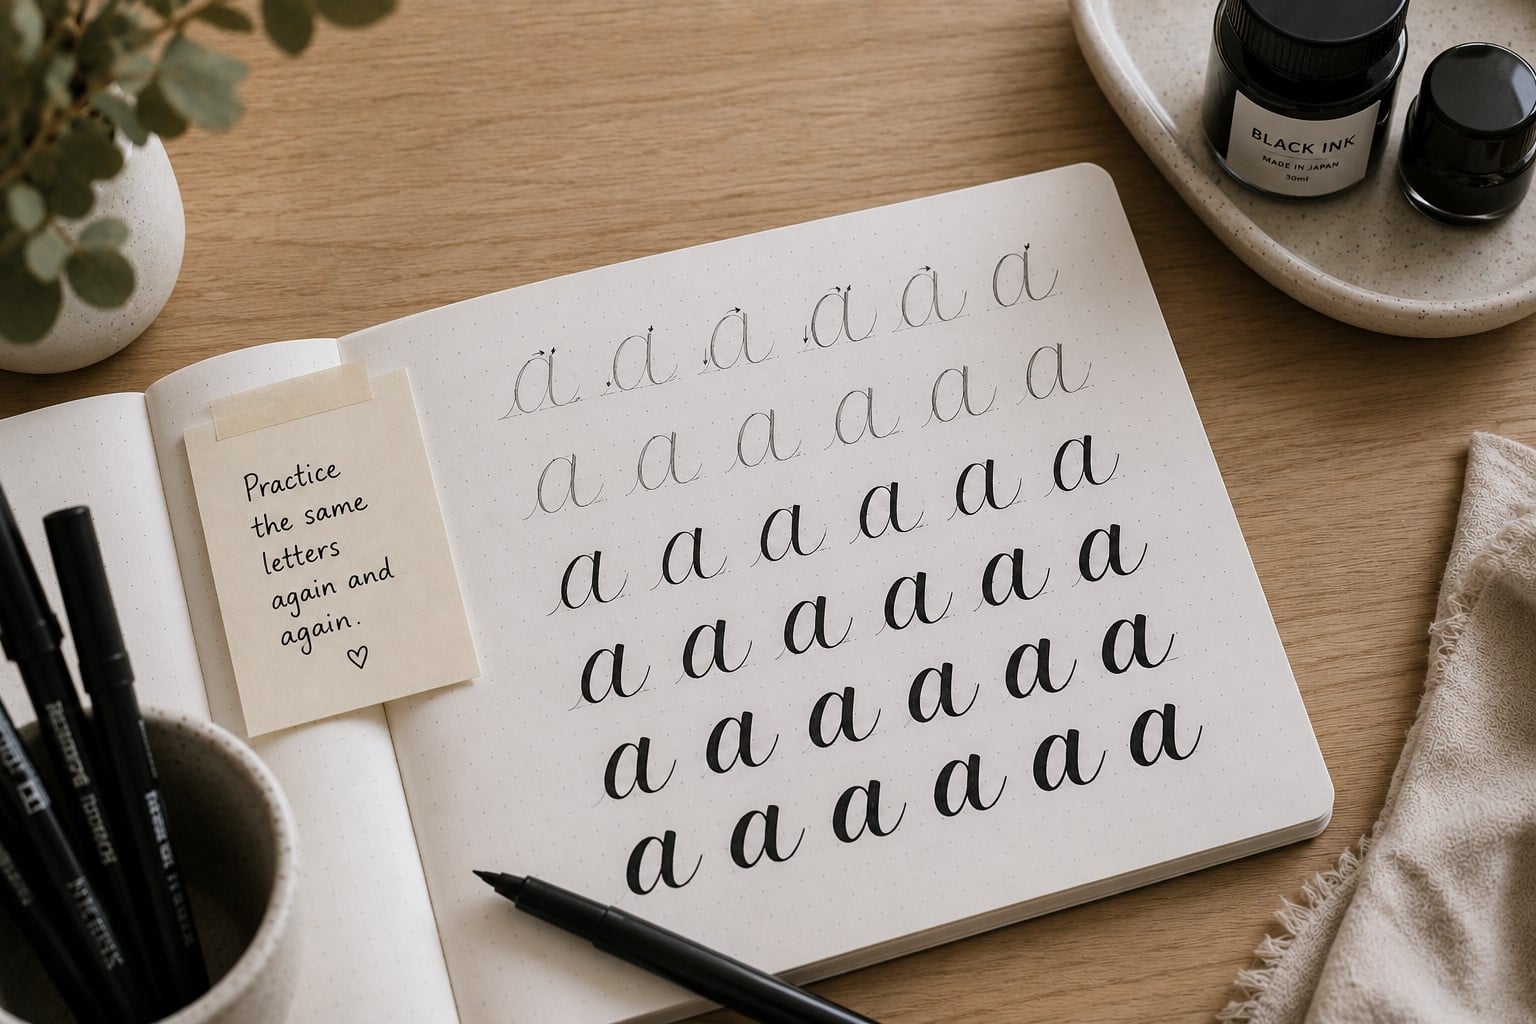
Repeating the same letter may sound boring, but it works. Every repetition helps your muscles remember the movement. After a while, the strokes begin to feel smoother without much effort.
Choose one or two letters each day instead of practicing the whole alphabet. Fill an entire page if you need to. Small improvements add up faster than jumping from one exercise to another.
Don’t stop because a page looks messy. Most of your progress happens during practice, not after one perfect attempt.
If you need more ideas to keep your routine interesting, 19 Beginner Hand Lettering Practice Sheets You’ll Actually Use can give you fresh exercises.
Step 7: Learn How to Space Your Letters
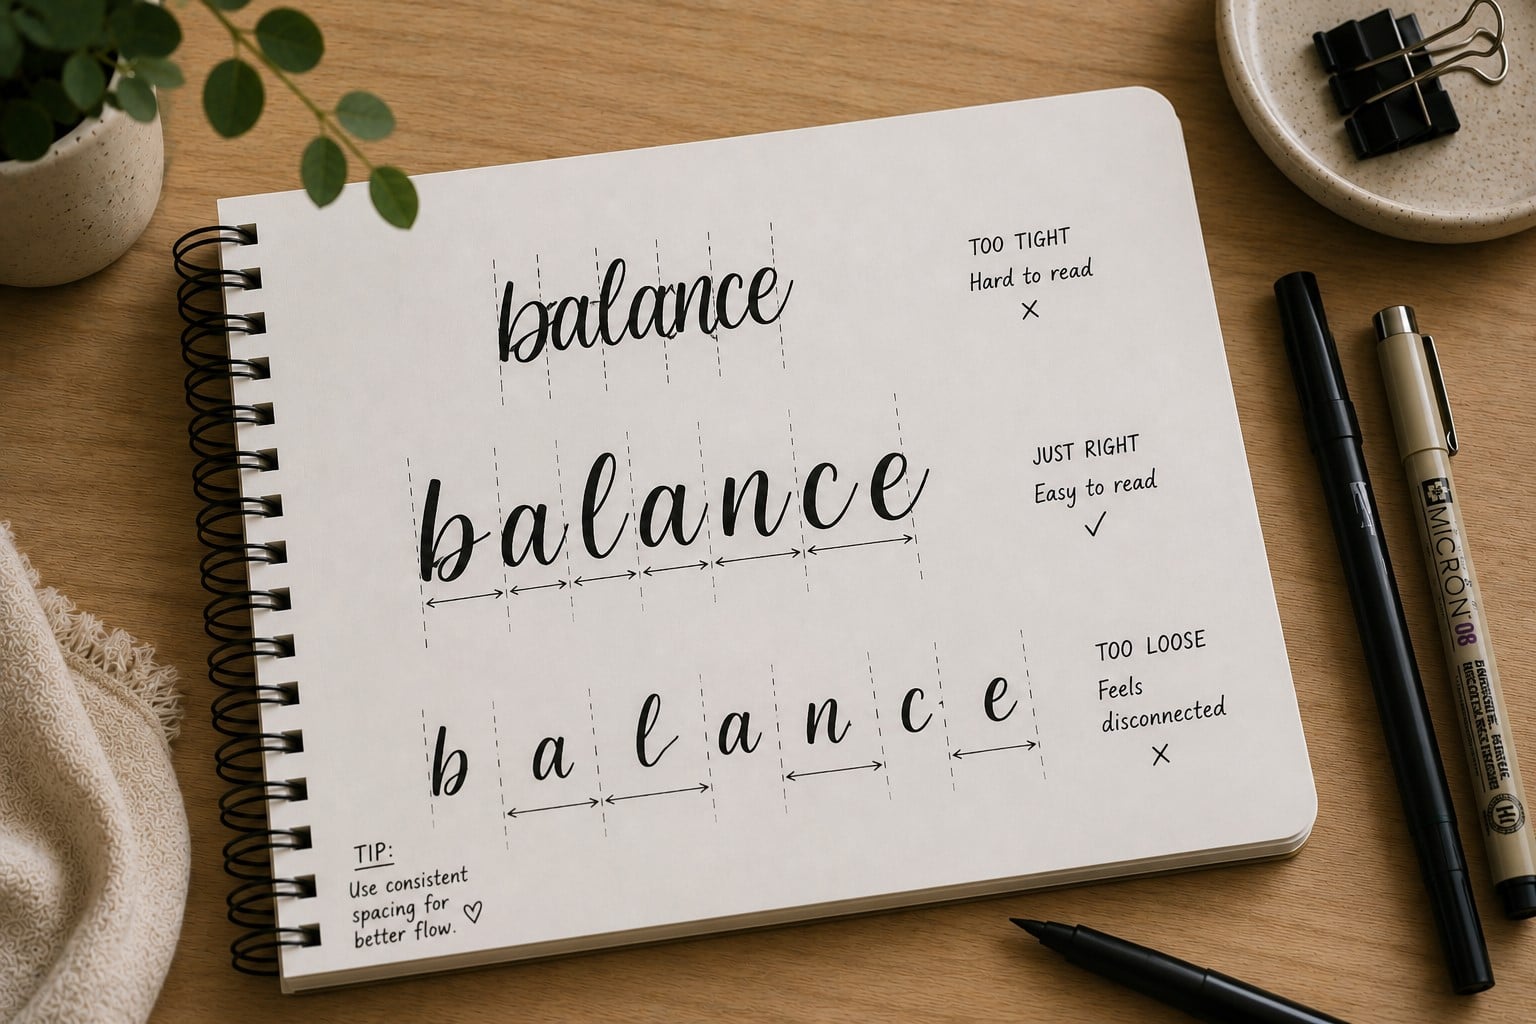
Beautiful lettering isn’t only about the letters themselves. The spaces between them matter just as much. Even well-shaped letters can look awkward if they sit too close together or too far apart.
Instead of measuring every gap, train your eyes to look for balance. Step back from your page every few minutes. You’ll notice uneven spacing much faster when you stop staring at one letter.
This skill takes patience, so don’t expect perfection in one day. The more words you write, the easier spacing becomes.
For more practical tips, 13 Simple Tricks to Improve Your Lettering Consistency explains how small adjustments make a big difference.
Step 8: Don’t Be Afraid to Make Mistakes

Many beginners throw away pages because they aren’t perfect. That habit slows progress more than any crooked letter ever could.
Every mistake teaches you something. Maybe you pressed too hard, rushed a stroke, or forgot to leave enough space. Those lessons become easier to remember when you can see them on the page.
Keep your old practice sheets instead of hiding them. Looking back after a few weeks will remind you how much you’ve improved.
If you’re unsure what to look for, 15 Common Hand Lettering Mistakes (And How to Fix Them) will help you recognize and correct common problems.
Step 9: Practice Real Words Instead of Random Letters
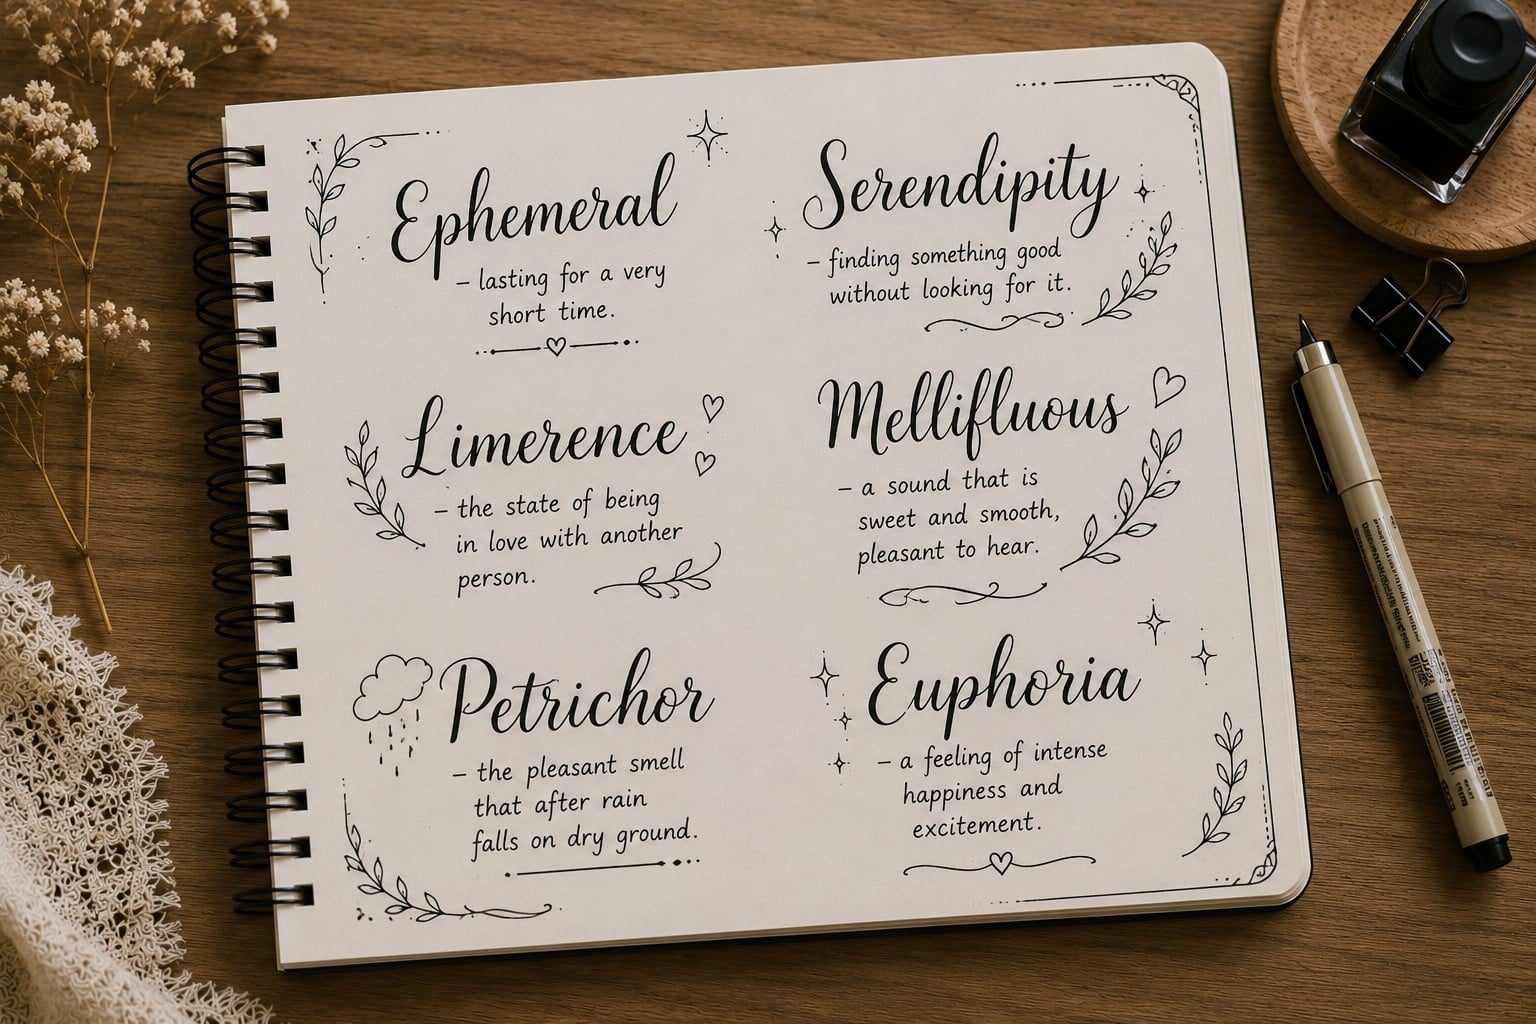
Once you feel comfortable with basic strokes, start writing real words. This helps you connect letters naturally and improves your rhythm.
Choose simple words you enjoy seeing every day. Your name, encouraging quotes, favorite foods, or positive reminders all make great practice.
You’ll stay motivated because you’re creating something meaningful instead of filling pages with random letters.
As your confidence grows, experiment with longer words and short sentences. This is where your lettering starts to feel more natural.
If you need inspiration, 27 Easy Hand Lettering Ideas Every Beginner Should Try is full of beginner-friendly projects.
Step 10: Explore Different Lettering Styles

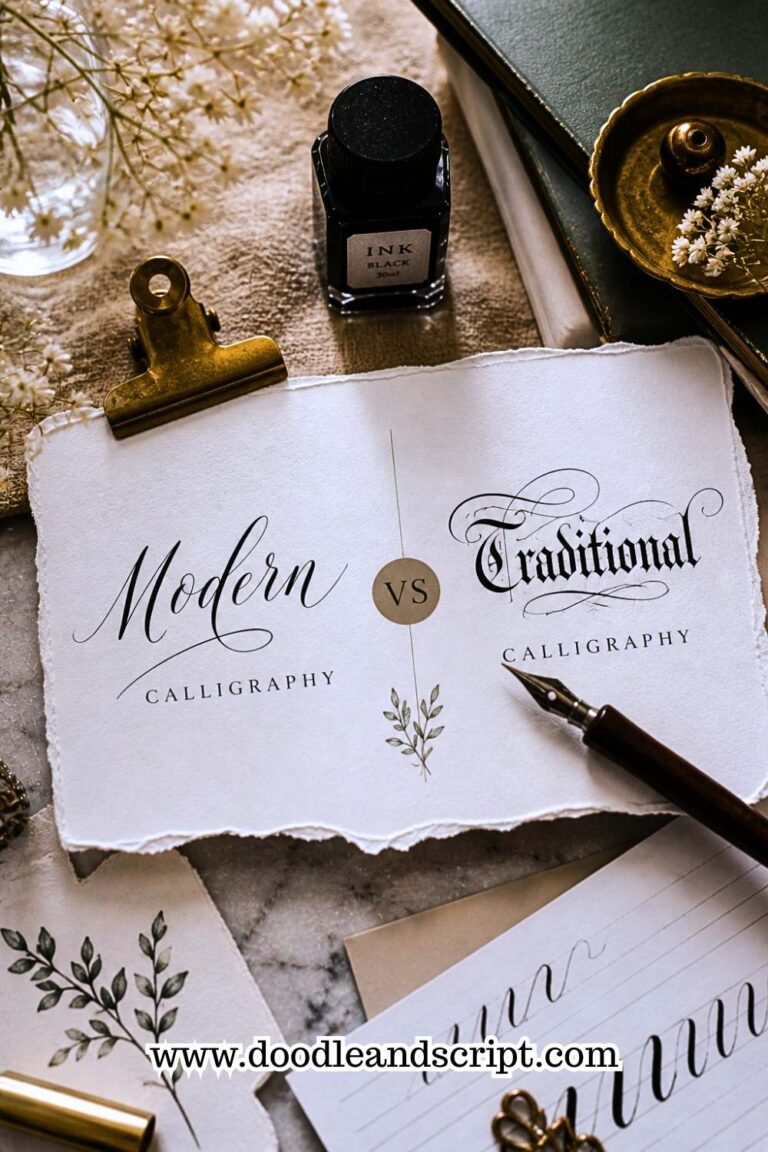
Not every lettering style will match your personality, and that’s perfectly okay. Some people love clean, modern letters. Others enjoy playful, bouncy words or elegant script.
Trying different styles helps you discover what feels most comfortable. It also teaches your hand new movements and keeps practice exciting. You don’t have to master every style before moving forward.
Give yourself permission to experiment without judging every result. The more styles you explore, the more your own style begins to develop.
If you aren’t sure where to start, 11 Hand Lettering Styles Every Beginner Should Try introduces several beginner-friendly options.
Step 11: Enjoy the Learning Process
It’s easy to focus only on the final result. You want your lettering to look beautiful as quickly as possible. Still, the real growth happens while you’re practicing each day.
Celebrate small wins along the way. Maybe your downstrokes look smoother today, or your spacing feels more even than last week. Those little improvements are signs that your hard work is paying off.
Remember why you started. Hand lettering should be relaxing, creative, and enjoyable. This guide on How to Learn Hand Lettering Step-by-Step isn’t about becoming perfect overnight. It’s about building one skill at a time until beautiful lettering becomes something you can create with confidence.
Step 12: Turn Your Practice Into Small Creative Projects
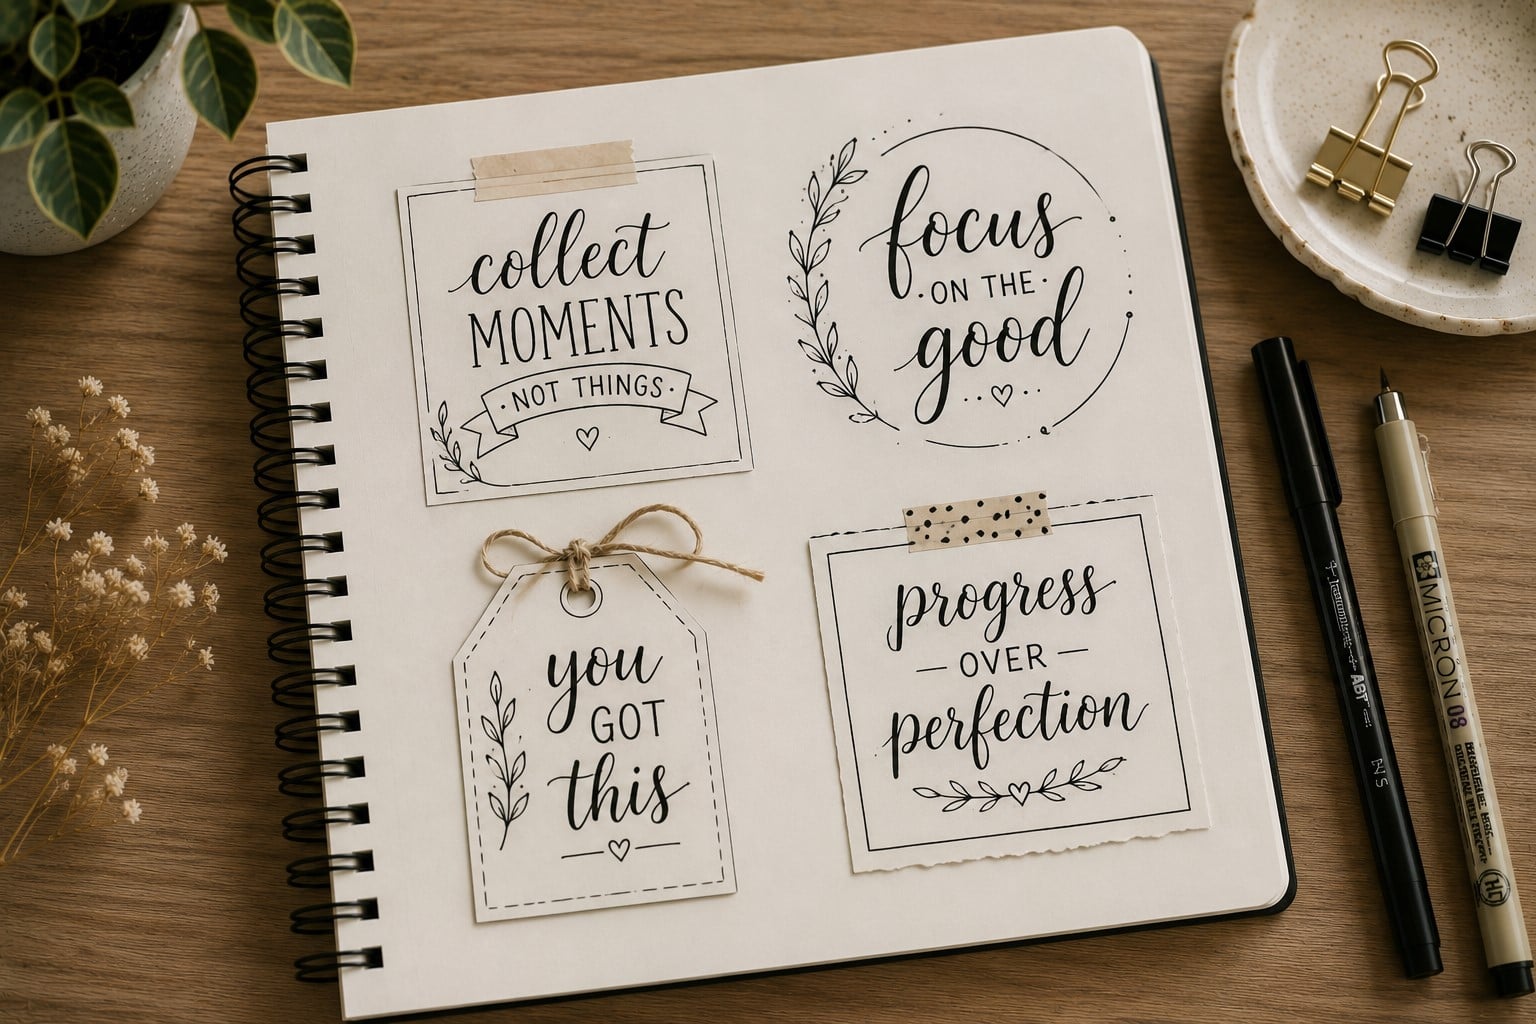
After you’ve practiced strokes, letters, and words, start creating simple projects. This makes everything you’ve learned feel useful. It also keeps you excited to practice again.
Write a birthday card, decorate your journal, label storage jars, or make a bookmark. These projects don’t have to look perfect. They simply give you a chance to use your new skills in everyday life.
The more often you letter for real projects, the more confident you’ll become. You’ll also notice which areas still need practice. If you’d like more creative inspiration, 23 Easy Tricks to Create Aesthetic Hand Lettering will show you how to make your work look even more polished.
Step 13: Practice Every Week Instead of Waiting for Motivation
Many people practice for hours one weekend and then stop for weeks. When they finally return, it feels like they’re starting over again.
You don’t need long practice sessions to improve. Even fifteen or twenty minutes several times a week can make a noticeable difference. Consistency helps your muscles remember each movement much better than occasional marathon sessions.
Try choosing a regular time that fits your schedule. Practice while enjoying your morning coffee or before going to bed. The more your routine becomes a habit, the less you’ll rely on motivation to keep going.
Step 14: Create Simple Layouts With Your Words
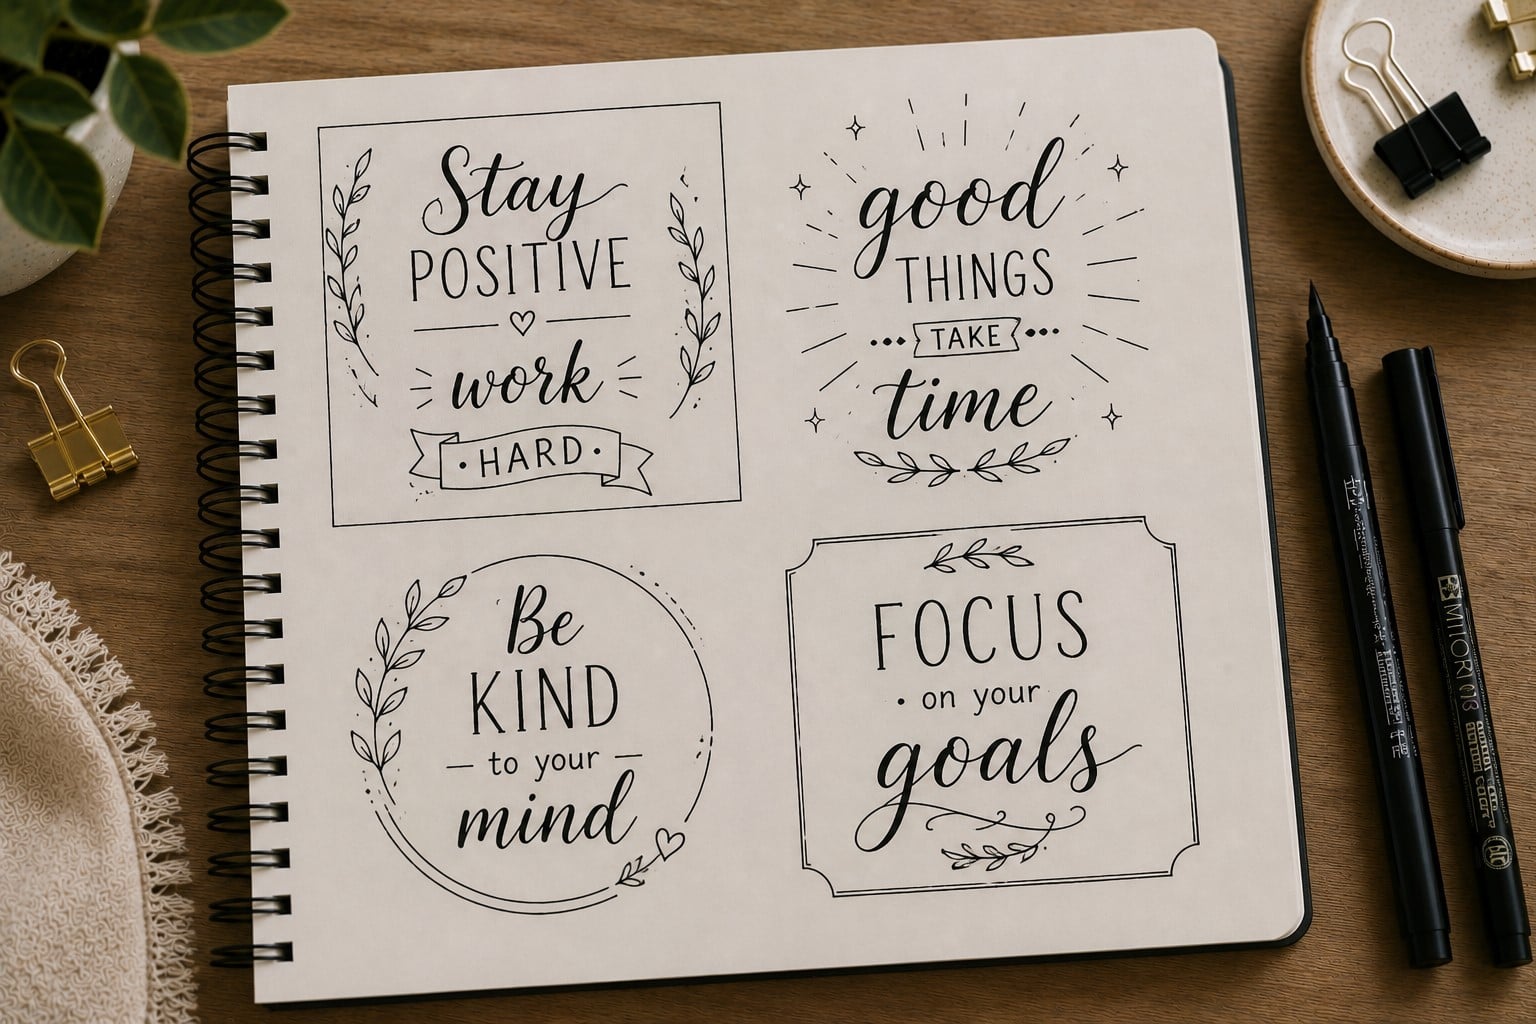
Once you feel comfortable writing individual words, begin thinking about how they look together on the page. A beautiful layout can make even simple lettering stand out.
Start by deciding which word should grab the most attention. Make that word slightly larger or choose a different lettering style. Then arrange the remaining words around it while leaving enough white space.
Don’t try to fill every empty corner. White space gives your lettering room to breathe and makes the finished piece easier to read. If you’d like to improve your page designs, 13 Secrets to Creating Beautiful Hand Lettering Compositions is an excellent next step.
Step 15: Be Patient With Your Progress
Every beginner hopes to improve quickly. While fast progress feels exciting, lasting improvement usually happens little by little.
Some days your lettering will look amazing. Other days it may feel like you’ve forgotten everything. Don’t let those difficult days convince you that you’re failing. Learning any creative skill comes with ups and downs.
Instead of comparing today’s page with someone else’s work, compare it with something you created last month. You’ll often discover progress you didn’t even notice. That’s one of the biggest lessons you’ll learn while following this guide on How to Learn Hand Lettering Step-by-Step.
Final Thoughts
Learning hand lettering can feel overwhelming when you’re just starting. There are so many pens, styles, and techniques that it’s easy to think you’ll never catch up.
The truth is much simpler. Every skilled lettering artist once struggled with the same shaky lines and uneven letters you’re working through today.
The secret isn’t having perfect handwriting or natural artistic talent. It’s showing up, practicing the basics, and giving yourself time to improve.
Every page you complete brings you one step closer to the beautiful lettering you’ve been hoping to create. If you’d like to add more personality to your work, How to Create Beautiful Bounce Lettering in 13 Easy Steps is a great next read.
Most importantly, enjoy the journey. Celebrate every small improvement and keep creating, even when your pages don’t look perfect.
That’s exactly How to Learn Hand Lettering Step-by-Step. One simple stroke, one letter, and one practice session at a time.