How to Master the Hand Lettering Alphabet in 15 Simple Steps
Disclosure: Some of the links in this post are affiliate links. This means if you click on the link and purchase an item, I will receive an affiliate commission at no extra cost to you.
Imagine writing the word “minimum.” It only uses a few different letters, yet it can quickly reveal how confident you are with the hand lettering alphabet.
One m may look perfect, the next one slightly taller, and the n beside it may not match either of them. That’s completely normal.
Learning How to Master the Hand Lettering Alphabet isn’t about making every letter perfect on the first try.
It’s about understanding why letters look the way they do and practicing them in a way that helps your hand remember each movement.
Here’s something I want you to keep in mind as we work through this guide: the alphabet is much smaller than it seems.
Many letters share the same basic strokes, the same curves, and the same rhythm. Once you recognize those patterns, you’ll stop feeling like you’re learning twenty-six separate letters.
Instead, you’ll see a handful of simple building blocks that work together to create the entire alphabet. If you’re looking for practical habits that make learning easier, 21 Proven Ways to Improve Your Hand Lettering Faster is a great companion to this lesson.
So, grab a pencil or your favorite lettering pen, and let’s slow things down together. I’ll walk you through fifteen simple steps that build on one another, explain what to pay attention to, and point out the little details that make a big difference.
By the end of this guide, you’ll have a clear system you can use every time you practice the alphabet.
How to Master the Hand Lettering Alphabet in 15 Simple Steps
1. Start With the Basic Strokes Instead of the Alphabet

I know you’re excited to start writing letters, but trust me on this one. Jumping straight into the alphabet makes learning much harder than it needs to be. Every letter is built from a small group of basic strokes.
Once your hand becomes comfortable with those movements, the letters begin to feel much more natural. That’s the foundation of How to Master the Hand Lettering Alphabet.
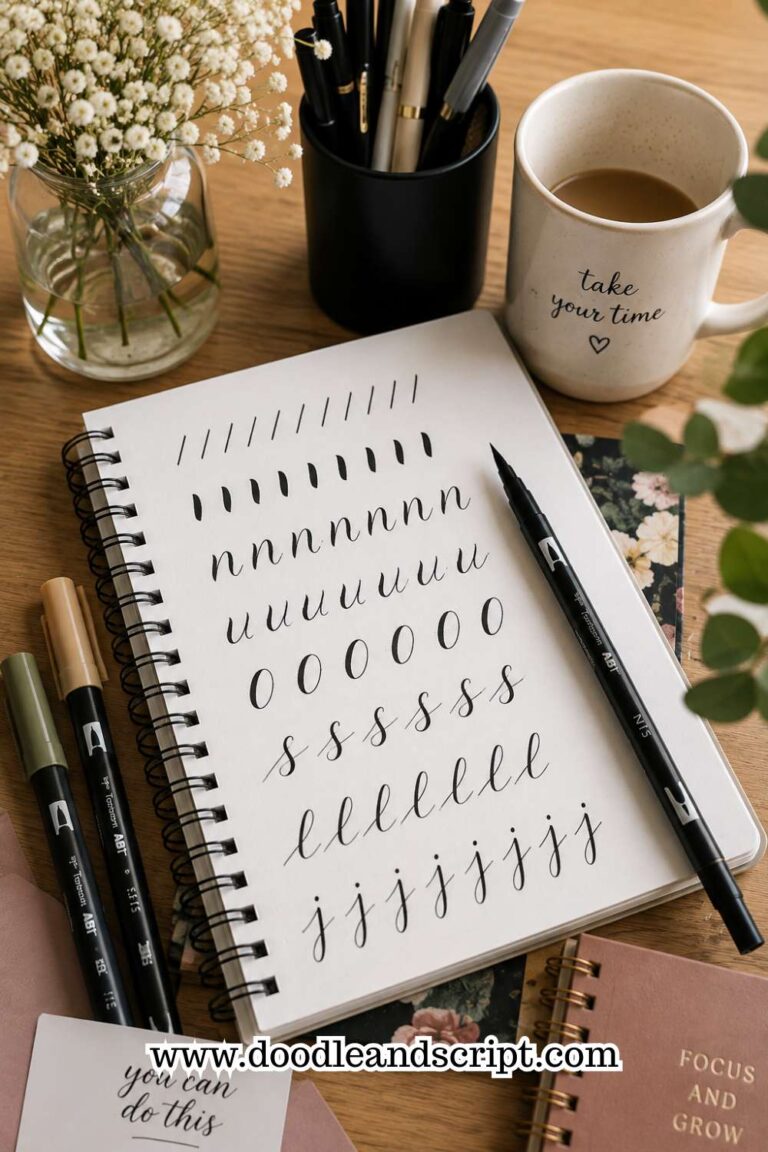
Spend a few minutes practicing straight lines, underturns, overturns, loops, compound curves, and ovals. Fill an entire page if you need to.
Don’t rush through the exercise just because it seems simple. Those strokes appear again and again throughout the alphabet.
Think of it like learning musical notes before playing a song. The stronger your foundation becomes, the easier every new letter will feel.
If you want extra guidance with these exercises, 15 Hand Lettering Drills That Will Improve Your Skills Fast includes simple drills that strengthen your control.
2. Group Similar Letters Together

One of the biggest breakthroughs happens when you stop seeing the alphabet as twenty-six separate letters. Many letters belong to the same family because they share similar shapes and movements.
For example, i, l, t, and j all use simple vertical strokes. Letters like a, c, d, g, o, and q are built around rounded shapes.
Then you have n, m, h, and r, which share similar arches. Learning one family at a time makes practice feel much more manageable.
I encourage beginners to stay with one group until it feels comfortable before moving to the next. You’ll build confidence much faster than jumping randomly from one letter to another.
3. Practice Slowly Before Practicing Quickly

Almost every beginner wants smoother lettering, so the first instinct is to speed up. In reality, slowing down is one of the fastest ways to improve.
As you practice each letter, pay attention to where every stroke begins and ends. Watch how your pen moves around curves and where the pressure changes if you’re using a brush pen.
The slower you practice, the easier it becomes to notice small mistakes before they become habits.
Speed will come naturally after your muscles learn the correct movements. Right now, accuracy is much more important than writing quickly.
If you need a structured routine to build consistency, 25 Beginner Lettering Exercises That Actually Work offers simple exercises you can repeat every day.
4. Learn the Lowercase Alphabet First

Many beginners switch between uppercase and lowercase letters during the same practice session. I usually recommend learning lowercase first because you’ll use those letters far more often.
Lowercase letters also introduce you to the most common strokes and connections you’ll use in everyday lettering. Once they begin to feel comfortable, adding uppercase letters becomes much less intimidating.
There’s no prize for learning everything at once. Give yourself permission to master one part of the alphabet before adding another.
5. Don’t Practice the Alphabet in Order Every Time

Here’s a habit I encourage every beginner to break. Stop writing A to Z every single day. It feels productive, but it often hides the letters that actually need the most attention.
Instead, look at yesterday’s practice page and circle the letters that gave you trouble. Spend today’s session working mostly on those letters.
You might practice s, g, k, and f while skipping the letters you already write confidently.
This approach keeps every practice session focused. You’ll improve much faster because you’re solving real problems instead of repeating letters you’ve already mastered.
If you’d like a guided routine for building better habits, Easy Hand Lettering Tutorial: Learn in 21 Minutes is a great next step.
6. Fill a Whole Line With One Letter

One of the best pieces of advice I ever received was to stop changing letters too quickly. It’s tempting to write a, then b, then c, but your hand barely has time to learn each movement before moving on.
Instead, choose one letter and fill an entire line with it. Then fill another line if it still feels uncomfortable.
By the end of the exercise, you’ll usually notice smoother strokes and better consistency than you had at the beginning.
I still do this whenever a letter starts giving me trouble. Repetition with purpose teaches your muscles far more than rushing through the entire alphabet.
That’s one of the biggest lessons behind learning How to Master the Hand Lettering Alphabet.
7. Compare Your Letters Instead of Guessing

After finishing a practice page, don’t close your notebook and move on. Spend a minute studying what you’ve written. This is where a lot of learning happens.
Compare the first letter on the page with the last one. Are they the same height? Do they lean in the same direction?
Are the curves equally smooth? Looking closely helps you notice patterns that aren’t obvious while you’re writing.
I like to circle one letter I did well and one that needs more work. That gives me a clear goal for the next practice session instead of wondering what to improve.
If you’d like more ideas for improving consistently, 17 Hand Lettering Tips Every Beginner Should Know shares simple habits that make every practice session more productive.
8. Keep the Height of Your Letters Consistent

A common beginner mistake isn’t the shape of the letters. It’s their size. One a might be short while the next one is much taller. A neat alphabet depends on consistency just as much as beautiful strokes.
Use light pencil guidelines while you practice. Let every lowercase letter reach the same height unless it’s supposed to extend above or below the baseline. Those small adjustments make your lettering look much more polished.
Don’t worry if your sizes vary at first. Every page trains your eyes to notice small differences, and that skill improves with regular practice.
9. Pay Attention to Spacing

Even perfectly drawn letters can look untidy when they’re squeezed together or placed too far apart. Spacing is one of those details that beginners often overlook, yet it has a huge impact on how the alphabet looks.
Practice writing short groups of letters such as abc, def, or mno. Instead of focusing only on the letters, study the spaces between them. Aim for gaps that feel even across the entire row.
As your spacing improves, your words will immediately look cleaner and easier to read. If you want to take that skill further, 13 Secrets to Creating Beautiful Hand Lettering Compositions explains how spacing affects every lettering layout.
10. Practice With Real Words

Once you’ve spent time learning individual letters, begin putting them together in simple words. This is where the alphabet starts to feel useful instead of feeling like an exercise.
Choose short words that use different letter shapes. Words like smile, happy, dream, create, and believe give your hand a chance to practice straight strokes, curves, and smooth connections all in one exercise.
Don’t worry about making the word perfect. Focus on writing each letter as carefully as you did during your alphabet practice. That’s how individual skills turn into confident lettering.
If you enjoy working with meaningful phrases, 19 Beautiful Ways to Letter Quotes Like a Pro is full of ideas to keep your practice interesting.
11. Try Different Lettering Styles

Once you feel comfortable with the basic alphabet, don’t stop there. Writing every letter in only one style can make your practice feel repetitive.
Exploring different styles teaches your hand to adapt while helping you discover what feels most natural.
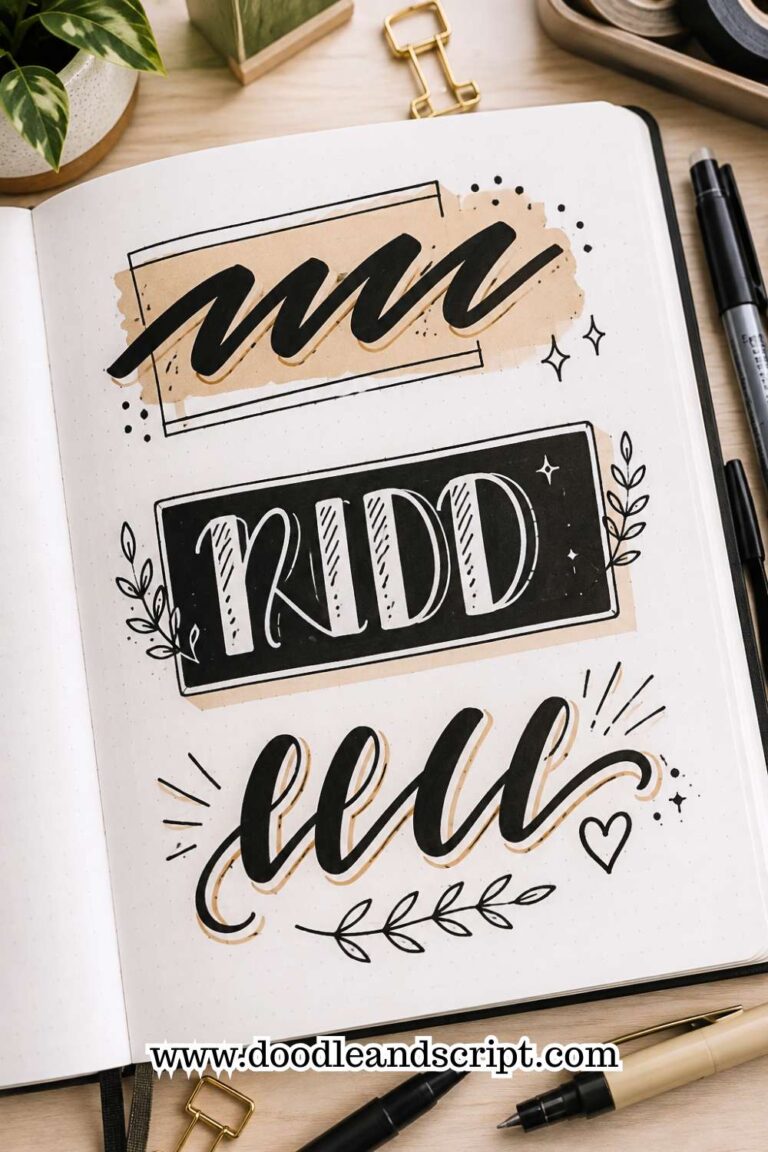
Take one letter, like A or S, and draw it in several ways. Try a clean block style, a modern lettering style, a script version, and a simple monoline design.
You don’t need every version to look perfect. The goal is to understand how the same letter changes from one style to another.
I love this exercise because it reminds me that there isn’t only one “correct” alphabet. Every style has its own personality, and experimenting helps you grow as a lettering artist.
If you’re looking for inspiration, 11 Hand Lettering Styles Every Beginner Should Try will introduce you to styles worth practicing.
12. Stop Erasing Every Mistake

Can I give you one piece of advice that will save you a lot of frustration? Stop reaching for the eraser every time a letter doesn’t look right.
I know it’s tempting. You see one uneven curve, erase it, redraw it, and repeat the process until the paper starts wearing out.
Instead, leave the mistake where it is. Then write the same letter again beside it. Your goal isn’t to hide your progress. It’s to see it.
Some of my favorite practice pages are full of imperfect letters because they remind me how much I improved by the bottom of the page. Mistakes aren’t signs that you’re failing. They’re signs that you’re learning.
If you’re making the same errors repeatedly, 15 Common Hand Lettering Mistakes (And How to Fix Them) can help you understand what’s causing them.
13. Practice a Little Every Day

You don’t need two hours every afternoon to master the alphabet. In fact, I’d rather see you practice for fifteen focused minutes every day than spend three hours once a week.
Short practice sessions keep your hand fresh and make it easier to remember what you learned yesterday. They also fit into real life much better, which means you’re more likely to stay consistent.
Even on busy days, write a few rows of letters before putting your notebook away. Those small sessions add up faster than you think.
If you’re looking for a routine that builds lasting progress, 19 Beginner Hand Lettering Practice Sheets You’ll Actually Use will give you plenty of structured exercises.
14. Build Confidence Before Chasing Perfection
One thing I’ve noticed after helping beginners is that many people judge themselves far too early.
They compare their first week of practice to someone else’s fifth year of lettering. That’s a comparison you’ll never win.
Instead, compare today’s alphabet with the one you wrote last week. Are your curves smoother? Is your spacing better?
Do more letters feel comfortable? Those small improvements deserve your attention because they’re proof that you’re moving forward.
Confidence grows every time you notice progress instead of focusing only on mistakes. The more confident you become, the more relaxed your lettering will feel.
If you’d like more practical ways to keep improving, 23 Easy Tricks to Create Aesthetic Hand Lettering shares simple ideas you can apply right away.
15. Keep Returning to the Alphabet

Even experienced lettering artists return to the alphabet. Not because they’ve forgotten it, but because it’s the best place to sharpen their skills whenever something feels off.
Think of the alphabet as your home base. Any time your spacing starts slipping or your strokes feel stiff, spend a few minutes practicing individual letters again. You’ll usually notice an improvement before you finish the page.
The alphabet isn’t something you learn once and leave behind. It grows with you throughout your lettering journey.
That’s the heart of learning How to Master the Hand Lettering Alphabet. Every time you return to the basics, you’re giving yourself another chance to improve.
Final Thoughts
Learning the alphabet isn’t about memorizing twenty-six letters. It’s about understanding the simple shapes and movements that connect them.
Once you begin seeing those patterns, practice becomes less frustrating and much more rewarding. That’s why learning How to Master the Hand Lettering Alphabet is a journey, not a one-time lesson.
Don’t worry if certain letters still challenge you. Every beginner has a few that take longer to master.
Keep practicing one step at a time, celebrate the small improvements, and trust that consistency will always beat rushing through the process.
Most importantly, enjoy every page you fill. Those practice sheets, imperfect letters, and repeated strokes are all part of your progress.
When you’re ready to explore another exciting skill, How to Create Beautiful Bounce Lettering in 13 Easy Steps will help you add more personality and movement to your lettering.