Easy Hand Lettering Tutorial: Learn in 21 Minutes
Disclosure: Some of the links in this post are affiliate links. This means if you click on the link and purchase an item, I will receive an affiliate commission at no extra cost to you.
Starting hand lettering can feel confusing. One person tells you to buy a brush pen. Another says to learn the alphabet first. Then you find dozens of tutorials, each teaching something different. Instead of making progress, you end up wondering where to begin.
That’s exactly why this Easy Hand Lettering Tutorial keeps things simple. You’ll spend the next 21 minutes learning the basics in an order that actually makes sense.
You don’t need beautiful handwriting, expensive supplies, or artistic experience to follow along. A pencil, a pen, and a sheet of paper are enough for this lesson.
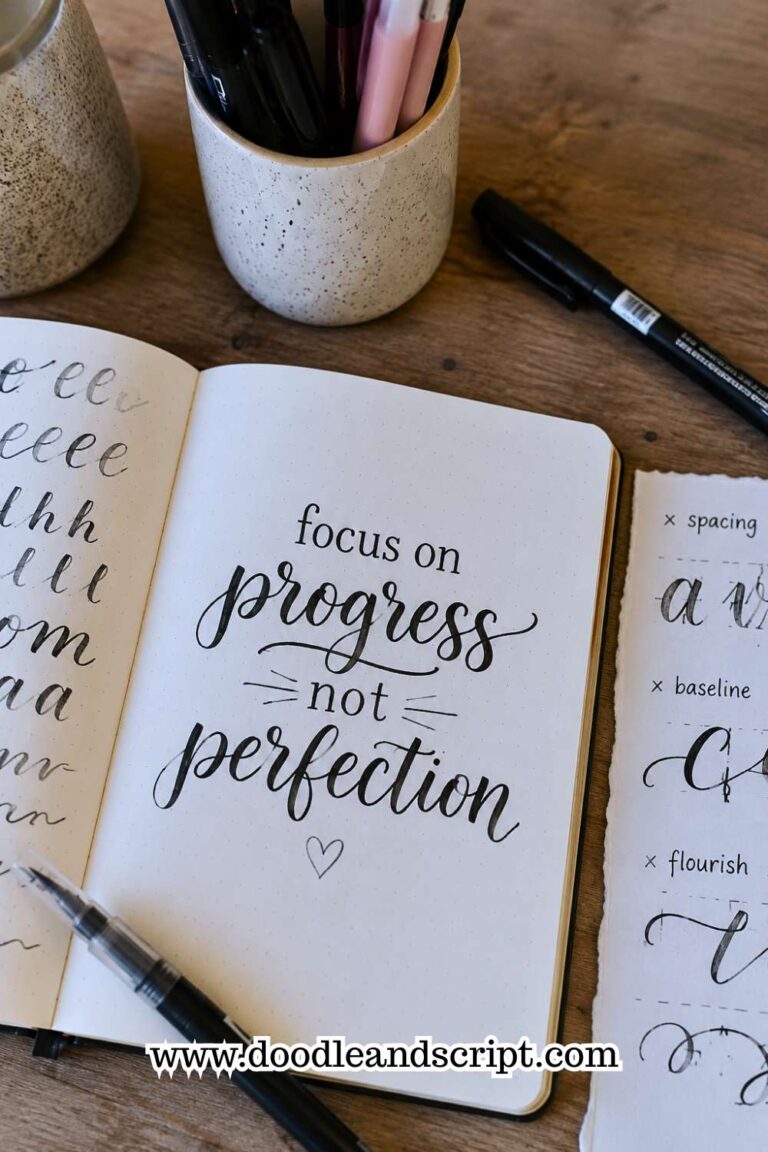
What matters most is slowing down, practicing each step, and giving yourself permission to learn without expecting perfection.
If you’re still unsure where to begin, 17 Hand Lettering Tips Every Beginner Should Know will help you build confidence before your next practice session.
Think of this guide as your first lettering class. Each minute has a clear purpose and builds on the previous one. By the end, you’ll understand the basic strokes, write your first words with more confidence, and have a simple practice routine you can repeat whenever you want to improve.
Easy Hand Lettering Tutorial: Learn in 21 Minutes
Minute 1: Gather Your Supplies

Before you write your first letter, take one minute to gather everything you need. The good news is that you don’t need expensive tools.
A pencil, an eraser, plain paper, and a black pen are enough for this lesson. If you already own a brush pen, you can use it, but it isn’t required.
Working with simple supplies helps you focus on learning instead of worrying about using the “perfect” pen. Many beginners delay practicing because they think they need professional equipment. The truth is that good technique matters far more than expensive tools.
Set up a comfortable space with good lighting. Sit where your arm can move freely across the page. A relaxed workspace makes practice much more enjoyable.
Minute 2: Hold Your Pen Comfortably

Many beginners grip their pen too tightly. After a few minutes, their hand feels tired, and their letters become shaky. Spend this minute finding a comfortable grip instead of squeezing the pen.
Hold your pen firmly enough to control it but lightly enough that your fingers stay relaxed. Your wrist should move naturally as you write. If your hand starts hurting, pause and adjust your grip instead of pushing through the discomfort.
Relaxing your hand helps you create smoother strokes and makes longer practice sessions much easier.
Minute 3: Practice Straight Lines

Straight lines may seem too simple to matter, but they build the control needed for beautiful lettering. Fill a small section of your page with slow vertical and horizontal lines.
Don’t rush to finish the page. Concentrate on making each line smooth from beginning to end. If some lines wobble, that’s completely normal. Simply slow down and try again.
These basic exercises train your muscles and prepare your hand for more detailed letter shapes. For additional practice ideas, 25 Beginner Lettering Exercises That Actually Work includes simple drills that strengthen pen control.
Minute 4: Draw Simple Curves

Now replace straight lines with gentle curves. Draw circles, ovals, loops, and rounded shapes across your page. These movements appear in many letters, so becoming comfortable with them will make lettering much easier.
Keep your movements slow and relaxed. Avoid making tiny, stiff circles. Instead, let your whole hand guide the pen instead of relying only on your fingers.
You don’t need perfectly shaped circles. The goal is to build smoother, more confident movements with every repetition.
Minute 5: Learn Thick and Thin Strokes

If you’re using a brush pen, this is the perfect time to practice changing pressure. Press lightly as you move upward and apply more pressure as you move downward. This creates the thick and thin strokes that make brush lettering so beautiful.
If you’re using a regular pen, don’t worry. Simply pay attention to drawing smooth strokes. You can always learn brush pressure later after building confidence with basic letter shapes.
Spend this minute repeating simple upstrokes and downstrokes until they begin to feel more natural.
Minute 6: Practice Basic Strokes

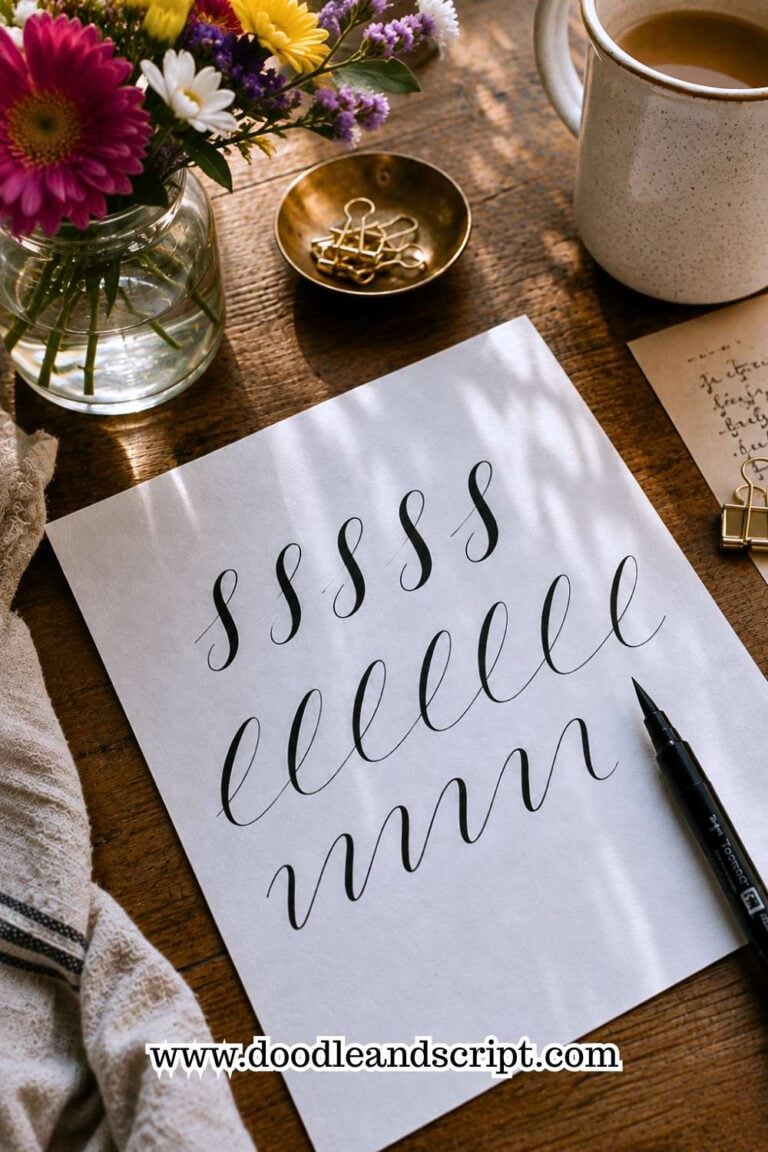
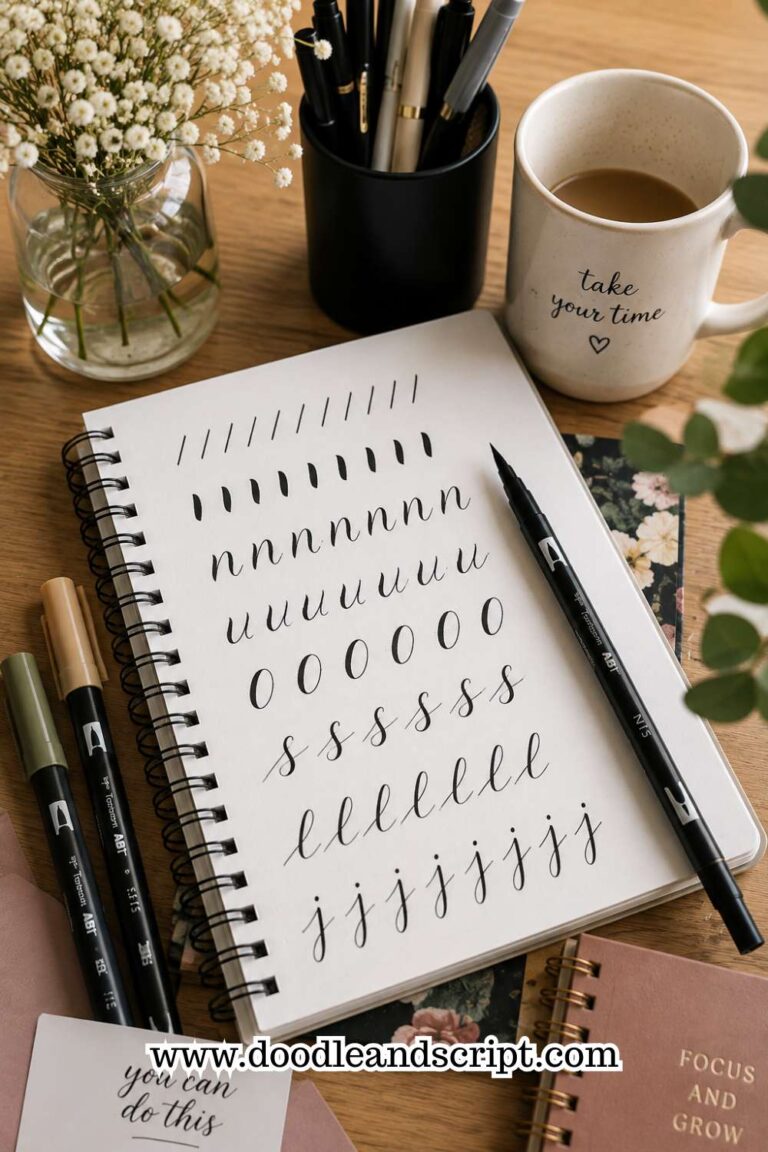
Instead of writing letters immediately, practice the strokes that create them. Draw entrance strokes, exit strokes, underturns, overturns, loops, and compound curves. Nearly every lowercase letter uses one or more of these shapes.
At first, your strokes may look uneven. That’s completely expected. Focus on making each one smoother than the last instead of trying to make them perfect.
Strong basic strokes make learning letters much easier because you’re building the movements before combining them into words.
If you’d like more practice, 15 Hand Lettering Drills That Will Improve Your Skills Fast will help strengthen these essential skills.
Minute 7: Write Your First Letters

Now it’s time to put everything together. Start with simple lowercase letters such as i, l, u, n, and t. These letters use the basic strokes you’ve already practiced, making them easier than more complex shapes.
Write each letter several times before moving to the next one. Don’t rush through the alphabet. Pay attention to the height, spacing, and shape of every letter.
By the end of this minute, you’ll have completed your first real lettering practice. It may not look perfect yet, but you’ve already learned more than many beginners do during their first day.
Minute 8: Practice the Easy Letters Again

Don’t move on to difficult letters too quickly. Spend another minute repeating the letters you already know. Writing the same letters several times helps your hand remember the movements and builds confidence.
Pay attention to the small details. Are your letters the same height? Is the spacing consistent? Are your strokes becoming smoother? Small improvements matter more than writing lots of different letters.
Once these simple letters feel comfortable, learning the rest of the alphabet becomes much easier. If you’re curious about different ways to use your new skills, 11 Hand Lettering Styles Every Beginner Should Try will introduce you to several beginner-friendly styles.
Minute 9: Learn a Few More Letters

Now add a few new lowercase letters such as a, c, e, o, and m. These letters use many of the same strokes you have already practiced, so they won’t feel completely new.
Write each letter slowly. Don’t fill the page just to finish the exercise. Instead, focus on creating neat, consistent shapes. If one letter feels difficult, spend extra time on it before moving to the next.
Remember that steady progress always beats rushing through the alphabet.
Minute 10: Write Your First Simple Words

It’s time to connect your letters into words. Choose short words like cat, home, love, hello, or your own name. Short words help you practice letter spacing without feeling overwhelmed.
Write each word several times. Notice how the letters connect and whether the spacing stays even from beginning to end. If something looks off, slow down instead of starting over immediately.
Writing complete words helps your practice feel more rewarding because you can already see your lettering taking shape. When you’re ready to learn every letter with confidence, How to Master the Hand Lettering Alphabet in 15 Simple Steps is an excellent next lesson.
Minute 11: Slow Down Even More
Many beginners think they need to write faster once they understand the basics. The opposite is true. Slowing down gives your hand more control and allows you to notice mistakes before they become habits.
As you write another word, concentrate on every stroke. Watch your pen move across the page instead of thinking about finishing quickly. Smooth movements create cleaner lettering than rushed ones.
Speed will come naturally as your muscles develop better control. For now, accuracy should always come first.
Minute 12: Check Your Spacing

Good lettering isn’t only about beautiful letters. The spaces between the letters matter just as much. Uneven spacing can make even well-drawn letters look untidy.
Look at the words you wrote during the last few minutes. Are some letters touching while others sit too far apart? Try writing the same word again while giving each letter a similar amount of space.
Don’t worry if it still looks uneven. Learning to see spacing takes practice, and every page helps you improve. If you want to avoid the errors that frustrate most beginners, 15 Common Hand Lettering Mistakes (And How to Fix Them) will help you spot and correct them.
Minute 13: Add a Little Personality

Now that you’ve written a few simple words, experiment with making them look more interesting. Stretch one letter slightly taller, make another a little wider, or add a gentle curve to a stroke.
Keep your changes small. Adding too many decorative details at once can make your lettering harder to read. Your goal is to make the word more attractive without losing its balance.
This small exercise teaches you that lettering is creative. There isn’t only one correct way to draw every letter.
Minute 14: Write the Same Word Three Times

Choose one simple word and write it three times. Try to make each version a little smoother than the last. Compare them carefully and notice where you’ve improved.
You may already see straighter lines, cleaner curves, or better spacing. Even small improvements show that practice is working. Don’t erase your earlier attempts. They remind you how quickly your skills are growing.
If you’d like to continue building on today’s progress, How to Create Modern Hand Lettering in 17 Easy Steps will help you develop a cleaner and more confident lettering style.
Minute 15: Try a Simple Bounce Effect

Now that you’re comfortable writing basic words, try adding a little movement. Write a short word like happy or smile. Let one letter dip slightly below the baseline or rise a little above it. Keep the movement subtle so the word stays easy to read.
Many beginners make every letter bounce. That usually makes the word look messy. Instead, choose only one or two letters to move. This creates a playful look without losing balance.
Bounce lettering becomes easier with practice. Once you understand the basics, How to Create Beautiful Bounce Lettering in 13 Easy Steps will show you how to make your words flow naturally.
Minute 16: Trace Your Best Word

Choose your neatest word from today’s practice. Place another sheet of paper over it if you have one, or rewrite it while looking closely at the original. Try to match the size, spacing, and shape as closely as possible.
Tracing or carefully copying your own work helps you understand what you did well. It also shows you which strokes still need more practice. Many beginners only notice mistakes. Don’t forget to notice your improvements too.
Each time you repeat a well-formed word, you’re strengthening good habits that will make future practice easier.
Minute 17: Write a Short Quote

It’s time to create something more meaningful. Pick a simple quote with only three to five words. It could be “Stay Positive,” “Choose Joy,” or “Dream Big.”
Writing a short quote teaches you how to keep several words balanced on the page. Focus on even spacing between both the letters and the words. Don’t worry about adding decorations yet. Clean lettering always looks better than crowded lettering.
If you enjoy lettering inspirational sayings, 19 Beautiful Ways to Letter Quotes Like a Pro will give you plenty of ideas for your next projects.
Minute 18: Add a Simple Shadow

Take one of the words you wrote earlier and add a light shadow to one side of each letter. A simple shadow gives your lettering more depth without making it difficult to draw.
Keep the shadow the same distance from every letter. If the shadow changes direction, the word may look uneven. Small details like this help your lettering look cleaner and more professional.
Remember that shadows should support your lettering, not distract from it. Practice with one word before trying a full quote.
Minute 19: Look for One Thing to Improve
Before moving on, study your page for a minute. Instead of finding ten mistakes, choose only one area to improve. Maybe your spacing needs work. Perhaps your curves feel uneven. You might notice that some letters are taller than others.
Focusing on one improvement keeps practice encouraging instead of overwhelming. Every great lettering artist improved one skill at a time. You can do the same.
If you want to keep building stronger daily habits, 21 Proven Ways to Improve Your Hand Lettering Faster offers practical advice that fits easily into your routine.
Minute 20: Practice Your Name
Your name is one of the best words to practice because you’ll probably letter it often. Write it several times using everything you’ve learned today. Slow down, keep your spacing even, and make each version a little cleaner than the last.
Don’t compare today’s result with professional artists. Compare it with the first word you wrote during Minute 10. You’ll probably notice smoother strokes and better control already.
Keep this page. Looking back at it in a few weeks will remind you how much progress regular practice can bring.
Minute 21: Celebrate Your Progress
Congratulations! You just completed your first Easy Hand Lettering Tutorial from start to finish. In only 21 minutes, you’ve practiced basic strokes, learned simple letters, written words, added creative details, and finished a complete beginner session.
Your lettering won’t be perfect after one lesson, and that’s completely normal. Real improvement comes from repeating simple exercises consistently. The important thing is that you’ve built a practice routine you can return to whenever you have a few spare minutes.
If you need more structured practice, 19 Beginner Hand Lettering Practice Sheets You’ll Actually Use will give you plenty of exercises to continue improving.
Final Thoughts
Learning hand lettering doesn’t have to feel complicated. When you break it into small steps, progress becomes much easier to see. This Easy Hand Lettering Tutorial proves that even a short practice session can teach valuable skills and build confidence.
Don’t worry if every letter isn’t perfect yet. Every page you complete strengthens your pen control, improves your spacing, and helps your hand become more comfortable with each stroke. The key is to keep practicing instead of waiting until you feel ready.
Come back to this Easy Hand Lettering Tutorial whenever you want a quick practice session. As your confidence grows, explore 23 Easy Tricks to Create Aesthetic Hand Lettering to add more creativity to your work. With patience and consistency, you’ll be amazed by how much your lettering improves over time.