17 Hand Lettering Tips Every Beginner Should Know
Disclosure: Some of the links in this post are affiliate links. This means if you click on the link and purchase an item, I will receive an affiliate commission at no extra cost to you.
If your hand lettering looks nothing like the beautiful pieces you keep saving on Pinterest, I get it. I have stared at my own pages and wondered why every letter looked awkward.
My lines felt shaky, my spacing looked uneven, and every word seemed a little off. At first, I thought I simply was not creative enough.
Then I learned something that changed everything. Great lettering comes from practicing the right habits, not from having perfect handwriting.
These Beginner Hand Lettering Tips will help you build those habits from the very beginning. If you are completely new, don’t miss How to Learn Hand Lettering Step-by-Step (Even If You Can’t Draw) before you continue.
The funny thing is that most beginners spend hours practicing the wrong things. I did exactly that. I filled page after page with random words and expected huge improvements. Nothing really changed.
Once I focused on simple techniques instead of endless practice, I noticed real progress. My letters became cleaner. My strokes looked more confident. Best of all, I actually enjoyed sitting down with my pens again.
That is exactly what I want for you. This guide is not full of fancy art terms or confusing rules. Instead, I will walk you through 17 practical tips that you can start using today.
Some will improve your pen control. Others will help your letters look balanced and neat. A few may completely change how you practice.
By the end of this guide, you will know what truly matters, what you can ignore, and how to keep getting better every time you open your notebook.
17 Hand Lettering Tips Every Beginner Should Know
1. Stop Chasing Perfect Lettering
I know how easy it is to compare your work with artists online. You scroll through Pinterest and see beautiful quotes with perfect spacing and smooth strokes. Then you look at your notebook and wonder what went wrong.
The truth is that you are comparing your first chapter with someone else’s hundredth. That comparison will only make you feel discouraged.
Every skilled lettering artist started with shaky lines and uneven letters. They simply kept showing up to practice. Their progress came from consistency, not perfection.
So celebrate every small improvement you notice. Maybe your curves look smoother today. Maybe your spacing feels more balanced. Those little wins matter because they show that you are learning.
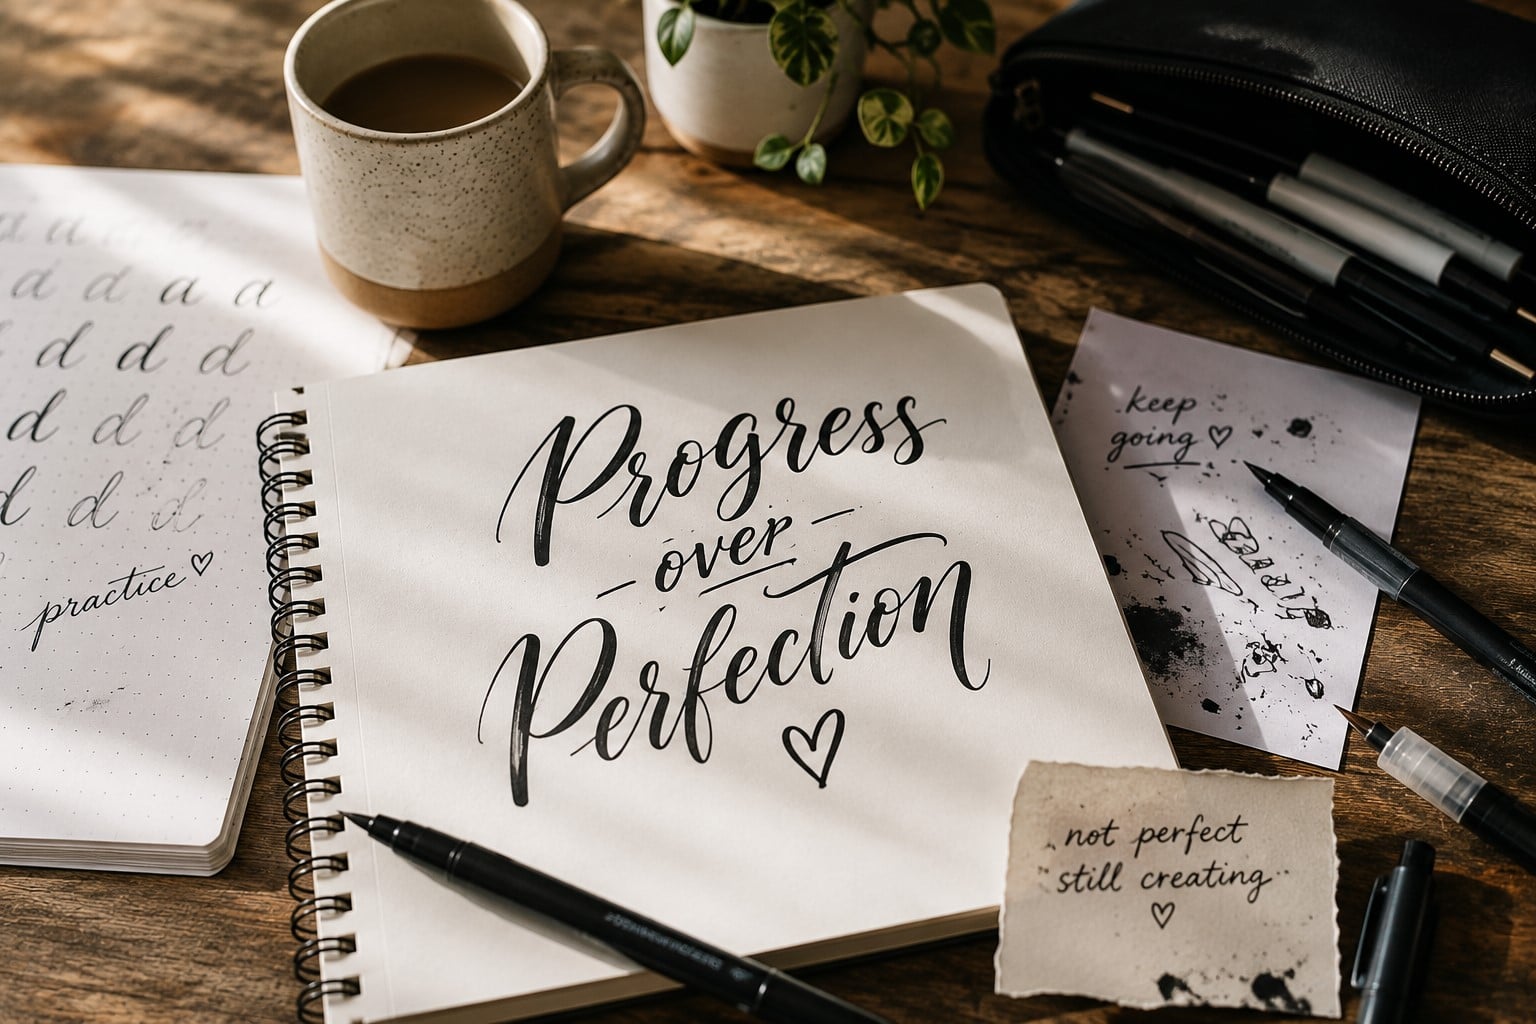
One habit that helped me stay motivated was keeping every practice page. Looking back after a few weeks showed me how much I had improved.
If you ever feel stuck, my guide on 21 Proven Ways to Improve Your Hand Lettering Faster will give you practical ways to keep moving forward without feeling overwhelmed.
2. Master the Basic Strokes First
I completely understand the excitement of wanting to letter beautiful quotes right away. That excitement is often the reason people buy their first brush pen. Still, jumping into long words before learning the basics usually leads to frustration.
Think about learning to cook. You would not prepare a complicated meal before learning simple recipes. Hand lettering works the same way.
Every beautiful alphabet comes from a few basic strokes. Once those strokes become natural, creating letters feels much easier.
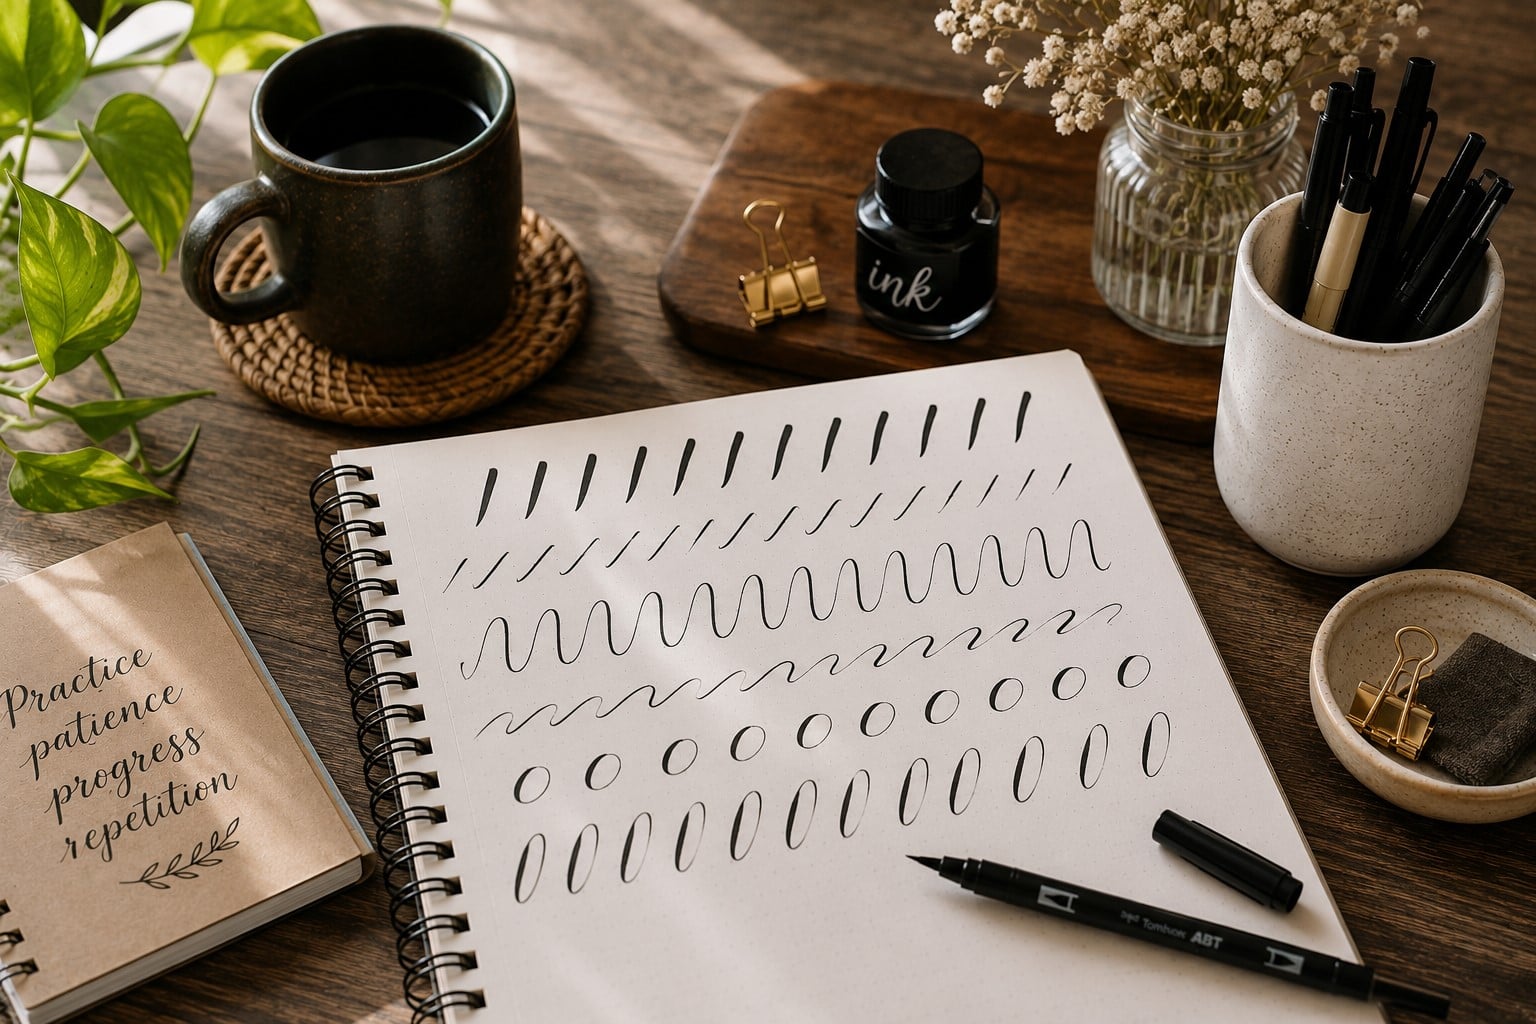
Spend time practicing entrance strokes, exit strokes, underturns, overturns, compound curves, and ovals. They may look repetitive, yet they teach your hand how to control the pen. After enough practice, your muscles begin to remember each movement without much effort.
If you are not sure which exercises to practice, I recommend starting with 25 Beginner Lettering Exercises That Actually Work.
The simple drills will help you build confidence before moving to more advanced projects.
3. Slow Down and Let Your Hand Learn
When I started lettering, I believed practicing faster would help me improve faster. I filled pages with words as quickly as possible.
Sadly, my letters looked messy every single time. My spacing changed from word to word, and my downstrokes looked different across the page.
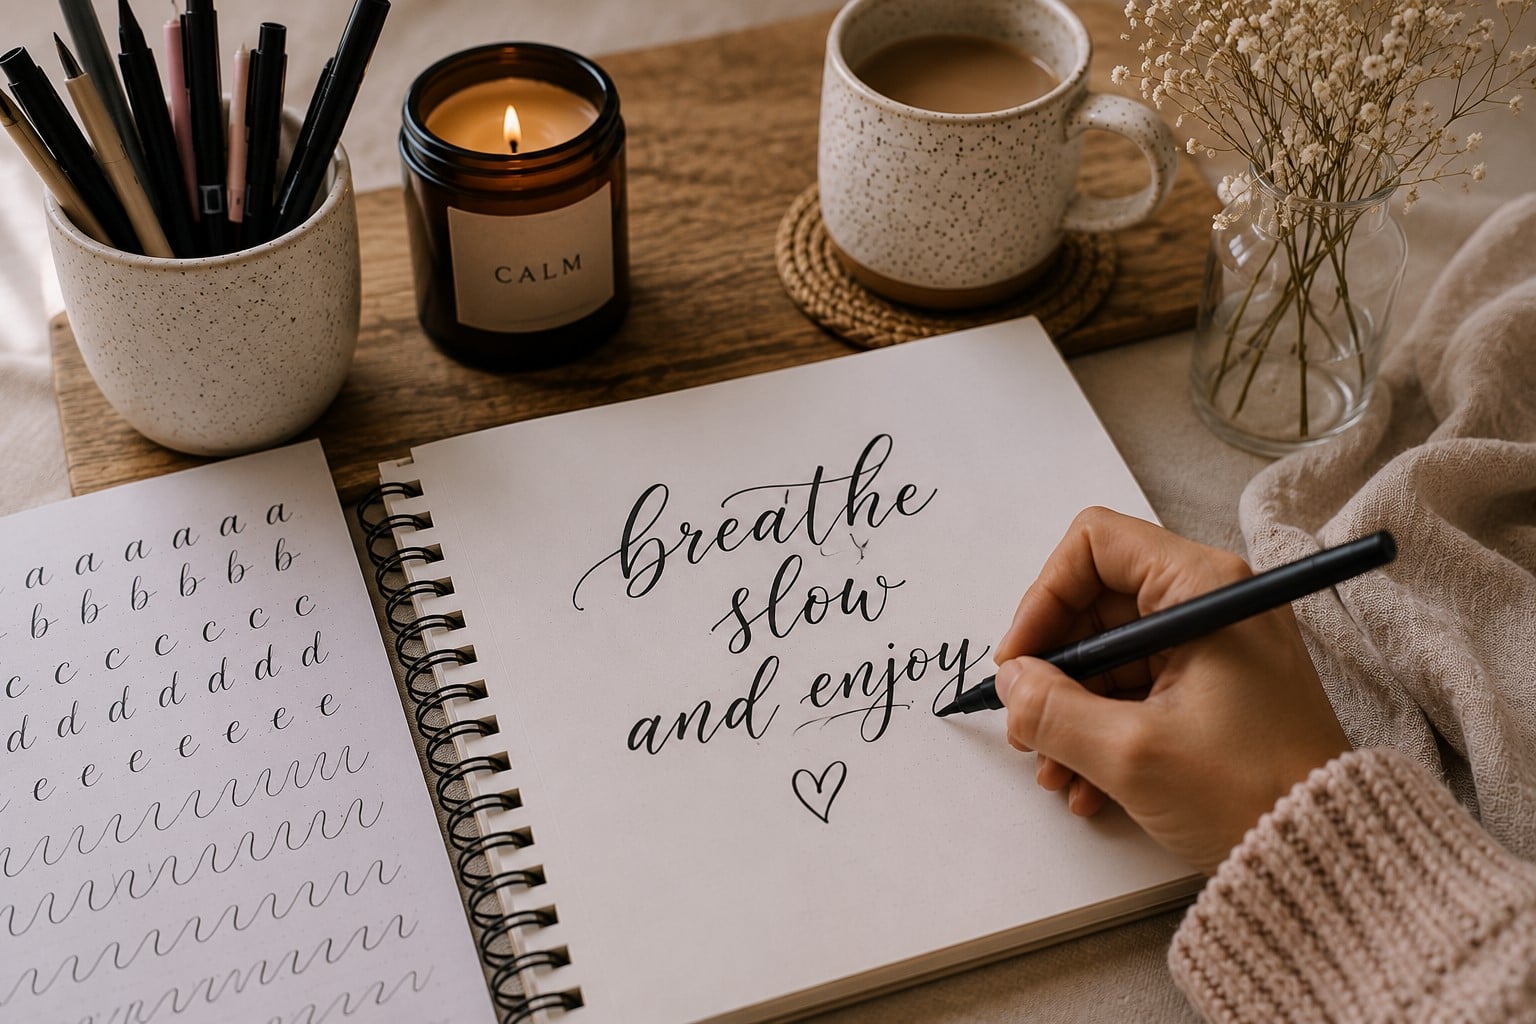
Everything changed when I slowed down. Instead of rushing through a quote, I focused on one stroke at a time. I watched how the pen moved across the paper.
I paid attention to the pressure on every downstroke. Then I lifted the pen carefully before starting the next letter.
At first, this slower pace felt awkward. Soon, it started feeling natural. My letters became cleaner because my hand finally had enough time to build muscle memory. Speed came later without forcing it.
If you want structured exercises that improve control without taking hours, take a look at 15 Hand Lettering Drills That Will Improve Your Skills Fast.
4. Relax Your Grip and Your Whole Body
Try holding your pen with a relaxed grip. You want enough control to guide the pen, but not so much pressure that your hand feels stiff. Your fingers should stay comfortable throughout the practice session.
Now pay attention to the rest of your body. Relax your shoulders and keep both feet comfortably on the floor. Sit close enough to your desk so your arm moves freely. These small adjustments make a surprising difference during longer practice sessions.
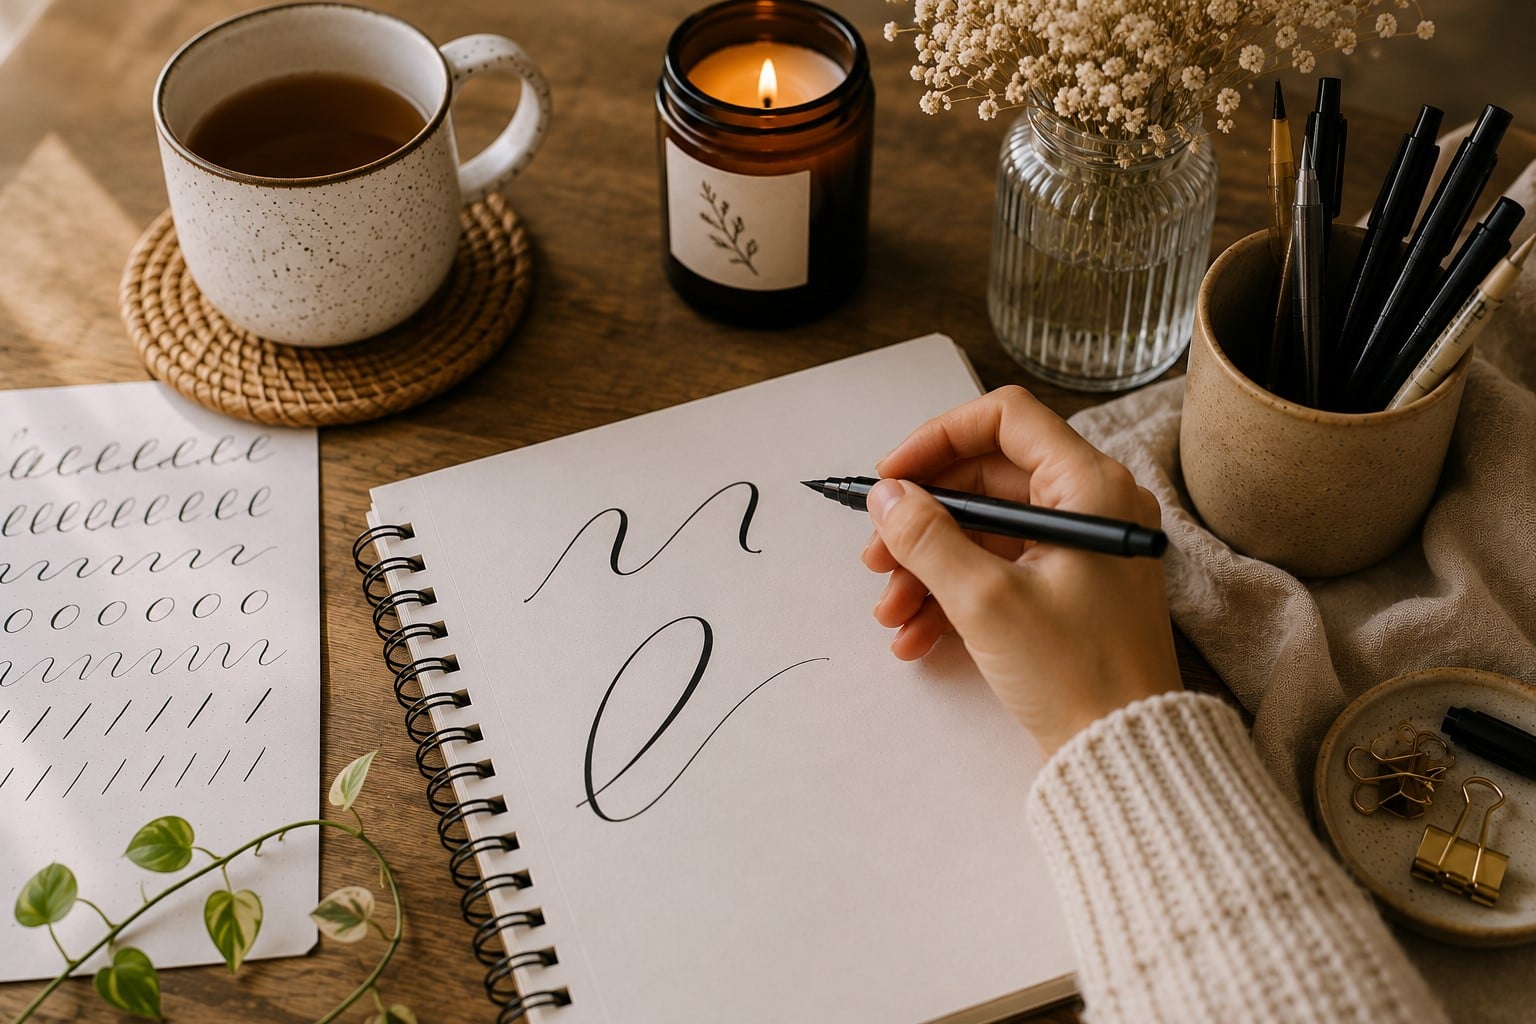
Another helpful habit is taking short breaks every twenty minutes. Stretch your fingers, rotate your wrists, and shake out any tension before continuing.
Those tiny breaks keep your hand fresh and help you practice longer without discomfort.
Building pen control takes time, but the right exercises make the journey easier. That is exactly why I put together 17 Lettering Exercises That Instantly Improve Pen Control for beginners who want steadier strokes.
5. Practice a Little Every Day
One question I hear all the time is, “How long should I practice each day?” My answer surprises many beginners. You do not need hours of free time to improve. You simply need a routine you can actually follow.
Even ten or fifteen focused minutes each day can produce amazing progress. Small practice sessions keep the skill fresh in your mind. They also fit into busy schedules much better than long weekend sessions.
I like breaking my practice into simple steps. First, I spend a few minutes warming up with basic strokes. Next, I practice difficult letters.
Then I write short words before ending with a simple quote. This routine keeps every session focused and enjoyable.
Some days your lettering will look amazing. Other days it may feel like nothing improved. Do not let those difficult days stop you.
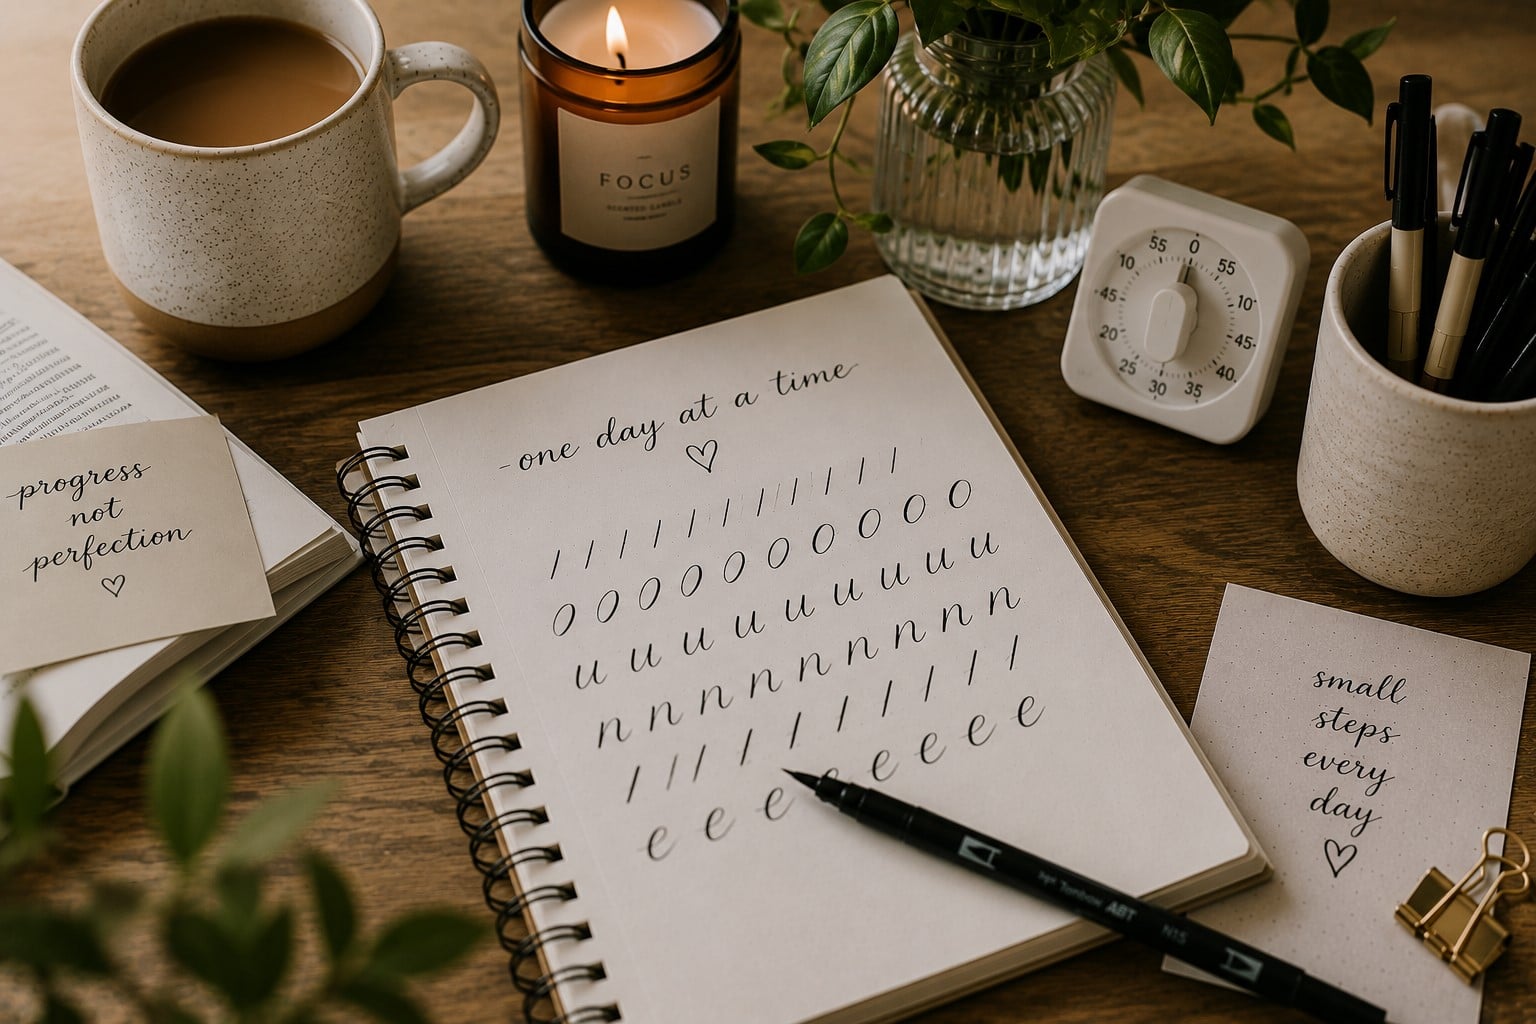
Growth does not happen in a straight line. Sometimes your biggest improvements appear after weeks of steady practice.
These Beginner Hand Lettering Tips become much easier to follow when you remove the pressure to be perfect. Focus on building small daily habits instead. Before long, you will look back and realize how far you have come.
If you ever run out of ideas for your daily routine, 21 Hand Lettering Drills You Should Practice Every Week will help you keep every practice session fresh and productive.
6. Pay Attention to Letter Spacing
Good lettering is not only about beautiful letters. The space around those letters matters just as much. I learned this lesson after filling pages with words that looked crowded. My individual letters looked fine, yet the finished word still felt messy.
Instead of focusing only on each letter, start looking at the spaces between them. Those spaces should feel balanced from beginning to end. One large gap beside a tiny gap can make an entire word look uneven.
A simple trick helped me improve quickly. After finishing a word, I stepped back for a few seconds before looking at it again. Fresh eyes made uneven spacing much easier to notice. Then I circled the areas that needed more attention during my next practice session.
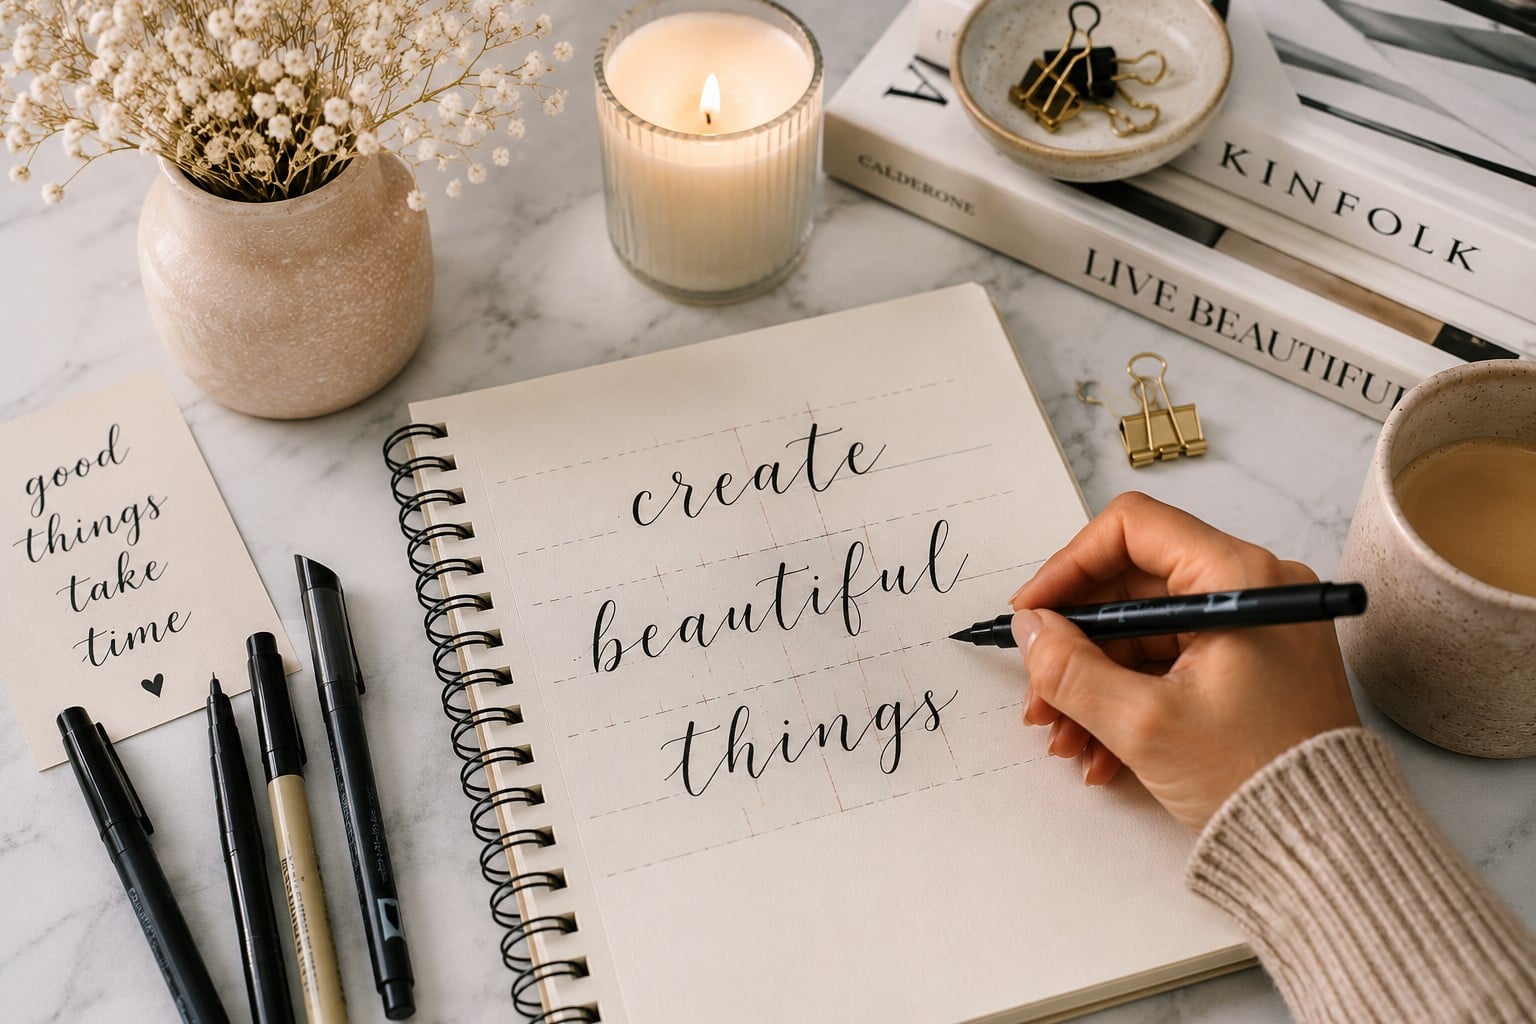
You can also practice writing the same word several times. Change the spacing a little each time. Soon, you will notice which version looks the most balanced. Your eyes will gradually learn what feels right.
If spacing continues to challenge you, learning more about letter structure will make a huge difference. My guide on How to Master the Hand Lettering Alphabet in 15 Simple Steps explains why certain letters naturally need more or less space.
7. Learn How Brush Pen Pressure Works
The truth is that pressure creates beautiful lettering. Even a great pen cannot fix poor technique.
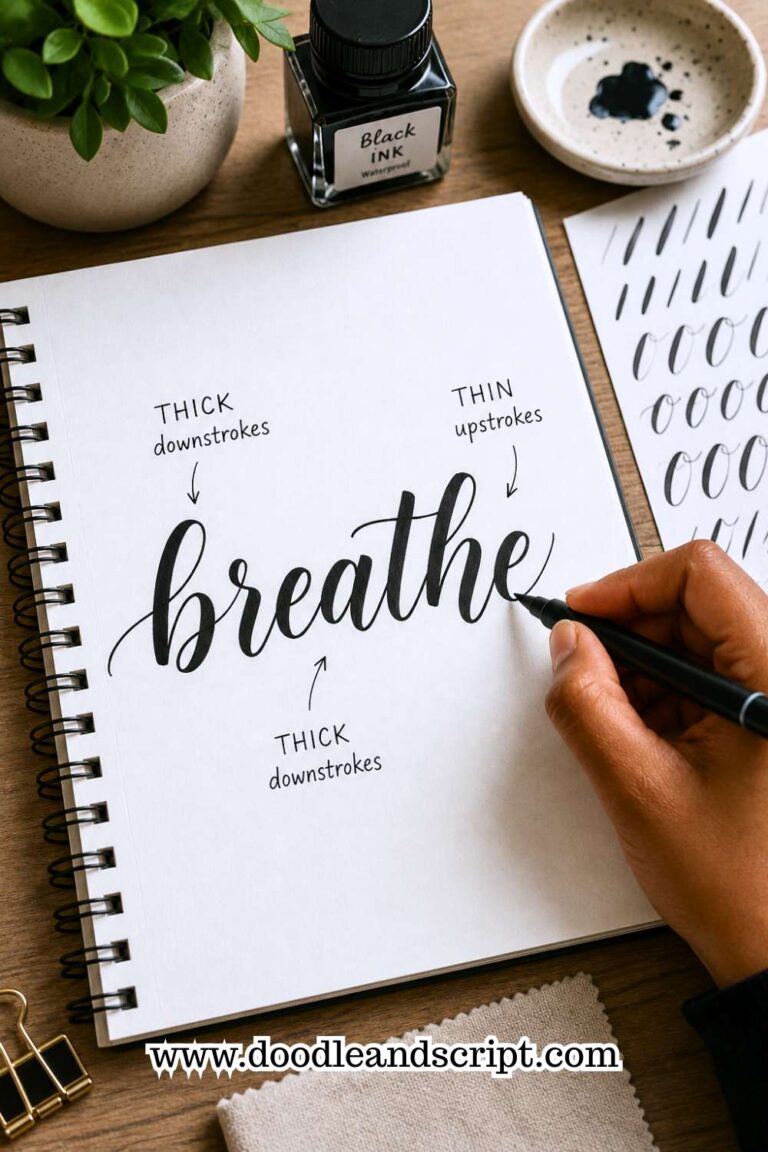
The rule is actually very simple. Apply light pressure when moving upward. Then press a little harder when moving downward. That contrast creates the thick and thin strokes that make hand lettering stand out.
Do not worry if your first attempts look uneven. Almost everyone struggles with pressure control in the beginning. The more you repeat those movements, the more natural they become.
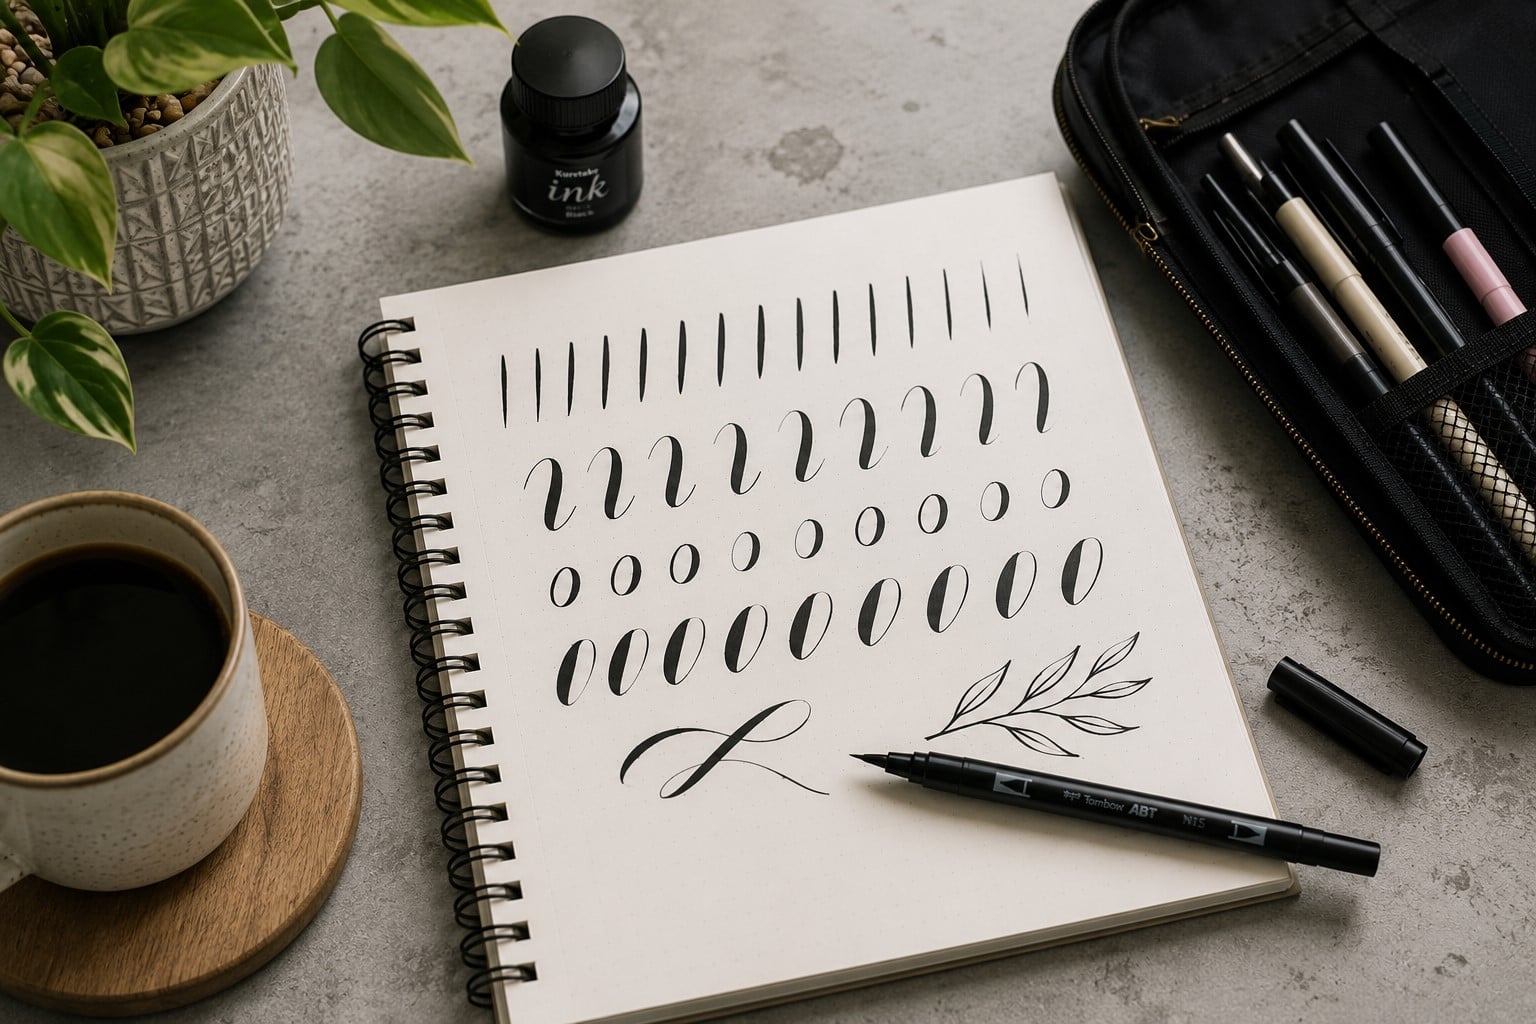
One mistake I often see is pressing too hard during every stroke. That habit quickly wears out your brush pen. It also makes every letter look heavy instead of elegant. Gentle movements give you much better control.
Take your time with each stroke until the motion feels comfortable. Your hand will eventually know how much pressure to use without thinking about it.
If you want a complete breakdown of this technique, you will find plenty of practical examples in How to Create Perfect Thick and Thin Strokes in 11 Steps.
8. Keep Your Letter Size Consistent
Have you ever finished a quote and noticed that some letters looked much taller than others? I smiled the first time I realized I had done exactly that. My words looked like they belonged to different alphabets.
Consistency gives your lettering a polished appearance. It helps every word feel neat and intentional. The easiest way to improve this skill is by using guidelines during practice.
Draw light pencil lines before you begin. You can also use dot grid paper or printable worksheets. Those guides help your letters stay the same height across the page.
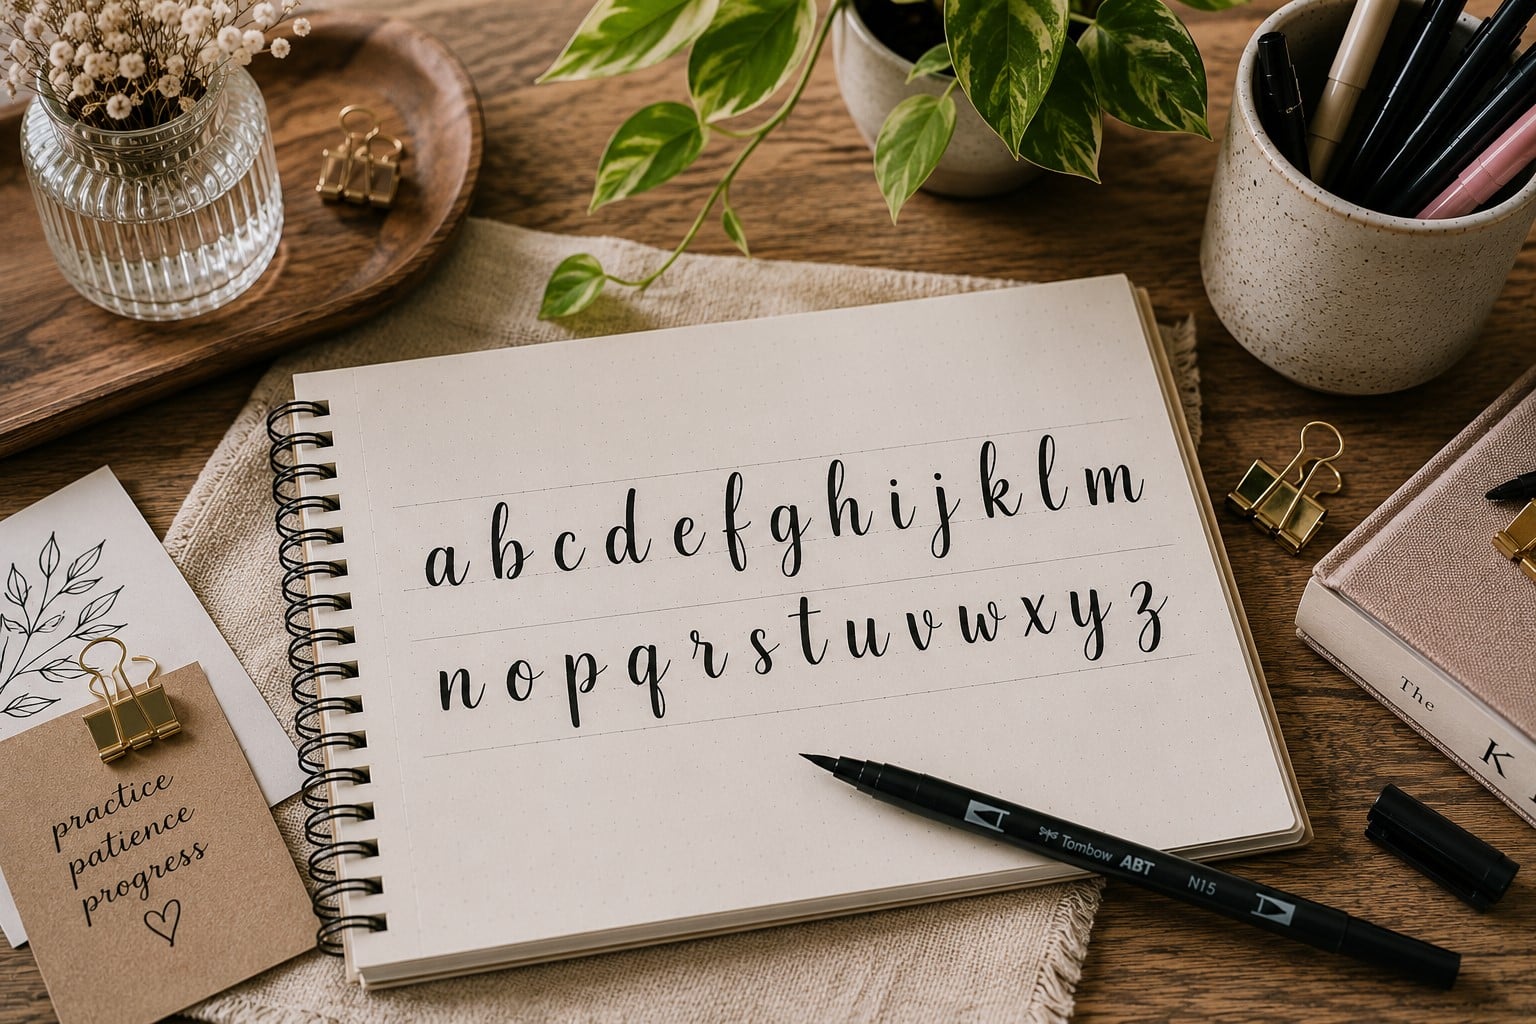
As you practice, you will depend on the guidelines less and less. Your eyes will naturally begin spotting letters that look too large or too small.
Do not rush this process. Consistency develops over time through repeated practice. Each page teaches your eyes what balanced lettering looks like.
If your letters still feel uneven, you may enjoy reading 13 Simple Tricks to Improve Your Lettering Consistency. It shares practical habits that make every practice page look cleaner.
9. Experiment With Different Lettering Styles
One of the most enjoyable parts of hand lettering is discovering your own style. You do not need to copy one artist forever. Instead, explore different looks until you find the ones that feel natural.
Try modern lettering for a clean and relaxed appearance. Experiment with playful lettering for greeting cards. Then test elegant scripts when creating quotes or invitations. Each style teaches you something different about letter shapes and composition.
At first, your work may look like a mix of several styles. That is completely normal. Most lettering artists develop their own style by borrowing ideas from many different sources before creating something unique.
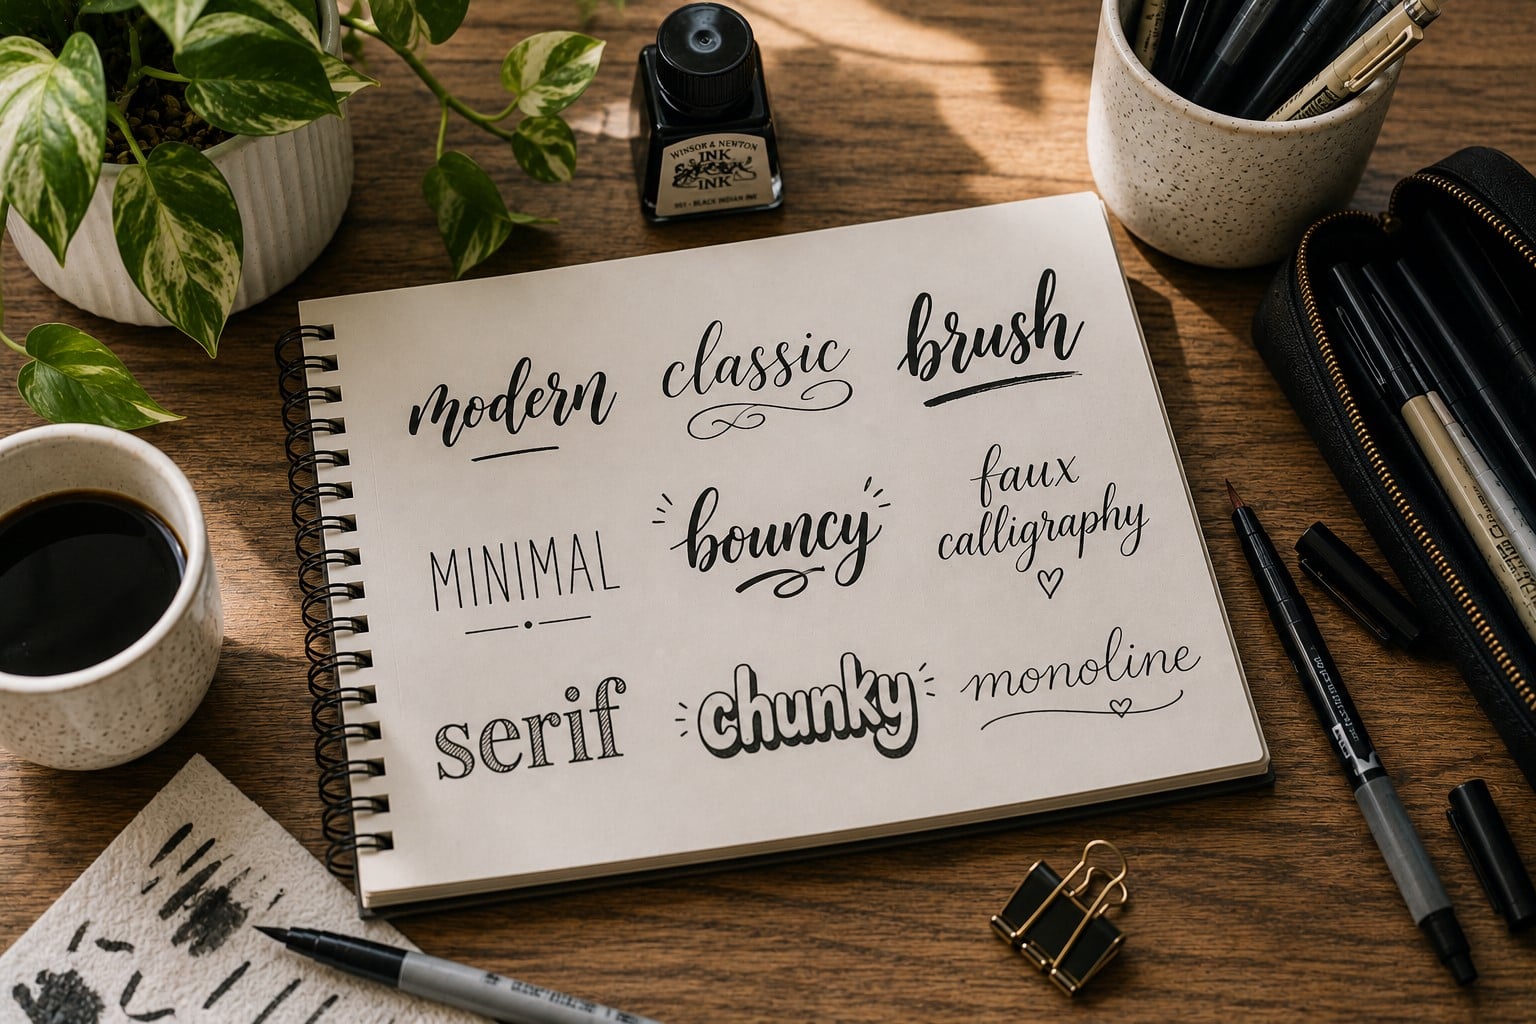
Keep a folder filled with lettering inspiration. Save designs that catch your attention. Later, study what you like about each one instead of copying it exactly.
Maybe you enjoy the spacing. Maybe you like the loops or the simplicity. Those observations help you build your own creative voice.
If you are not sure where to begin, 11 Hand Lettering Styles Every Beginner Should Try will introduce you to several styles that are fun and beginner-friendly.
10. Stop Erasing Every Tiny Mistake
It may surprise you to know that some of your best learning happens because of mistakes. I used to erase every letter that looked slightly different.
Soon, I spent more time correcting pages than actually practicing. That habit slowed my progress because I became afraid of making mistakes.
Now I do something completely different. I finish the entire page first. Then I look back and circle only the areas that need improvement. That approach helps me notice patterns instead of isolated mistakes.
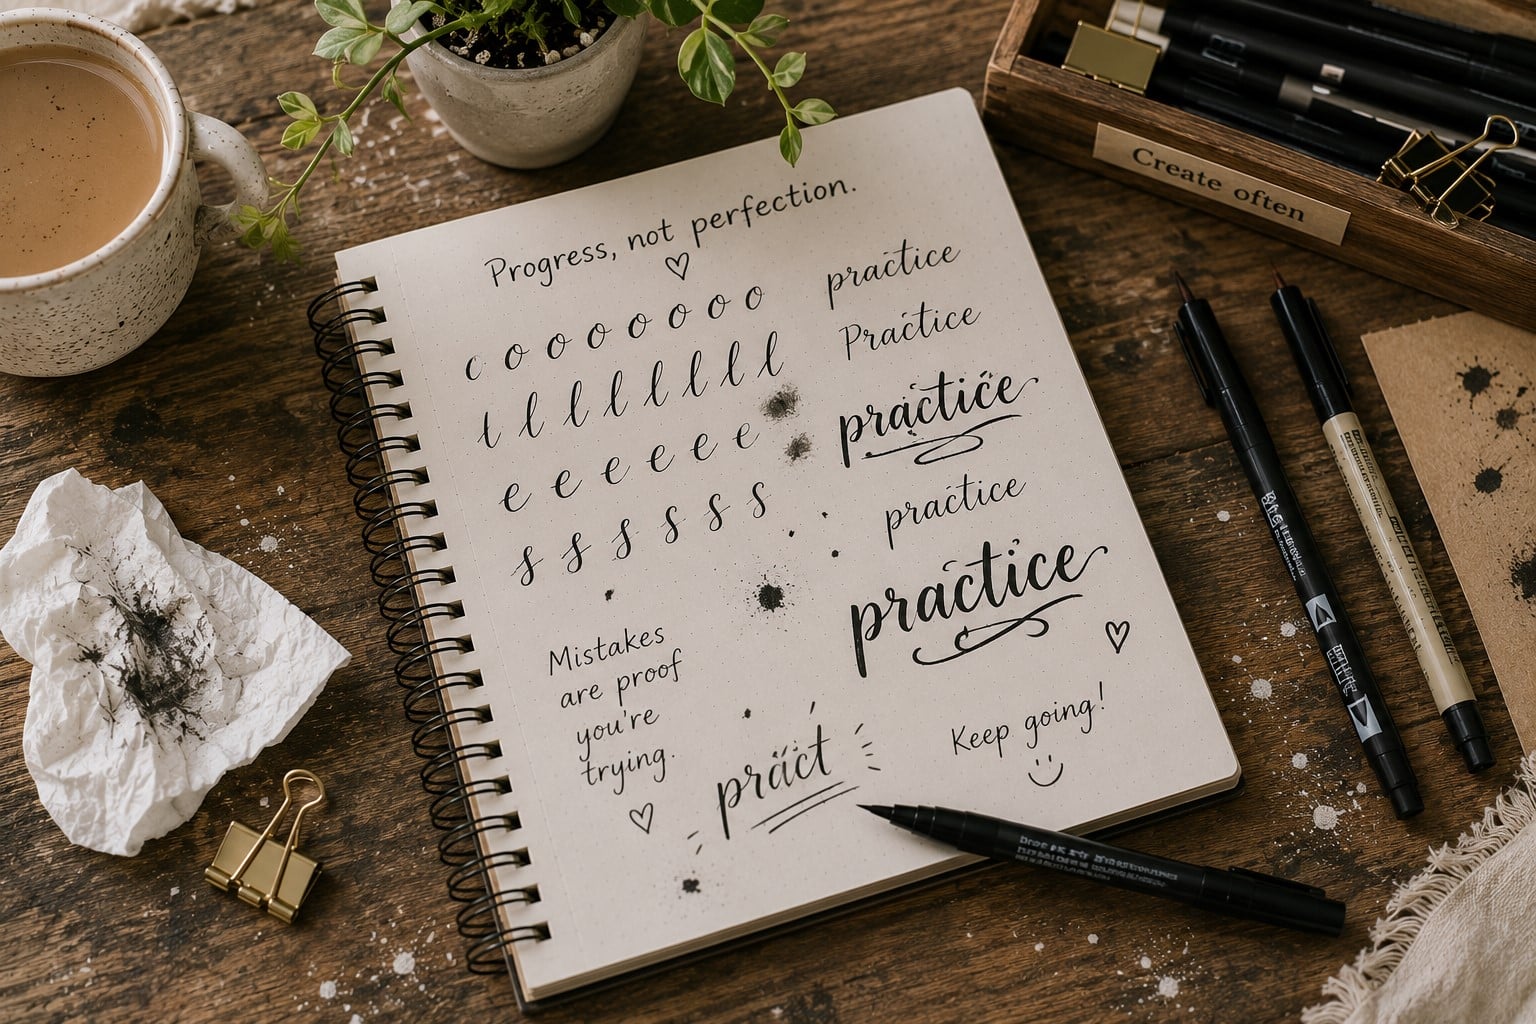
Maybe every capital letter needs work. Maybe your spacing changes near the end of each word. Those patterns become much easier to identify when you stop erasing every few seconds.
Remember that practice pages are not final artwork. They exist to teach you something new. A notebook full of mistakes often teaches more than a notebook filled with perfect copies.
If you want to avoid the mistakes that slow down many beginners, take a look at 15 Common Hand Lettering Mistakes (And How to Fix Them) before your next practice session.
11. Choose the Right Supplies, But Do Not Obsess Over Them
Many beginners believe they need expensive supplies before they can create beautiful lettering. The truth is that good tools make lettering more enjoyable, but they do not replace practice.
A beginner-friendly brush pen, smooth paper, a pencil, and an eraser are enough to build your skills. As your confidence grows, you can slowly explore different pens and papers.
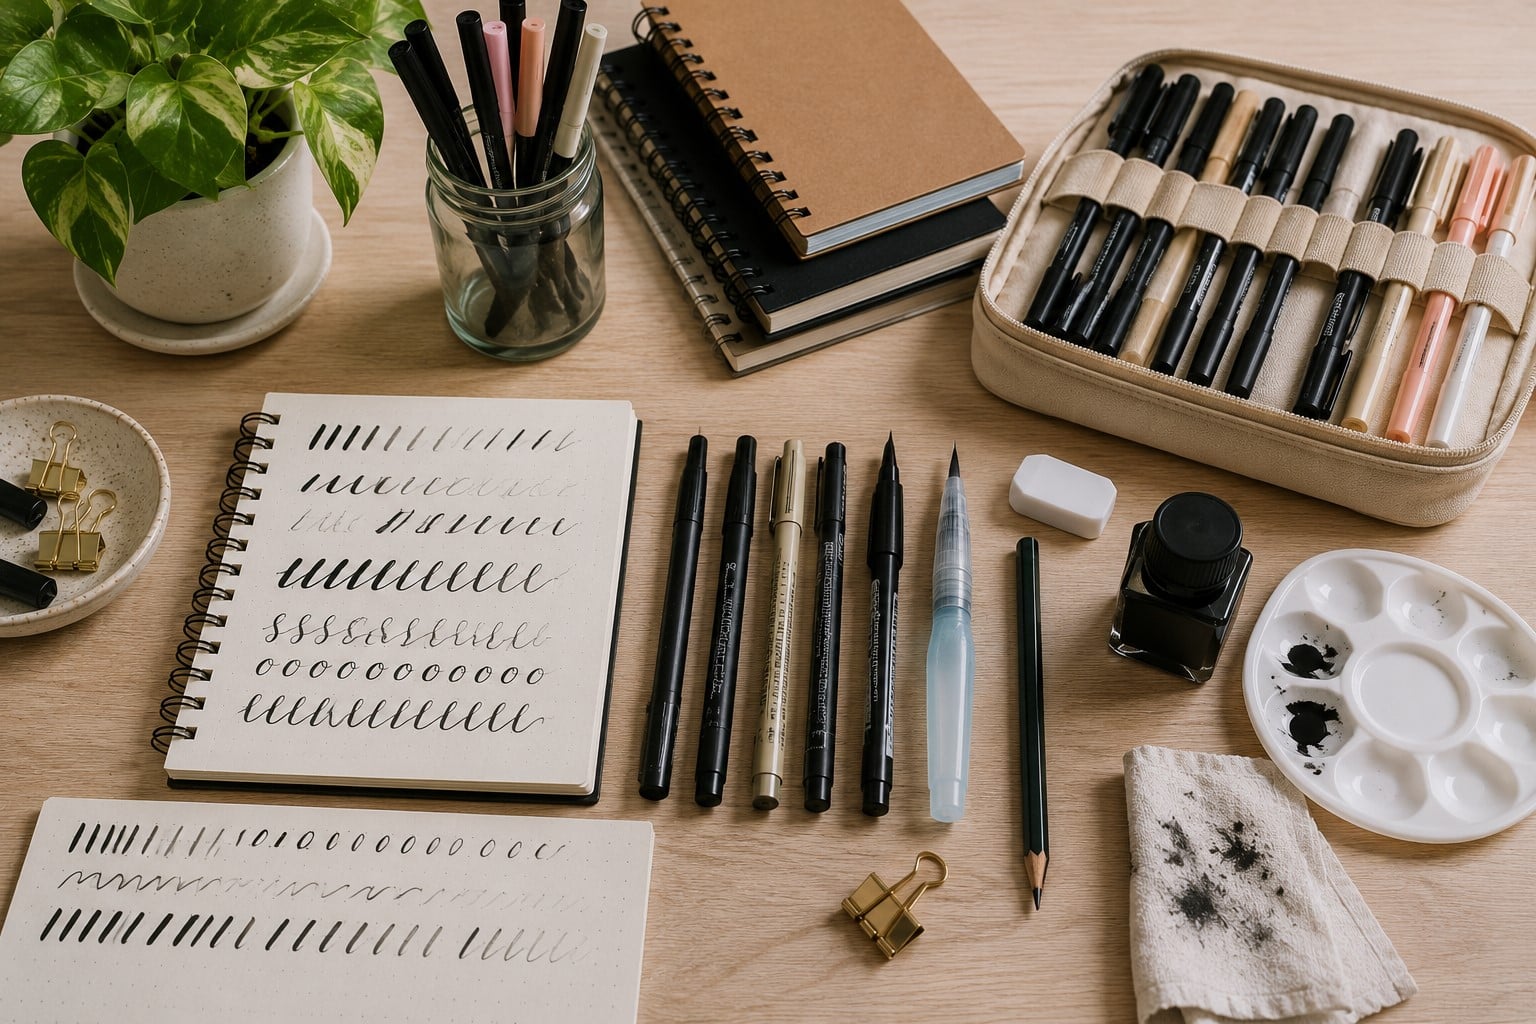
Try not to buy every pen you see online. Each brush pen feels slightly different, and switching tools every day makes it harder to develop consistency.
Pick one or two pens that feel comfortable and spend time learning how they respond to different amounts of pressure.
These Beginner Hand Lettering Tips work because they focus on your technique first. Once your skills improve, you will notice that almost any quality brush pen produces beautiful results.
If you are ready to put your new skills into practice, try following my Easy Hand Lettering Tutorial: Learn in 21 Minutes. It walks you through a simple project that beginners can finish without feeling overwhelmed.
12. Practice Real Words Instead of Random Letters
Repeating the alphabet has its place, but sooner or later you need to move beyond individual letters. Writing real words teaches your hand how letters connect. It also helps you spot spacing problems that never appear when practicing one letter at a time.
Choose words you enjoy seeing every day. You could write your favorite quotes, encouraging affirmations, or the names of people you love.
Practicing meaningful words keeps every session interesting because you are creating something instead of repeating drills.

I also recommend writing the same word several times on one page. Each attempt teaches you something new. Maybe the second version has smoother curves. Maybe the fourth one has better spacing. Compare them and notice what changed.
As your confidence grows, try writing longer phrases. They challenge your consistency and prepare you for future projects like greeting cards, journals, and wall art.
Once you feel comfortable with words, you will have even more fun exploring 27 Easy Hand Lettering Ideas Every Beginner Should Try. Those simple projects help you turn practice into something creative.
13. Develop Your Own Style Instead of Copying Everyone
Every beginner copies someone at first. There is nothing wrong with that because copying helps you understand letter shapes and composition. The problem starts when you never move beyond imitation.
As you practice, pay attention to the little details you naturally enjoy. Maybe you like tall ascenders. Maybe rounded letters feel more comfortable.
You might even prefer simple layouts instead of decorative flourishes. Those preferences slowly become your personal style.
Do not rush this stage because your style grows with experience. It changes as your confidence grows too. The lettering you create six months from now will probably look different from today’s work, and that is a good thing.
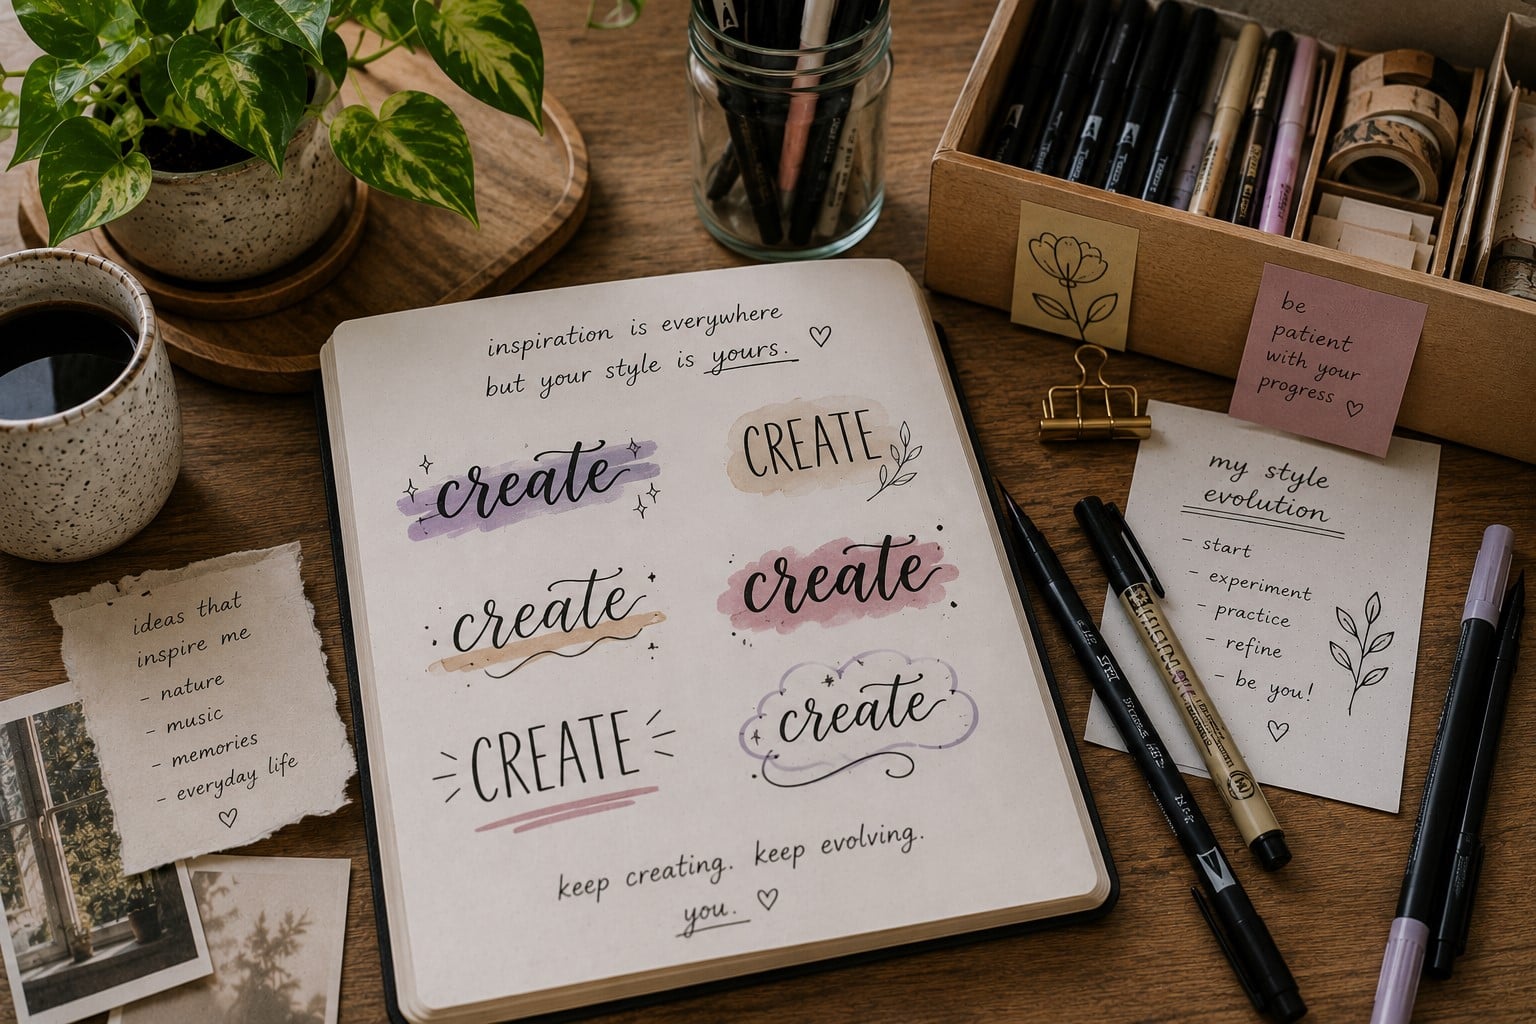
Keep collecting inspiration, but always ask yourself why you like a certain piece. Learning to observe instead of simply copying will help you become a stronger lettering artist.
If modern lettering catches your attention, my guide on How to Create Modern Hand Lettering in 17 Easy Steps will help you create clean and stylish designs without making them look complicated.
14. Learn How to Arrange Words on the Page
Beautiful lettering is not only about drawing attractive letters. The way you arrange those letters matters just as much. I learned this after creating a quote that looked great on one side of the page and completely empty on the other. The lettering itself was fine, but the layout felt awkward.
Before you touch your brush pen, spend a minute planning your design. I like sketching a few quick boxes with a pencil before deciding where each word should go. This simple step helps me avoid squeezing the last few words into a tiny space.
Think about which word deserves the most attention. You can make it slightly larger or use a different lettering style to create a clear focal point.
Then keep the remaining words simple so they support the overall design instead of competing for attention.
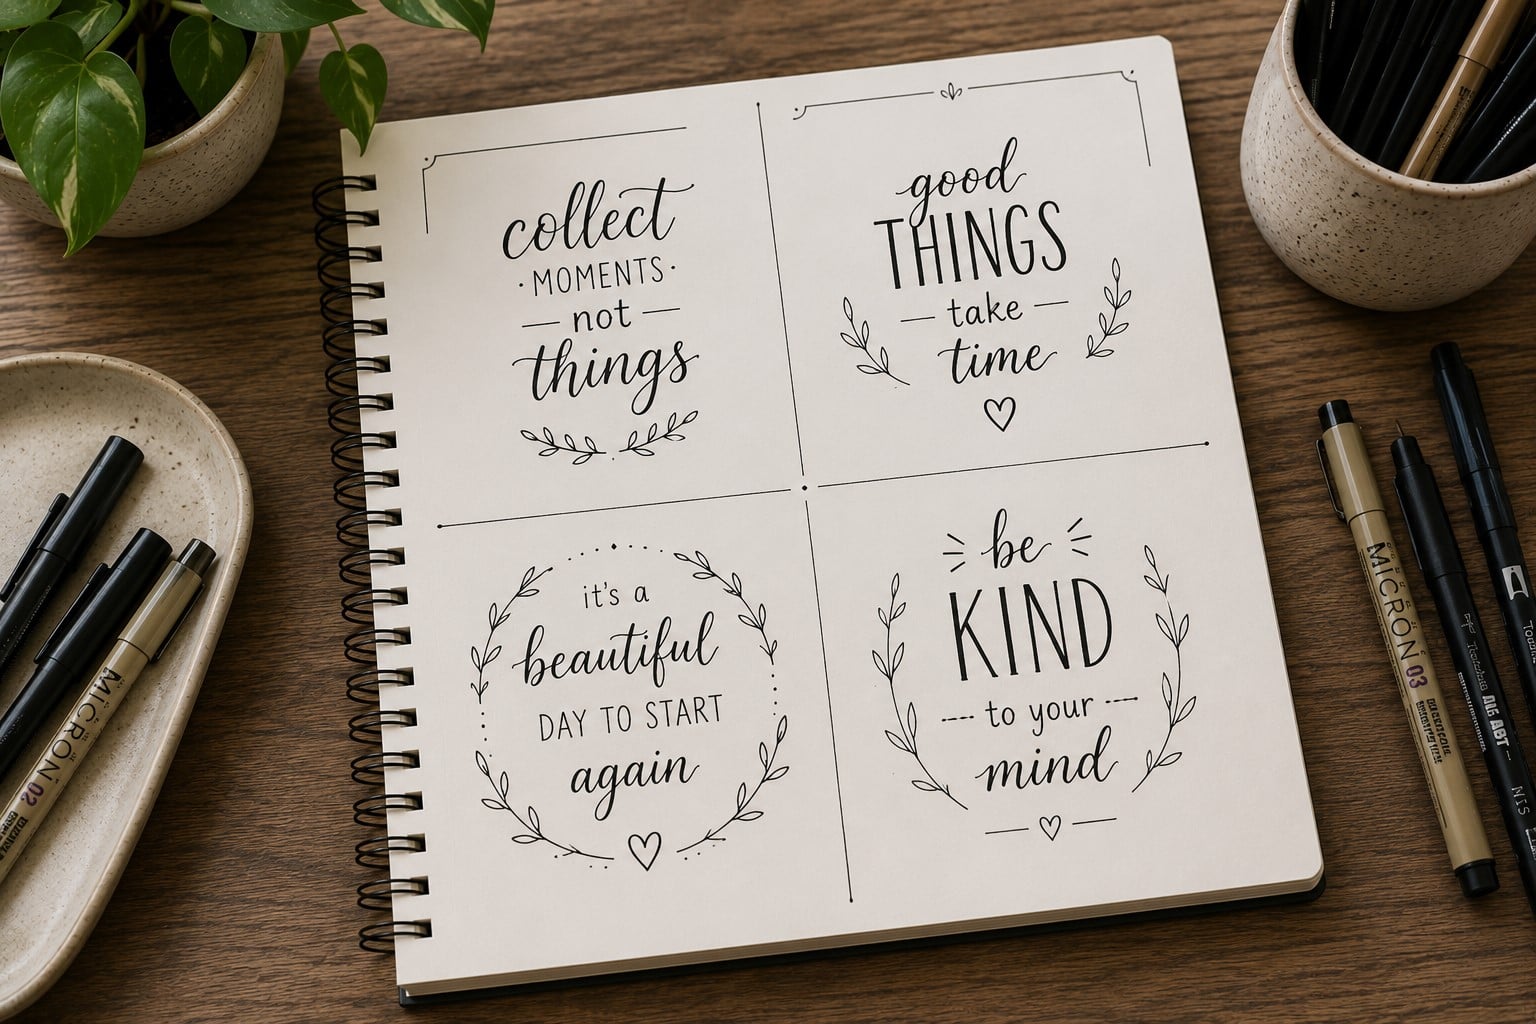
White space is your friend, not your enemy. Leaving empty space around your lettering makes the finished piece feel balanced and easier to read. Many beginners try to fill every corner of the page, but that often makes the design look crowded.
As your confidence grows, experiment with different layouts for the same quote. You will quickly discover that changing the arrangement can completely transform the final piece.
If you want more ideas, 13 Secrets to Creating Beautiful Hand Lettering Compositions shares simple techniques that make every project feel more polished.
15. Make Time for Fun Projects
Practice pages are important, but they should not become your entire lettering journey. Every now and then, use your growing skills to create something you can actually enjoy or share. Those little projects remind you why you started learning in the first place.
You could design a birthday card for a friend, decorate your journal, label storage jars, or create a bookmark for your favorite book. These small projects give you a chance to apply everything you have been practicing.
Do not wait until you think your lettering is perfect. Some of my favorite handmade cards came from seasons when I still considered myself a beginner. The people who received them never noticed the tiny flaws that bothered me.
Finished projects also help you measure your progress. Save them in a folder or take photos before giving them away. Looking back after a few months is one of the best confidence boosters you can have.
When you need fresh inspiration, browse through 19 Beautiful Ways to Letter Quotes Like a Pro. You will find plenty of ideas that are both beautiful and beginner-friendly.
16. Stay Patient and Trust the Process
There will be days when your lettering feels amazing. Then the next day, it may look like you forgot everything you learned. Please do not let those moments convince you that you are failing.
Learning any creative skill comes with ups and downs. Improvement rarely happens in a straight line. Some weeks you notice huge changes. Other weeks your progress feels invisible. Even so, every practice session strengthens your skills.
Whenever I felt frustrated, I stopped comparing today’s page with yesterday’s. Instead, I compared it with work from a month earlier. That simple habit reminded me that growth was happening, even when I could not see it right away.
These Beginner Hand Lettering Tips are not about becoming perfect in a few weeks. They are about building habits that help you improve for years to come. Stay consistent, stay curious, and keep showing up with a willingness to learn.
Whenever your routine starts feeling repetitive, try 23 Easy Tricks to Create Aesthetic Hand Lettering. A few new ideas can make practice exciting again and keep your creativity flowing.
17. Enjoy the Journey as Much as the Results
The biggest lesson I want to leave you with is this. Do not make hand lettering another hobby that feels like a competition. Let it become something that helps you slow down, relax, and enjoy creating with your own hands.
Some of your practice pages will turn out beautifully. Others may end up in the recycling bin. Both are part of the journey. Every page teaches you something valuable, even when the results are not what you expected.
Celebrate your progress along the way. Smile when your curves become smoother. Feel proud when your spacing finally looks balanced. Appreciate the little victories because they are the building blocks of bigger achievements.
One day, you will flip through your old notebook and hardly believe those pages belong to you. That moment makes every practice session worth it. Keep your pens nearby, stay consistent, and trust yourself to improve one page at a time.
If you ever need a fresh challenge, revisit How to Create Beautiful Bounce Lettering in 13 Easy Steps. It is a fun way to stretch your skills after mastering the basics.