How to Improve Calligraphy Fast (Even If You’re Struggling)
If you’ve ever tried to re-create a beautiful calligraphy you saw on social media but ended up trashing the paper or you’ve been struggling with shaky uneven lines, you’re not alone, a lot of beginners like you are on this table and I can relate to it too. If you’re just getting started and want to understand what you should actually be doing from day one, the calligraphy for beginners complete starter guide is the perfect place to begin.
I still remember how frustrated I felt when trying to create uppercase flourishes, something that I usually spend only 30 minutes per day on for drills but it took me more than an hour without realizing it. That was when I knew I needed to do it differently.
You might feel like you’re practicing but not actually improving. Like no matter how many times you write the same letters, they still look shaky, uneven, or just off. And when you see other people’s beautiful calligraphy online, it’s easy to start comparing yourself and feel stuck. But the day or that moment, you finally get it right, the joy will be more than that of a lottery winner.
You can’t do the wrong thing over and over and expect a good result. In this guide, I’m going to walk you through exactly how you can improve your calligraphy faster, even if you feel like you’ve been struggling for a while without getting burnout, overwhelm, or wasting your time on things that don’t work.

How to Improve Calligraphy Fast (Even If You’re Struggling)
1. Fix Your Foundation First
Any house developed on a poor foundation will definitely not last long. And that foundation is your basic strokes. Those shaky letters, uneven strokes, and messy lines are usually a result of skipping the foundation. If you want to understand exactly what those foundational strokes look like and how to execute them correctly, calligraphy basics: strokes every beginner must learn breaks it all down. So, here are the easy fixes;
Learn the basic strokes first
If you rush into writing fancy words without mastering the basics, we’ll just keep getting frustrated because every letter depends on them. Start by understanding exactly how upstrokes and downstrokes work; these two movements are literally the building blocks of every letter you’ll ever write in calligraphy.
Slow down
The reason why calligraphy is seen as being meditative is because it is written at a slow pace. No rushing, I understand you would want to join that online challenge of how fast you can write under 10 seconds by Instagram pro calligraphers. But calm down and get your upstrokes and down strokes right before joining such challenges.
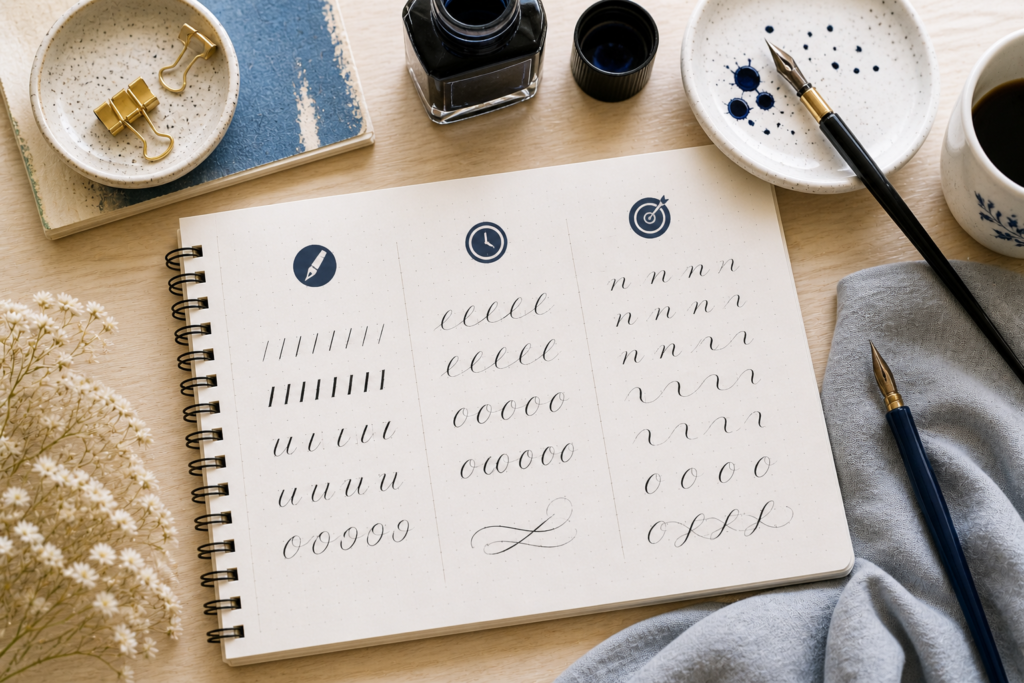
Don’t skip drills
You see drills? They are the fastest shortcut to improvement. Yes, it feels boring and someone even asked me, “Can’t I just write words instead?” I told her no, if she wanted to improve her calligraphy fast, then she needed to repeat the same lines, same curves, same loops, over and over and over again across rows till her hands got used to it. She came back after a week to thank me. The calligraphy drills every beginner should practice guide gives you a full list of exactly which drills to run and in what order.
Instead of seeing drills as a waste of time, try seeing them as your training ground.
2. Practice smart Not Just plenty things

Don’t just write random words, practice with a purpose
Instead of sitting for long hours and writing random words and feeling the vibes. Ask yourself, “what exactly am I trying to improve today?”
Is it your strokes? your spacing? Or your shaky lines? Once you can answer this and practice with a clear goal, then you’ll start seeing real progress. Just focus on one specific skill each time you sit down to practice. Following a structured 30-day daily practice plan is one of the best ways to always have a clear purpose for each session without having to figure it out yourself every day.
Use structured worksheets instead of guessing what to do
If you’ve ever found yourself asking “what should I practice today?” That’s your sign to get worksheets. So instead of trying to freestyle and end up struggling, give yourself structure. It saves you time, reduces frustration, and helps you improve way faster. The worksheet will literally hold your hand, show you what to do and how to do it.
Break practice into small sections
Trying to improve everything at once might take you back to square one.
So instead, break it down into bits. I always recommend starting with strokes, then letters and lastly words.
When you focus on one step at a time, your brain won’t feel overwhelmed, and your hand will actually learn what to do. This is also the approach used in beginner calligraphy exercises to improve control; small, focused exercises that build on each other without overwhelming you.
Repeat the same stroke multiple times until it feels natural
Don’t be in a haste to move on quickly. When you repeat the same stroke again and again, something will start to click as your hand begins to get used to it without you forcing it. So don’t rush, stay on that stroke a little longer than you think you should.
Track what you struggle with and focus on that
You know the parts that you need to improve. After each practice session, I do sit back to examine my work, if I notice too many spaces or maybe I see that one letter is too close while the other is at a distance, I will circle it with a pencil. Then make it a focus point for the next practice. So instead of ignoring those weak areas, face them during next practice and ensure you get it right. Just keep noting each error and correcting them the next day, you’ll see that your progress skyrocket. For a detailed look at the most common errors and how to correct them, beginner mistakes in calligraphy and how to fix them is worth reading alongside this guide.
3. Master Pressure Control
If there’s one thing that can instantly upgrade your calligraphy, it’s this pressure control of a thing; that is knowing when to apply pressure and when to release with clear contrast.
Learn when to apply pressure and when to release
At first, it might feel confusing, like, exactly am I supposed to press and when do I relax? Let me teach you just the way I taught of my 7-year-old daughter. I actually made a simple song for her and here is how it goes.
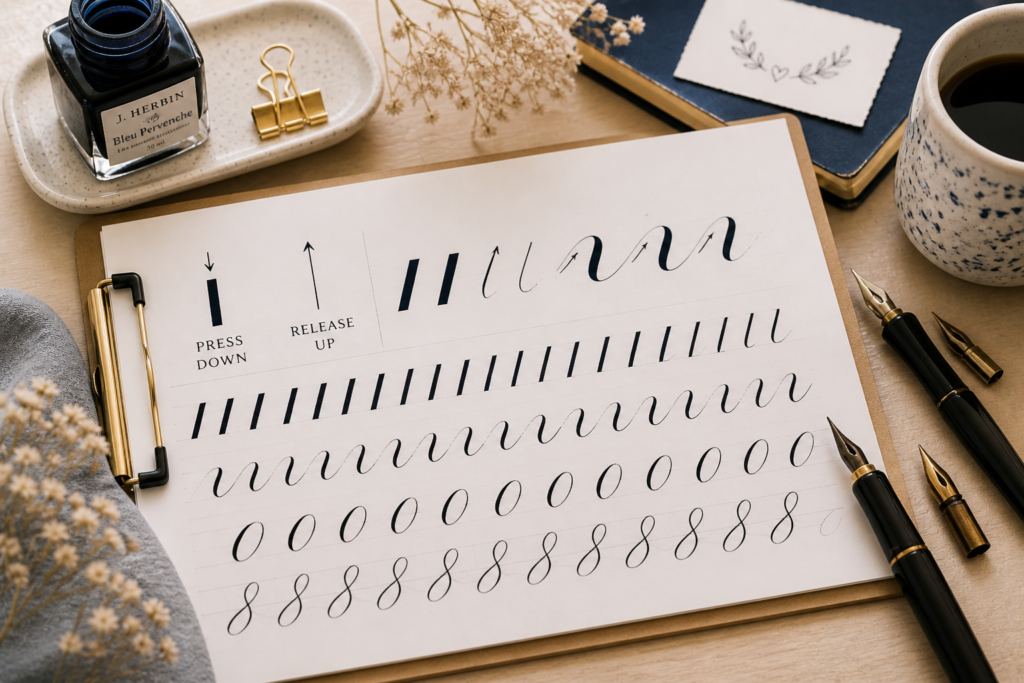
“When my pen goes down, I press
When my pen goes up, I release”
I made her repeat the song several times and it got stuck in her brain that even if you wake her from sleep, she will know that upstroke releases pressure while down stroke applies pressure.
So, if you sometimes find it confusing, I think, you can try out my song. Sing it using your own tune, the goal is to make it stick to your brain.
Practice transitioning
Learn how to smoothly transition between thin and thick strokes. When practicing, try to ease into each stroke instead of pressing down or releasing abruptly to make it flow. This is one of the core skills covered in how to avoid common beginner calligraphy mistakes; abrupt transitions are one of the most noticeable signs of a beginner’s work.
Try basic drills
Sometimes, when my calligraphy starts looking off, I go back to these basics. And almost immediately, things improve again. I am talking about things as simple as lines, waves, and loops. Up till now, I still run drills before starting any project. Drills are like warm up for before the main tournament begins.
Don’t press too hard
I used to think that pressing too hard will give me a better downstroke but most times, I ended up damaging my pen and paper
If at any point, your hand starts to feel tense, just relax and come back because you need to feel comfortable, not stressed. A big part of fixing tension starts with how to hold a calligraphy pen correctly; the right grip naturally prevents the kind of over-pressing that damages both your pen and your strokes.
4. Use the Right Tools
Let me be real with you for a second, sometimes it’s not even you, it’s your tools, yes. Imagine using a rough paper with a brush pen, then end up with your ink bleeding all over your paper and you start feeling that you aren’t good enough.
If you’re trying to improve calligraphy fast, don’t ignore this part. The right tools won’t do the work for you, but they’ll definitely stop making things harder than they should be.

Start with beginner-friendly brush pens
If you’re just starting, please don’t stress yourself with difficult pens.
Some brush pens are too soft, too hard, or just too sensitive. One small move and boom, your stroke is all over the place. I’ve been there, and it’s not funny.
So, if your pen feels like it’s misbehaving every time you touch paper, it might not be your fault. Try switching to something simpler and you’ll immediately feel the difference. I am not going to recommend any pen here, just experiment with the different types of pens and pick the one that makes you write comfortably. For a detailed breakdown of how to handle brush pens the right way, how to use brush pens properly will walk you through everything from angle to pressure.
Use smooth paper
If you’re using rough or cheap paper, your brush pen tip will start to fray quickly and start dragging instead of gliding. And once that happens, your clean strokes will be gone before you even blink. To protect your pen, use smooth papers. I use a lot but my favorite is Rhodia pads but you can try out others too. This is something covered in depth in how to start calligraphy with no experience; paper choice is one of the first decisions that separates beginners who progress quickly from those who stay stuck.
5. Fix Common Beginner Mistakes
If you’ve ever written a word and some letters look big while some look small or too tiny then you need to slow down and pay attention to your letter sizes. Use guides to help you make your letters look even. If you want a complete system for keeping every letter the same size and proportion, how to create consistent calligraphy letters gives you a step-by-step approach that actually works.
As you write, pause for a second and look at the gaps between letters. Try to keep them balanced. This small adjustment makes a huge difference in how neat and readable your calligraphy looks. These are simple things you need to put in check each time you write;

Keep your slant consistent across words
Once I pick up a beginner’s work, the first thing that is mostly noticeable is how the letter slants are disorganized.
Some letters will be leaning left, some are straight, and others are leaning right, making the word look a bit confusing.
I struggled with this a lot at first because I wasn’t paying attention to it.
To fix it, rule out slant or diagonal lines over your horizontal lines, make it look kind of like a parallelogram shape, so that you just write each letter to fit into each shape. This way, your letters will naturally lean on the vertical slant lines, making all of them lean towards the same direction. Slant consistency is also one of the key things you’ll develop when you practice how to create your first calligraphy alphabet properly from the start.
Correct mistakes early
If you ignore mistakes, they will eventually become habits and most times, habits are kind of hard to reverse. That’s why I said earlier on, that you should always sit back and take a thorough look at your work. If they look too nice in your eyes, give it to someone who is better than you, the person will spot the mistakes and tell you. Once you see the mistake, circle it immediately and use it to focus on correcting it in the next practice. And if you’re not sure what to look for, how to avoid common beginner calligraphy mistakes gives you a clear checklist of the errors that show up most often in beginner work.
Once you start correcting small mistakes early, your improvement becomes faster, smoother, and way less frustrating.
Final Thoughts
Struggling is part of the process; it’s how you choose to handle it that matters. Just stay consistent to the game and you’ll see progress. Hope with all that you’ve learnt today, you’ll work on improving your mistakes, right? And if you’re still wondering how long it takes to learn calligraphy before things start clicking, the honest answer is that it depends entirely on how consistently you apply everything covered in this guide. Whether you’re learning calligraphy at home or taking a class, the principles stay the same; fix your foundation, practice smart, and correct mistakes early.