How to Create Perfect Thick and Thin Strokes in 11 Steps
Disclosure: Some of the links in this post are affiliate links. This means if you click on the link and purchase an item, I will receive an affiliate commission at no extra cost to you.
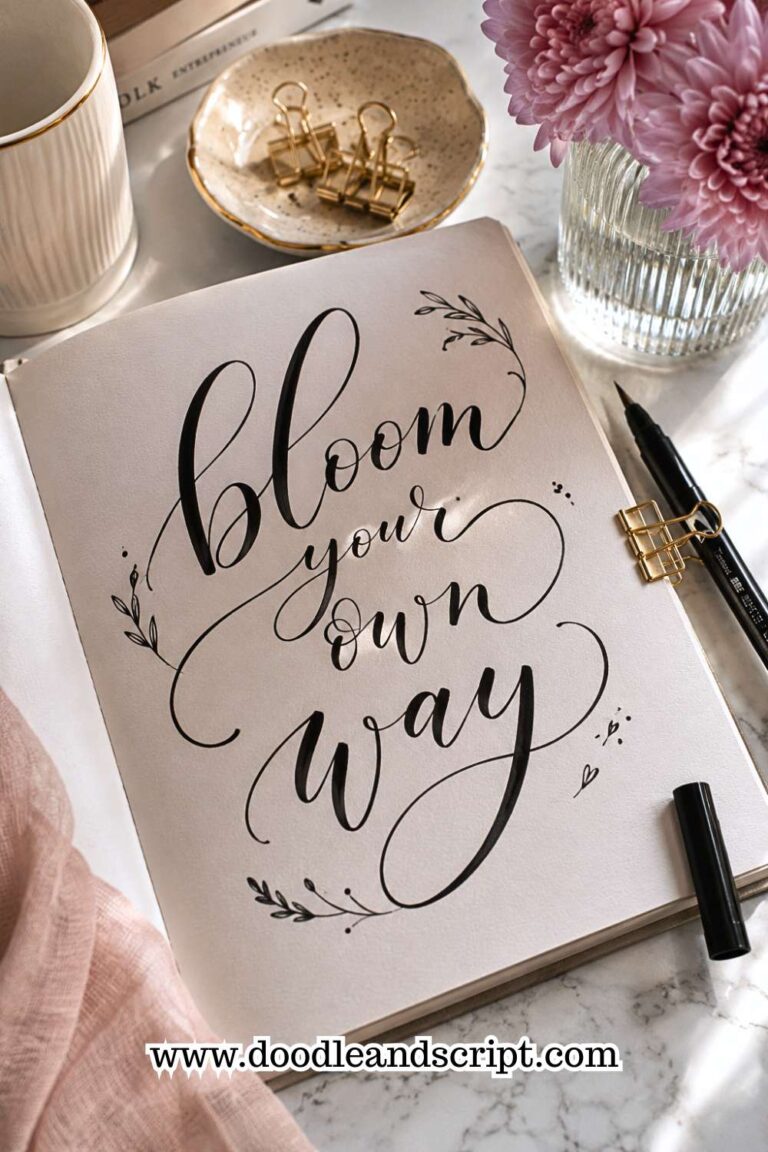
Look closely at any beautiful piece of brush lettering. Before you notice the words, your eyes notice something else. Some lines are bold. Others are light. That mix of thick and thin strokes is what makes the lettering feel alive.
It may look difficult, but it’s actually one of the first skills every lettering artist learns. Once you know where to press your brush pen and where to lift it, every letter starts looking smoother and more balanced.
Many beginners think beautiful lettering comes from buying better brush pens or copying fancy alphabets. While those things can help, they aren’t what make lettering stand out.
Every beautiful word is built from simple strokes. When those strokes are clean and controlled, your letters naturally look neater and more polished.
The best part is that this is a skill anyone can learn. With the right practice, your hand will begin to know exactly when to add pressure and when to ease off.
Over time, those movements will feel natural, and your lettering will become more consistent without you even thinking about it.
In this guide, you’ll learn How to Create Thick and Thin Strokes in 11 simple steps. Each step will help you build better pen control, improve your confidence, and create smoother lettering one stroke at a time.
If you’re still learning the basics, don’t miss 17 Hand Lettering Tips Every Beginner Should Know and How to Learn Hand Lettering Step-by-Step (Even If You Can’t Draw) before you begin.
How to Create Perfect Thick and Thin Strokes in 11 Steps
1. Hold Your Brush Pen the Right Way

The first step in learning How to Create Thick and Thin Strokes is holding your brush pen correctly. Many beginners grip the pen too tightly because they’re afraid of making mistakes. A tight grip makes your hand stiff, making it much harder to control pressure.
Hold your brush pen the way you would hold a regular pen, but keep your grip relaxed. Let your fingers guide the pen instead of squeezing it. The flexible brush tip needs room to bend naturally as you write.
Try tilting the pen at a comfortable angle instead of holding it straight up. This allows the brush tip to glide across the paper more smoothly and creates cleaner strokes.
A common mistake is pressing hard from the moment the pen touches the paper. Instead, start with a light touch and let the pressure change only when needed.
Spending a few minutes getting comfortable with your grip will make every other step much easier.
If you’re new to brush pens, Best Brush Pens for Beginners: Which One Should You Buy? can help you choose tools that are easier to control.
2. Learn the Difference Between Upstrokes and Downstrokes

Every beautiful brush-lettered word follows one simple rule: light pressure on the way up and heavy pressure on the way down. Once you understand this, creating thick and thin strokes becomes much easier.
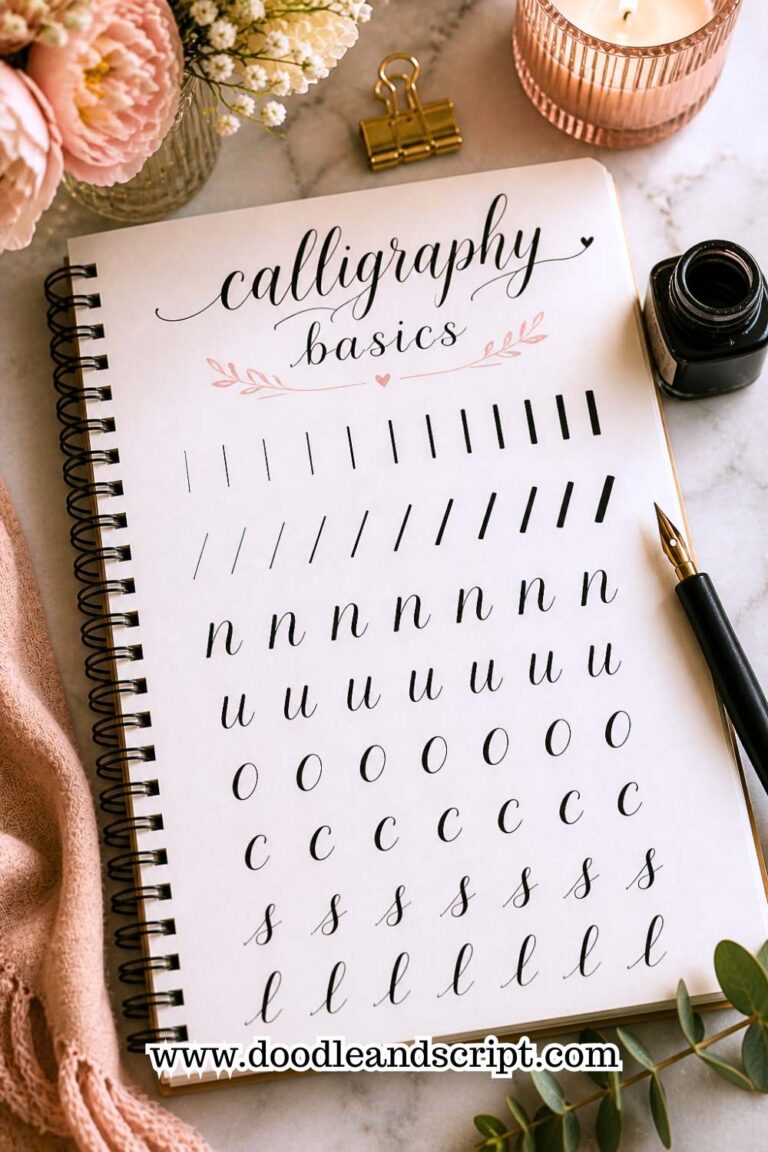
Practice drawing straight lines. As your pen moves upward, use the lightest pressure possible. The brush tip should barely bend, creating a thin line. When moving downward, press firmly enough for the brush tip to spread, creating a thicker line.
Repeat this movement over and over before trying to write letters. It may feel repetitive, but these simple lines teach your hand exactly how much pressure to use.
Many beginners accidentally press too hard on both strokes, making every line look thick. Slow down and remind yourself that each direction has a different amount of pressure.
If you want more daily practice ideas, 21 Hand Lettering Drills You Should Practice Every Week includes exercises that strengthen this skill.
3. Practice Pressure Without Writing Letters

Before jumping into the alphabet, spend time practicing pressure by itself. This allows you to focus on one skill instead of worrying about letter shapes at the same time.
Draw long vertical lines, switching from light pressure to heavy pressure and back again. Then practice smooth curves using the same idea. Your goal is to make each pressure change gradual instead of sudden.
Don’t worry if your first attempts look uneven. Every practice page helps your muscles remember how the brush pen should move.
This simple exercise builds confidence much faster than writing full words too early. If your lines still feel shaky, 15 Hand Lettering Drills That Will Improve Your Skills Fast offers more beginner-friendly stroke exercises.
4. Slow Down Your Hand

One of the biggest mistakes beginners make is trying to write at normal handwriting speed. Brush lettering needs slower, more controlled movements, especially while you’re learning.
As you practice, pay attention to how your pen moves across the page. Give yourself enough time to change pressure smoothly instead of rushing through each stroke.
Moving slowly also helps you notice small mistakes, like uneven pressure or wobbly curves. Once you develop better control, your speed will naturally improve.
Think of every practice session as training your hand instead of finishing quickly. The more patient you are now, the easier lettering will become later.
5. Let the Brush Tip Do the Work

Many people try to force thick strokes by pushing the pen harder into the paper. This usually creates rough lines and wears out the brush tip faster.
Instead, trust the flexibility of your brush pen. The brush is designed to spread naturally when gentle pressure is applied. You don’t need to force it.
Use smooth movements and allow the tip to bend naturally as it travels across the page. You’ll notice that your thick strokes become much cleaner without extra effort.
Taking care of your brush tip also helps it last longer. If you’re unsure which supplies work best, Essential Hand Lettering Supplies Every Beginner Needs explains what to look for when building your lettering kit.
6. Keep Your Pressure Consistent

A beautiful thick stroke should stay thick from beginning to end unless you’re intentionally changing it. The same is true for thin strokes.
Practice drawing rows of downstrokes that all have the same width. Then do the same with upstrokes. Compare each line and look for places where your pressure changes without meaning to.
Consistency is more important than perfection. Even professional lettering artists still practice this skill regularly because it affects every letter they create.
If your pressure changes from one stroke to the next, simply slow down and repeat the exercise until it feels more natural.
7. Practice Smooth Pressure Transitions

Making thick and thin strokes isn’t just about pressing harder or lighter. The real secret is learning to switch between the two without creating sharp or awkward changes. Smooth transitions make your lettering look neat and effortless.
Start by drawing long curved strokes. Begin with light pressure, slowly press down as you move into the curve, then gently release the pressure before finishing the stroke. Focus on making the change feel gradual instead of sudden.
Don’t rush through this exercise. If your thick stroke suddenly becomes thin, or your thin stroke quickly turns thick, slow down and try again. Your hand needs time to learn the movement.
If you need more beginner-friendly practice habits, 17 Hand Lettering Tips Every Beginner Should Know is a great resource.
8. Use the Right Paper

Your brush pen isn’t the only thing that affects your strokes. The paper you use matters just as much. Rough paper can damage the brush tip and make it difficult to create clean thick and thin lines.
Choose smooth paper made for brush lettering whenever possible. It helps the pen glide across the page without catching on the surface.
You’ll also notice that your lines become cleaner and your brush pens last longer. If you’re not sure what to buy, Best Paper for Hand Lettering: A Beginner’s Guide explains what to look for.
If you’re practicing every day, don’t worry about buying expensive paper right away. Many affordable marker papers work well for beginners and protect your brush tips.
9. Build Letters from Basic Strokes

Every letter is simply a combination of basic strokes. Once you understand that, learning new alphabets becomes much less intimidating.
Instead of practicing the whole alphabet at once, break each letter into smaller parts. For example, the letter a uses an oval and a downstroke, while the letter n combines an overturn with another downstroke.
Practicing these basic shapes first makes writing complete letters much easier. You’ll spend less time fixing mistakes because your strokes already feel comfortable.
How to Master the Hand Lettering Alphabet in 15 Simple Steps shows how these simple strokes come together to form every letter.
Whenever a letter feels difficult, stop and identify the strokes that make it up. Practice those strokes several times before writing the whole letter again. You’ll improve much faster by focusing on the building blocks.
10. Practice the Same Stroke Every Day

Improvement comes from repetition, not from trying something new every time you practice. Spending five or ten minutes on the same stroke each day will help your muscles remember the movement much faster.
Choose one stroke to focus on during each practice session. It could be a simple downstroke, an oval, a compound curve, or a loop. Fill an entire page with that one movement before moving on to something else.
At first, your strokes may look uneven. That’s completely normal. Compare your first few rows with your last few rows, and you’ll often notice small improvements that are easy to miss while you’re practicing.
11. Be Patient and Trust the Process
Every lettering artist started with uneven strokes. No one picked up a brush pen and created perfect lettering on the first day. The difference is that they kept practicing even when their progress felt slow.
Don’t compare your first practice page to someone else’s finished artwork. Compare it to the page you created last week.
That’s where you’ll see your real progress. If your progress feels slow, 15 Common Hand Lettering Mistakes (And How to Fix Them) can help you identify habits that may be holding you back.
Celebrate the small wins. Maybe your downstrokes are smoother than before, your upstrokes are lighter, or your letters look more balanced. Those little improvements add up over time.
The more you practice, the less you’ll think about pressure. Your hand will naturally know when to press and when to lift, allowing you to focus more on enjoying the creative process and experimenting with new lettering projects.
Final Thoughts
Learning How to Create Thick and Thin Strokes is one of the biggest milestones in your brush lettering journey.
Once you can control your pressure, you’ll notice that every letter looks smoother, cleaner, and more balanced. Instead of fighting your brush pen, you’ll start working with it.
Don’t worry if your first practice pages don’t look perfect. Every artist improves one stroke at a time. Keep practicing regularly, slow down when needed, and enjoy the progress you make along the way.
When you’re ready to use your new skills in creative projects, 19 Beautiful Ways to Letter Quotes Like a Pro is a fun next step that lets you put everything you’ve learned into practice.
Remember, every lettering session is helping you build a skill that will stay with you for years. Some days you’ll see big improvements, while other days your progress may feel slow.
That’s completely normal. Keep filling your practice pages, celebrate the small wins, and trust the process.
Before long, creating beautiful thick and thin strokes will feel natural, and you’ll have the confidence to try new alphabets, layouts, and lettering styles with ease.