21 Proven Ways to Improve Your Hand Lettering Faster
Disclosure: Some of the links in this post are affiliate links. This means if you click on the link and purchase an item, I will receive an affiliate commission at no extra cost to you.
Some people seem to improve their lettering in just a few weeks, while others practice for months and still feel stuck. It’s easy to think talent is the reason. In reality, the biggest difference is often how they practice.
If you’re looking for Ways to Improve Your Hand Lettering Faster, you don’t need to spend every free hour with a pen in your hand. You simply need habits that help you learn smarter instead of harder.
If you’ve already built a regular practice routine, 15 Hand Lettering Drills That Will Improve Your Skills Fast is another great resource to strengthen your skills.
Improving your lettering doesn’t happen through one secret trick. It comes from making small changes that gradually improve your pen control, spacing, consistency, and confidence.
Some changes take only a few minutes to add to your routine, yet they can completely transform the way your lettering looks over time.
This guide shares twenty-one practical tips that beginners and experienced letterers can use right away. You’ll learn what actually helps you improve, which habits slow your progress, and how to make every practice session more productive.
By the end, you’ll have a clear plan to help your lettering become smoother, cleaner, and more confident.
21 Proven Ways to Improve Your Hand Lettering Faster
1. Slow Down Your Pen Strokes
One of the biggest reasons beginners struggle is that they write too quickly. They want every word to look beautiful on the first try, so they rush from one letter to the next. Unfortunately, speed often creates shaky lines, uneven spacing, and inconsistent shapes.
Slowing down gives your hand enough time to make controlled movements, and those movements eventually become second nature. It’s one of the easiest Ways to Improve Your Hand Lettering Faster because it helps you focus on quality instead of rushing to fill a page.
The next time you practice, write every letter a little more slowly than feels comfortable. Pay attention to where each stroke begins and ends. If a letter doesn’t turn out the way you expected, don’t scribble over it or tear out the page.
Simply continue writing and try again on the next line. You’ll be surprised by how much smoother your lettering becomes after only a few focused practice sessions.
Many beginners worry that slowing down will stop them from making progress. The opposite is usually true. Careful practice helps your muscles remember the correct movements, which naturally leads to faster writing later.
If you’d like a simple routine that helps build this habit, Easy Hand Lettering Tutorial: Learn in 21 Minutes is a great place to continue learning.
2. Practice With a Purpose
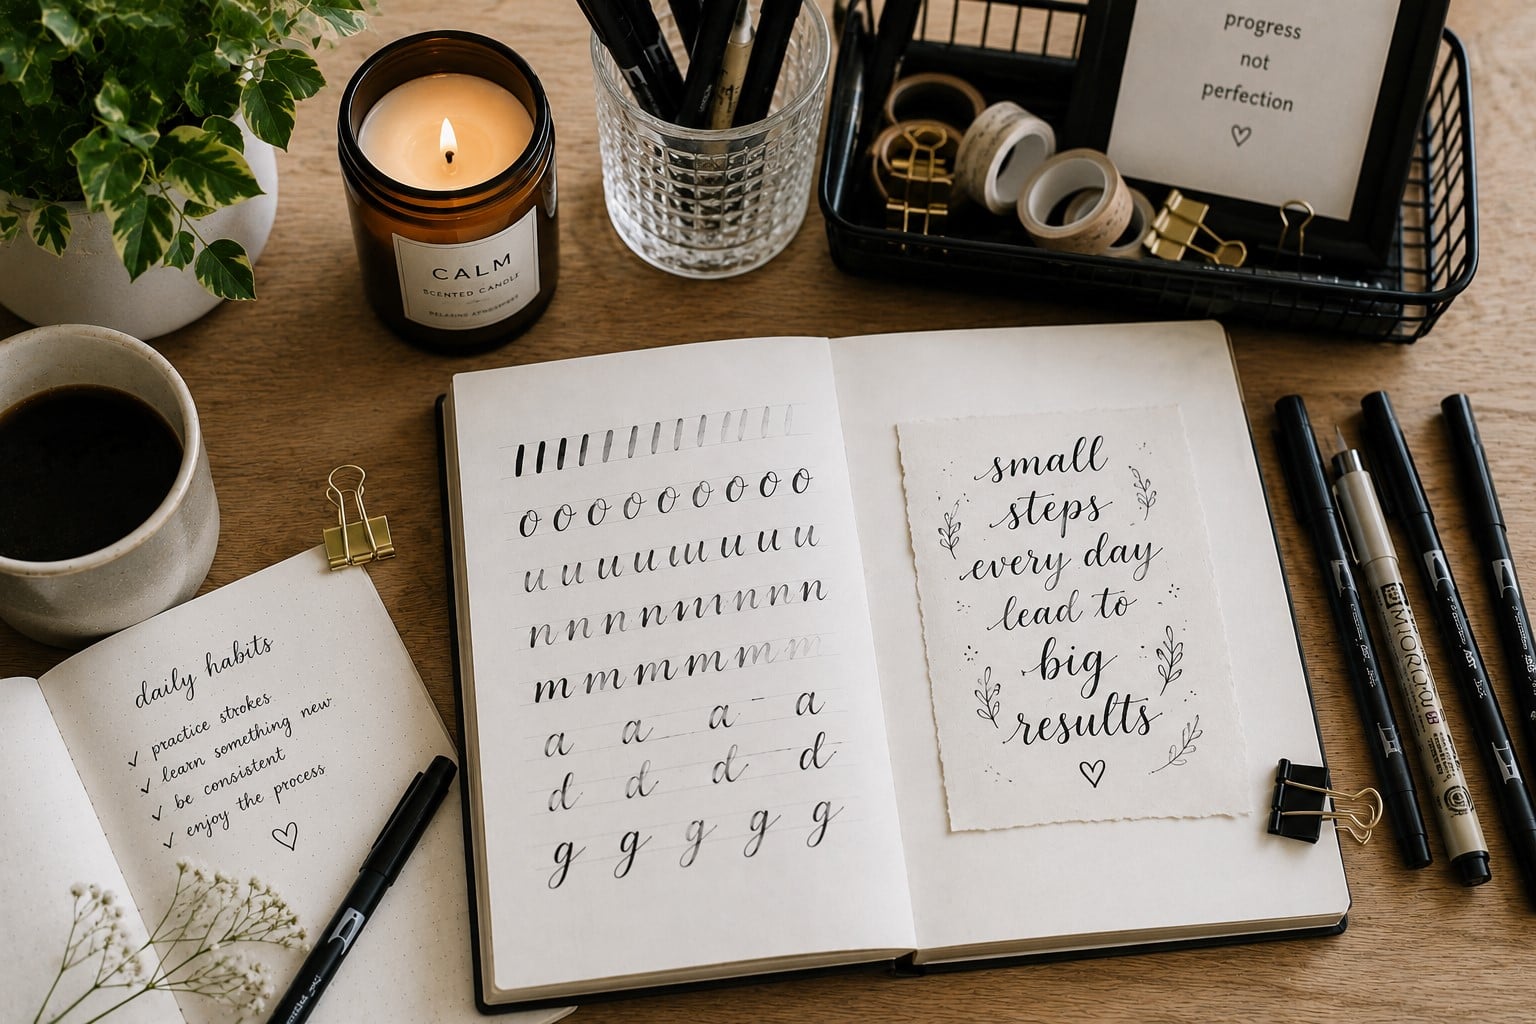
Sitting down to practice without a plan often leads to repeating the same mistakes. You may fill several pages with random words without actually improving the skills that need the most attention.
Every practice session should have one clear goal. Maybe today you’ll work on smoother curves. Tomorrow you might focus on spacing or pressure control. Giving yourself one objective keeps your practice focused and productive.
Before you pick up your pen, decide what you want to improve during that session. Write your goal at the top of the page if it helps you stay focused.
Once you’ve finished practicing, spend a minute looking back at your work. Ask yourself if you improved in that one area. This habit helps you notice progress that would otherwise go unnoticed.
Don’t try to fix everything at once. Small improvements are much easier to achieve than complete perfection. As those improvements build over time, your overall lettering becomes stronger without feeling overwhelming.
If you’re unsure which exercises to practice, 25 Beginner Lettering Exercises That Actually Work offers plenty of ideas for focused sessions.
3. Master the Basic Strokes First
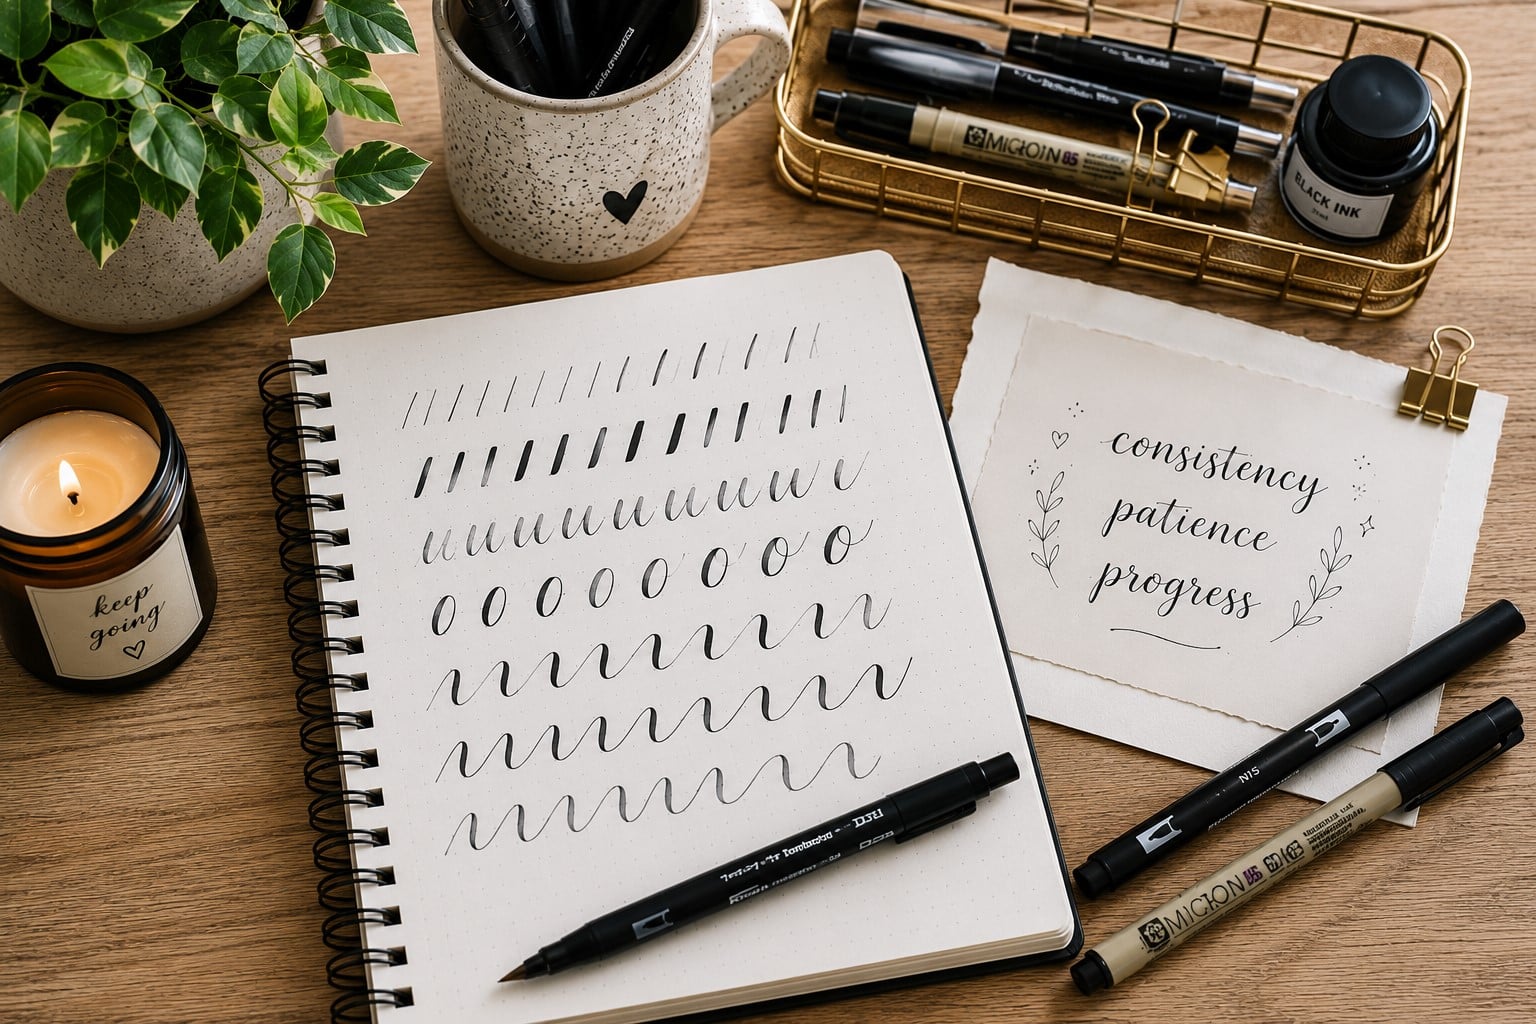
Beautiful lettering isn’t created by memorizing fancy alphabets. It starts with learning a handful of simple strokes that appear again and again.
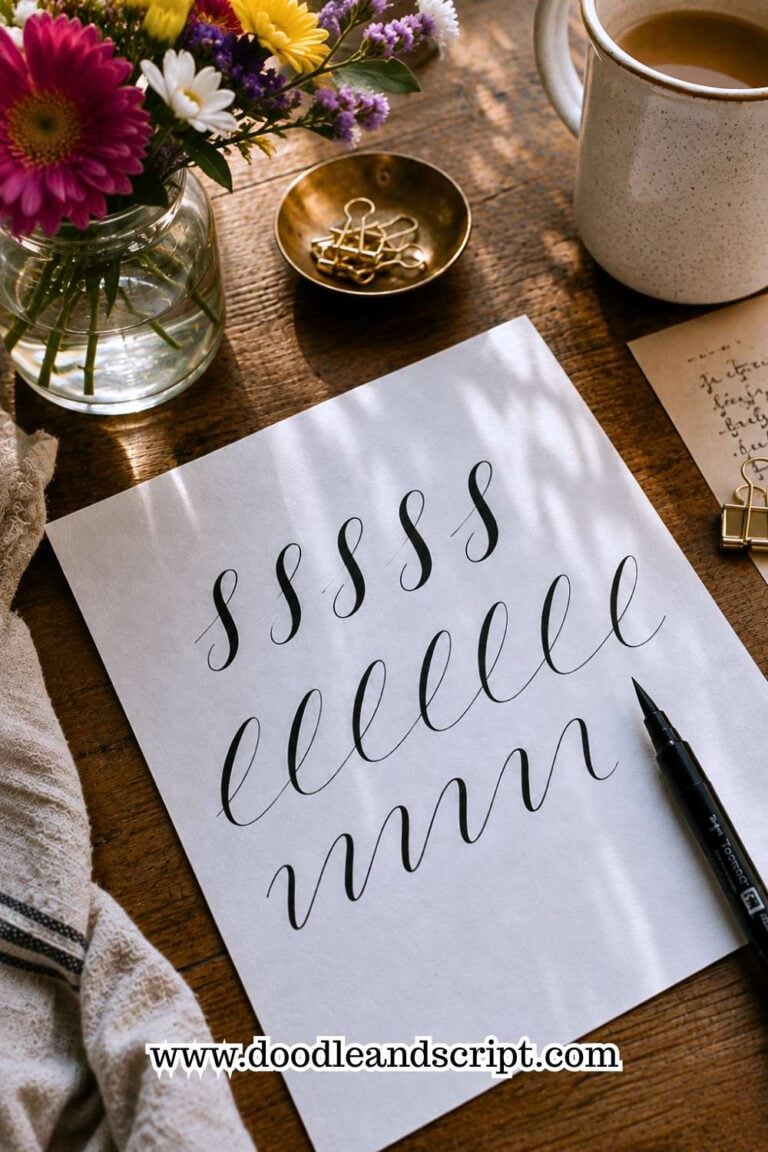
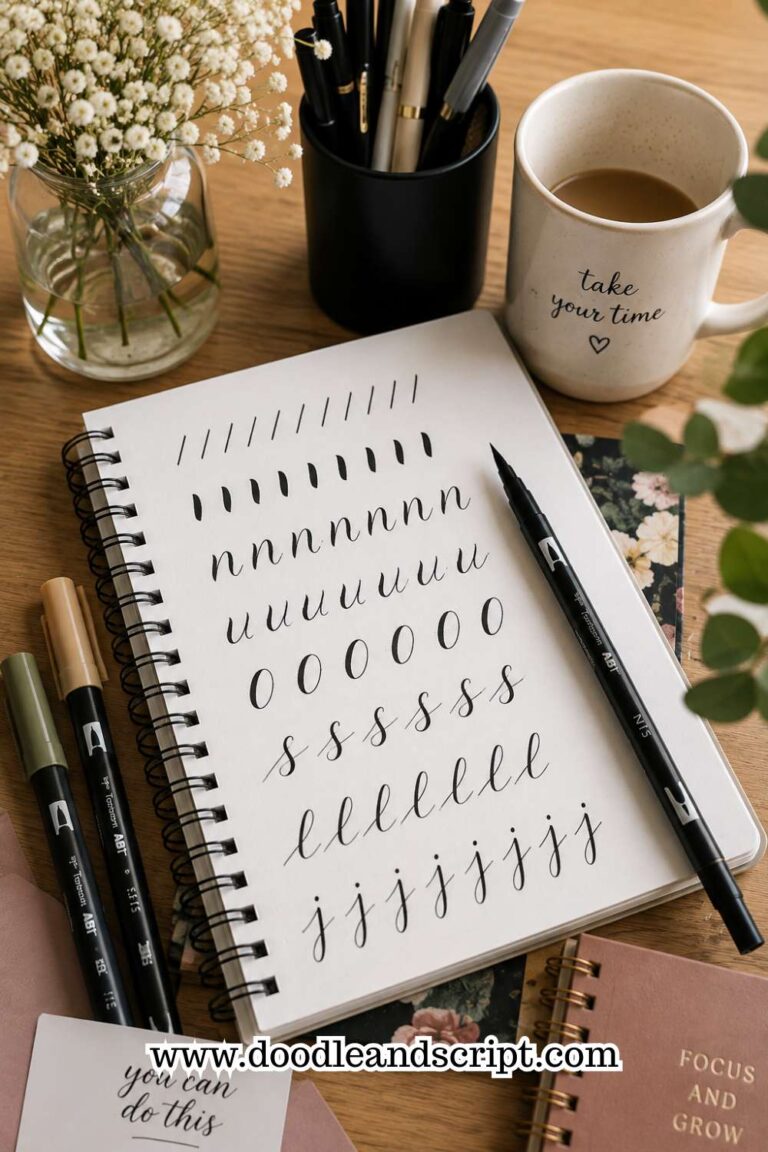
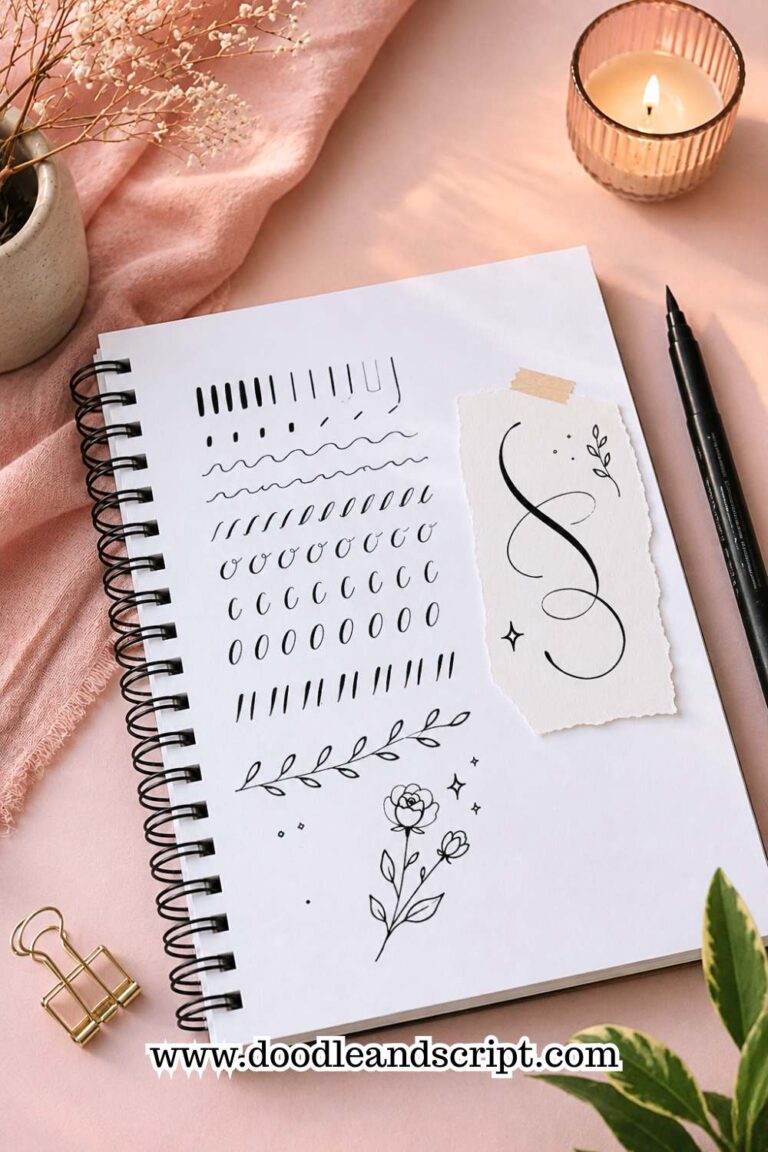
Straight lines, loops, underturns, and ovals may seem repetitive, but they form the foundation of almost every letter you’ll write.
Spend a few minutes practicing these basic movements before writing words. Fill a page with one stroke at a time instead of jumping between different exercises.
This teaches your hand how each movement should feel before you combine them into letters. It also improves your confidence because each stroke becomes more familiar.
One common mistake is skipping this step because it feels too easy. In reality, experienced letterers return to these exercises regularly because they know strong fundamentals produce better results.
If you want more structured practice, 19 Beginner Hand Lettering Practice Sheets You’ll Actually Use provides simple exercises that reinforce these essential skills.
4. Stop Comparing Your Progress

Comparing your lettering to someone else’s finished work can quickly drain your motivation. It’s easy to forget that every skilled artist once created uneven letters too. What you see today is often the result of months or even years of consistent practice.
Instead of comparing your work to someone else’s, compare today’s practice page with one you completed last month.
Look for smoother strokes, better spacing, or more balanced letters. Even small improvements deserve to be celebrated because they show your practice is working.
Progress doesn’t always happen in big leaps. Most of the time, it grows through tiny changes that become noticeable over weeks of consistent effort.
Focusing on your own journey keeps practice enjoyable and helps you stay motivated.
If you’re just beginning your lettering journey, How to Learn Hand Lettering Step-by-Step (Even If You Can’t Draw) will help you build confidence from the ground up.
5. Practice Every Week
Many people wait until they have plenty of free time before practicing. Unfortunately, those perfect moments rarely appear.
It’s much better to practice for a short time several days each week than spend hours lettering once every few weeks.
Choose a schedule that fits your lifestyle. Even fifteen minutes can make a noticeable difference when you practice consistently.
The important thing is building a habit that feels realistic instead of creating a routine that’s difficult to maintain.
Missing one practice session isn’t a problem. Giving up because you missed one session is. Simply continue where you left off and keep moving forward.
Consistency is one of the most effective Ways to Improve Your Hand Lettering Faster because it keeps your skills fresh and your confidence growing.
If you need help creating a stronger routine, 15 Hand Lettering Drills That Will Improve Your Skills Fast is full of exercises you can add to your weekly schedule.
6. Pay Attention to Letter Spacing
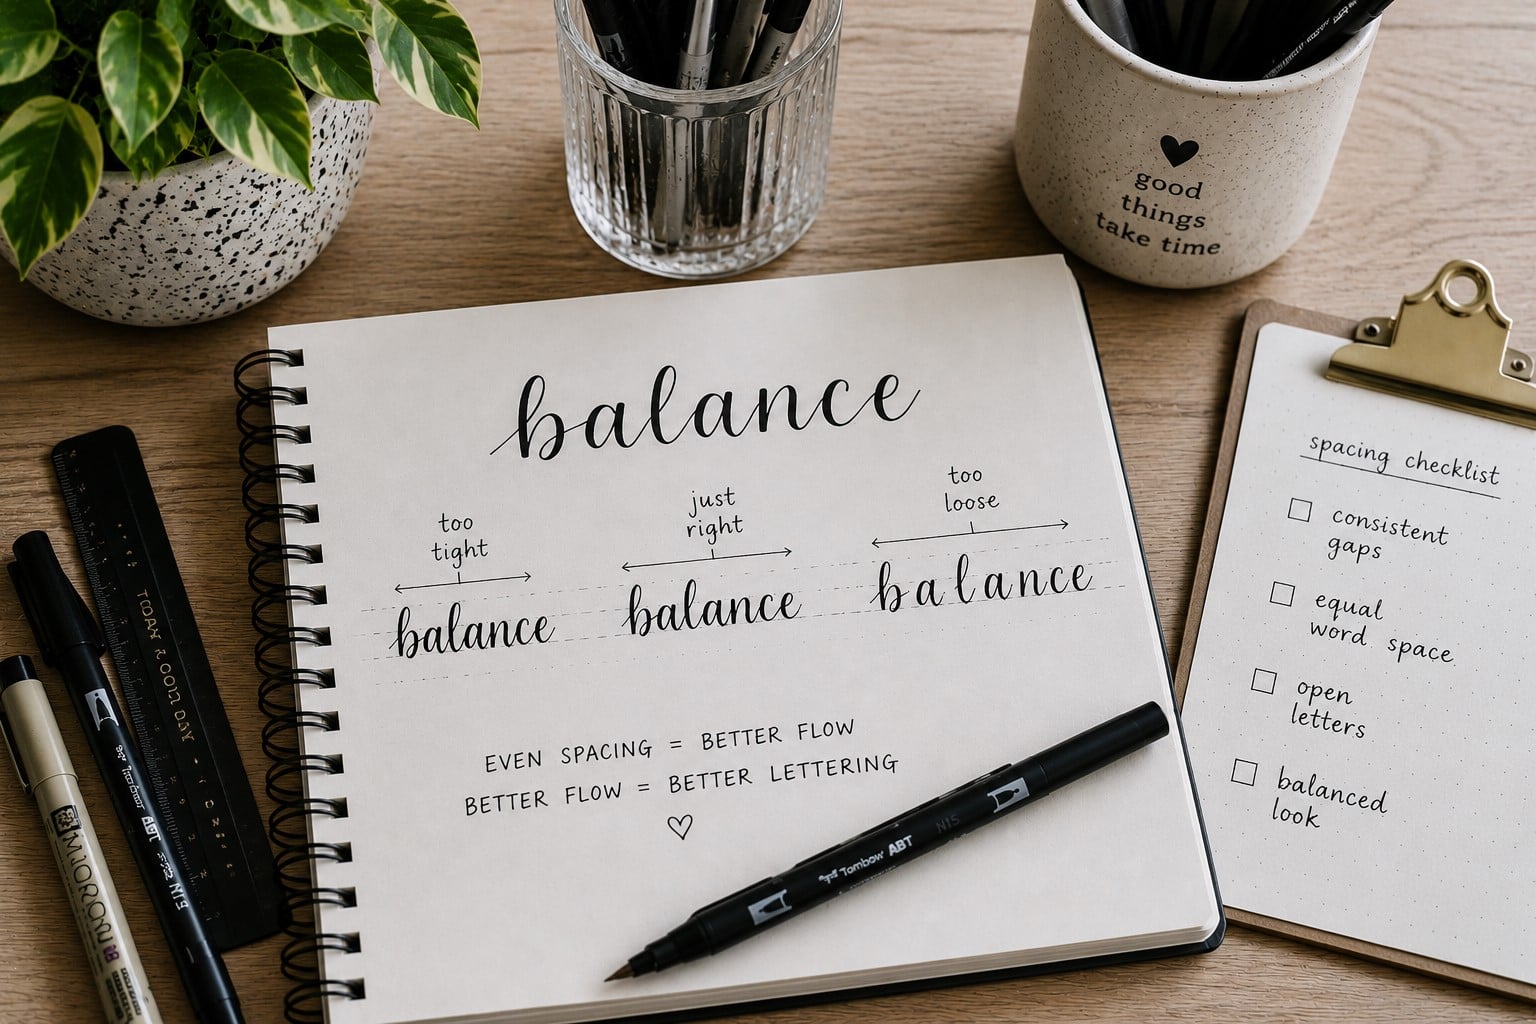
Beautiful lettering depends on more than well-shaped letters. The spaces between those letters play an equally important role. Even perfectly formed letters can look awkward when the spacing feels uneven.
Write one short word several times while focusing only on the spaces between each letter. Instead of looking at the letters themselves, train your eyes to notice the gaps. You’ll quickly begin spotting areas that feel too crowded or too wide.
Don’t expect perfect spacing overnight. This skill develops through observation and repetition. The more words you write, the easier it becomes to recognize balanced spacing without measuring every gap.
If you’d like practical tips for improving balance, 13 Simple Tricks to Improve Your Lettering Consistency explains several easy adjustments you can make.
7. Keep a Practice Journal
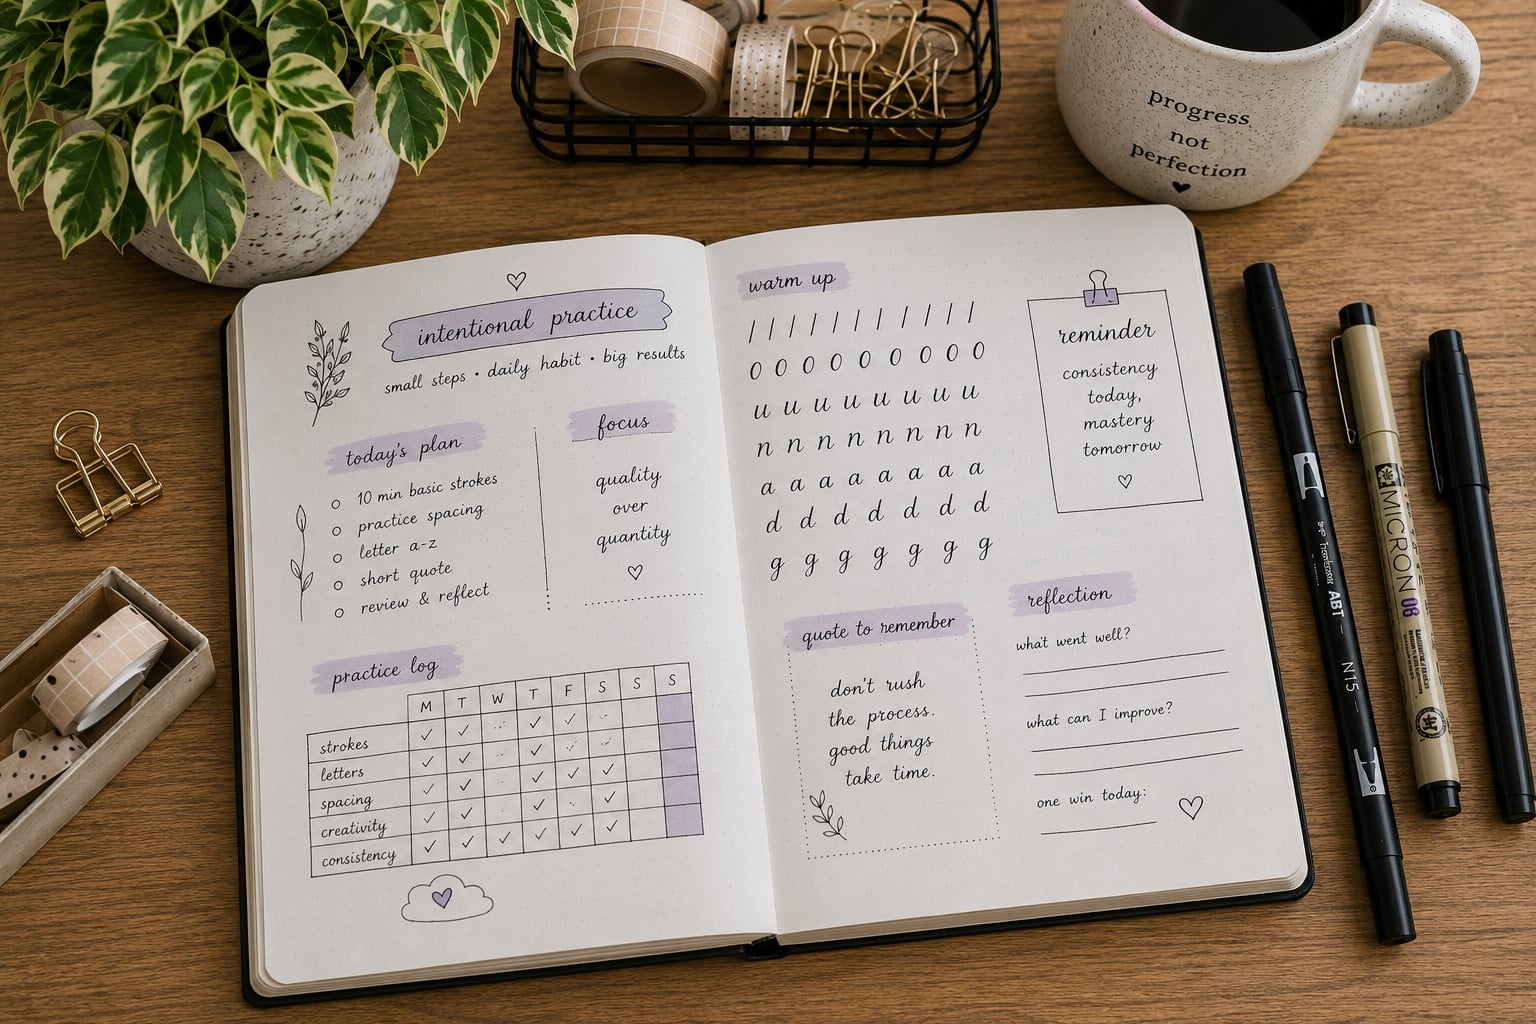
A practice journal does much more than store your lettering pages. It gives you a record of your progress and reminds you how far you’ve come.
Looking back at older pages often reveals improvements that are difficult to notice from day to day.
Use one notebook only for lettering practice. Date each page before you begin writing. Every few weeks, flip back through earlier entries and compare them with your newest work.
Pay attention to smoother strokes, cleaner letters, and better spacing rather than searching for perfection.
Your journal also helps you identify patterns. You may discover that certain letters always need more practice or that one particular exercise produces the biggest improvements. Those discoveries make future practice sessions much more productive.
If you’re ready to make your finished pages even more beautiful, 23 Easy Tricks to Create Aesthetic Hand Lettering offers creative ideas you can try next.
8. Learn From Your Mistakes Instead of Hiding Them
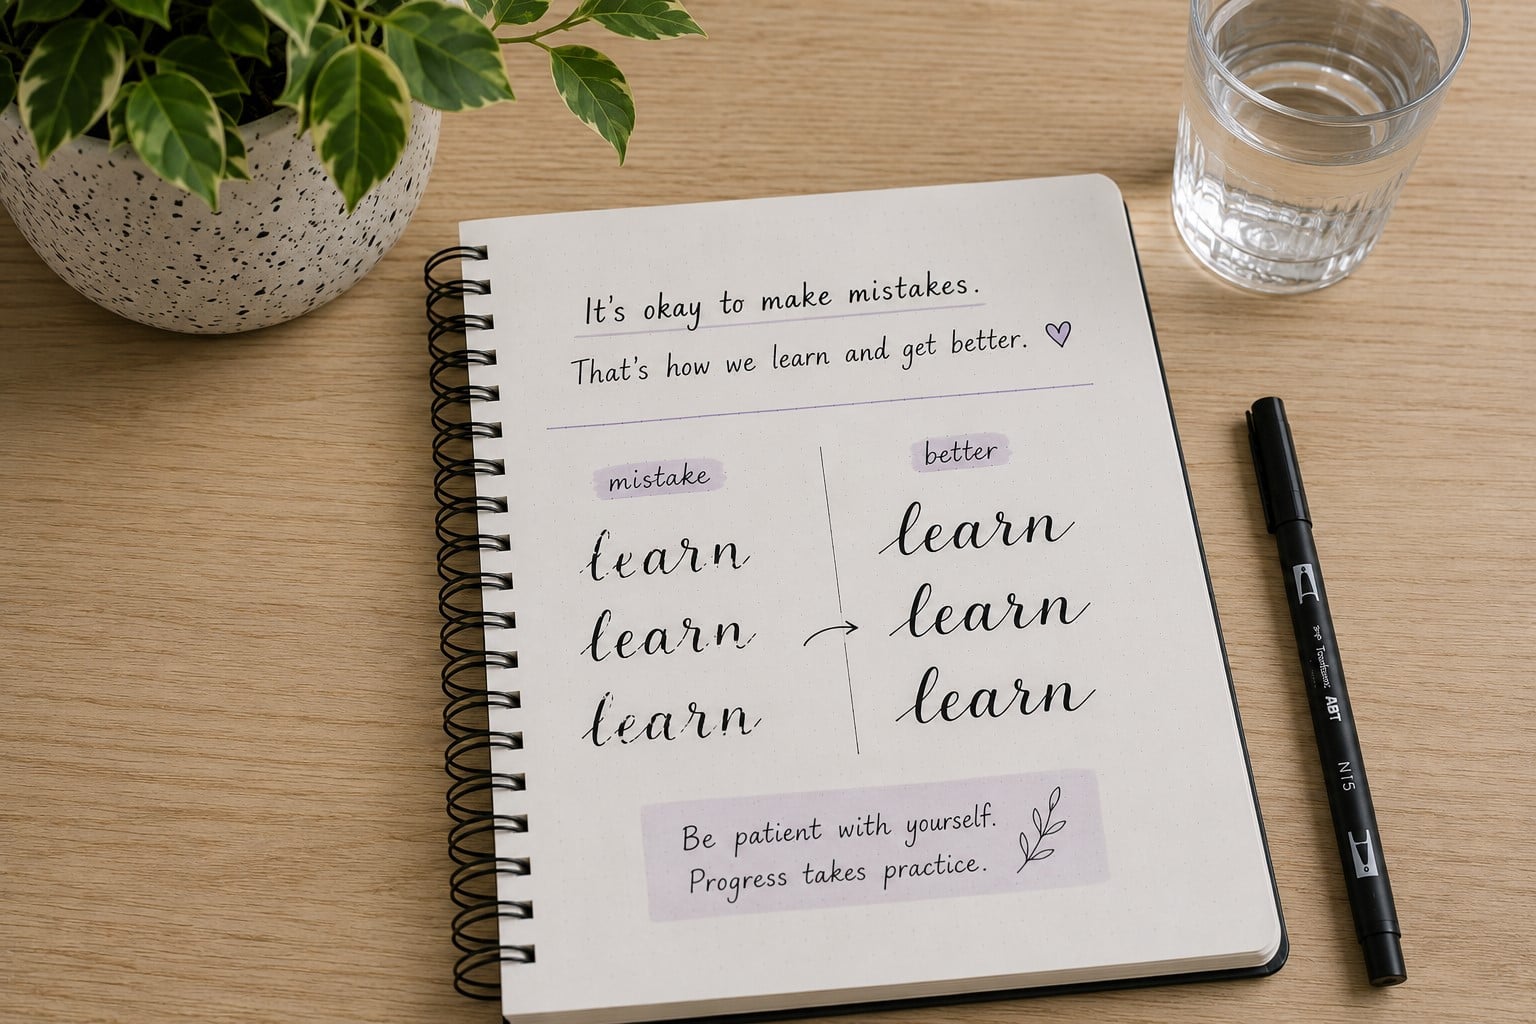
It’s tempting to tear out a practice page that didn’t turn out well. Many beginners do exactly that because they only want to keep their best work. The problem is that those imperfect pages often teach you the most.
Every uneven line, crowded word, or shaky curve points to a skill that needs a little more attention. One of the best Ways to Improve Your Hand Lettering Faster is to learn from those mistakes instead of pretending they never happened.
When you finish practicing, spend a few minutes reviewing your page. Circle the letters you like most and mark one or two areas that need improvement. Don’t try to fix everything at once. Choose one mistake to work on during your next practice session and give it your full attention.
Remember that mistakes are part of learning every creative skill. They show you where to improve and remind you that progress takes time. Keeping your older practice pages also makes it easier to see how much you’ve grown.
If you’re unsure which mistakes deserve the most attention, 15 Common Hand Lettering Mistakes (And How to Fix Them) explains the most common problems and how to correct them.
9. Try More Than One Lettering Style
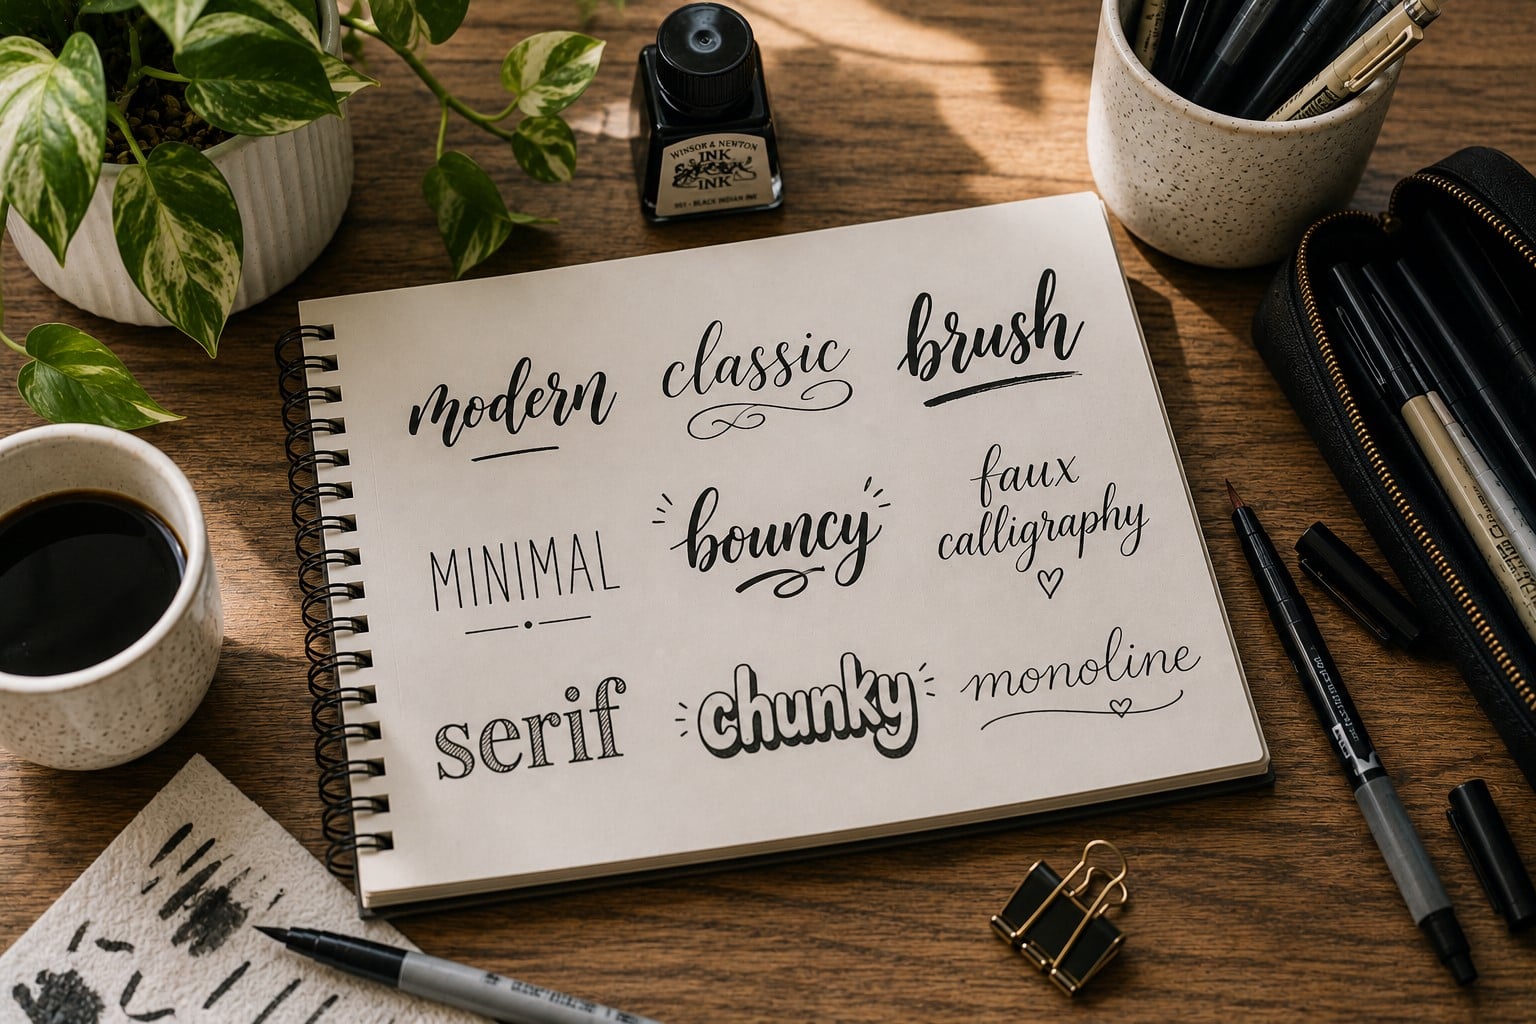
Many beginners spend all their time practicing one lettering style. While there’s nothing wrong with having a favorite, exploring different styles teaches your hand new movements and keeps practice interesting. It also helps you discover which styles feel most natural and enjoyable.
Set aside one practice session each week to experiment with something different. Try modern lettering one day, bouncy lettering another day, or a simple block style the next. Don’t worry about mastering every style. Your goal is simply to become more comfortable with different letter shapes and techniques.
Trying new styles also prevents your practice routine from becoming repetitive. You’ll stay motivated because every session feels fresh and gives you something new to learn.
As your confidence grows, you’ll naturally begin blending ideas from different styles into your own unique lettering. If you need inspiration, 11 Hand Lettering Styles Every Beginner Should Try is an excellent place to explore new ideas.
10. Strengthen Your Pen Control
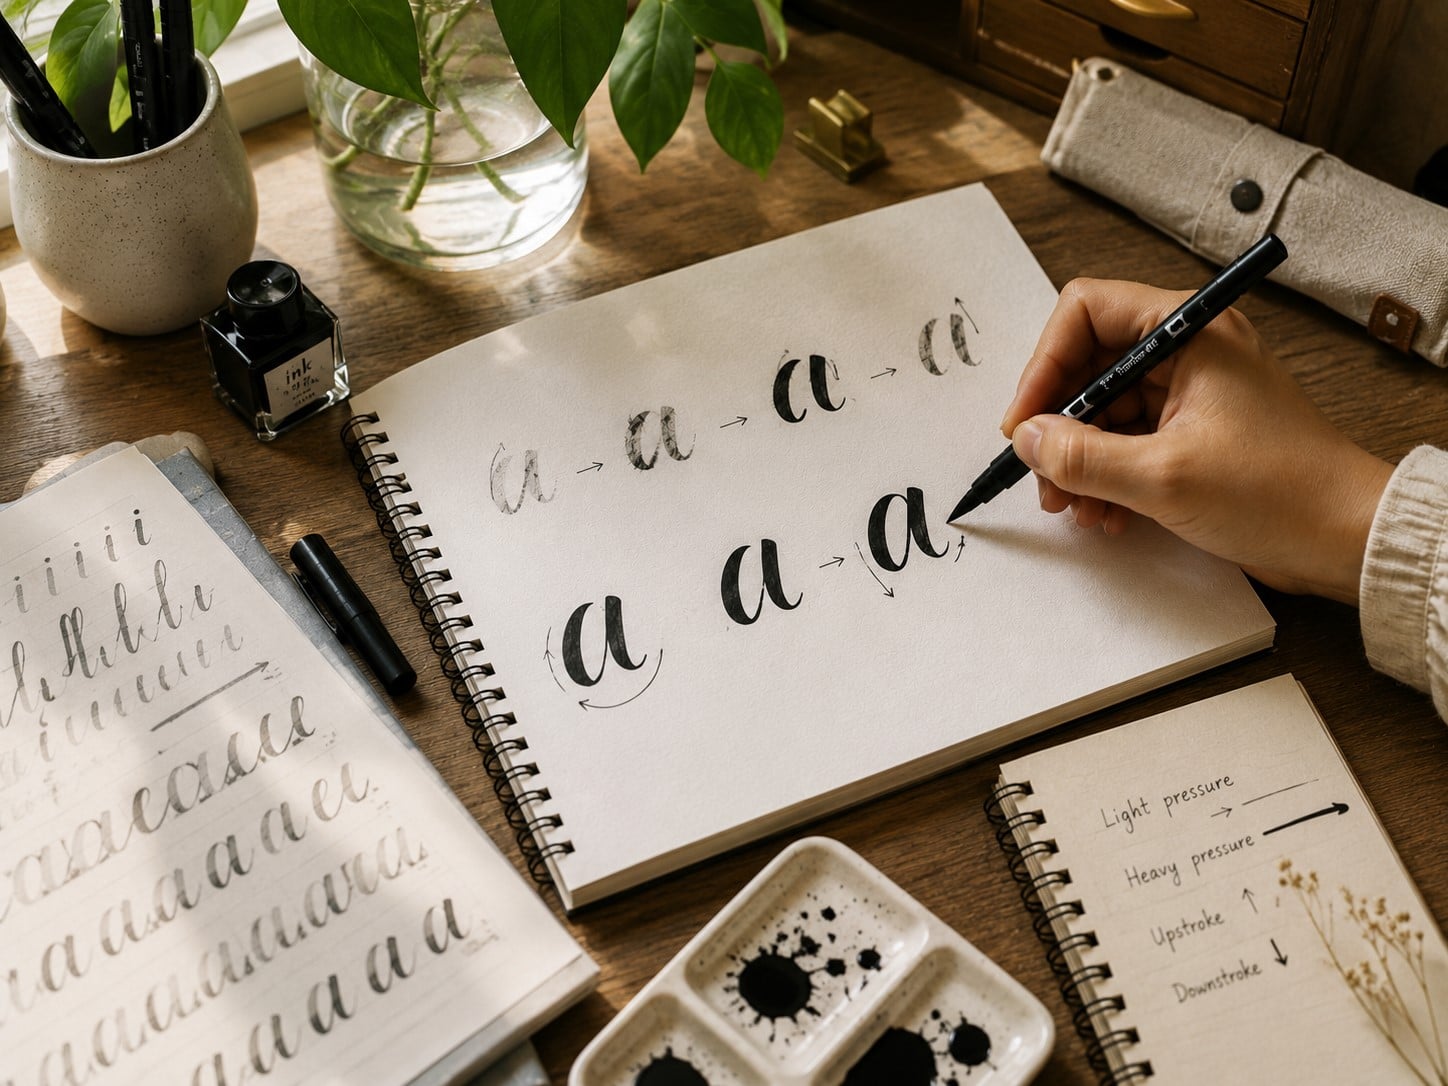
Good lettering begins with good control. If your pen moves in directions you didn’t intend, your letters can quickly become uneven.
That’s why spending time improving your hand control is never wasted. Better control leads to smoother curves, straighter lines, and cleaner transitions between letters.
Practice drawing slow lines, circles, loops, and figure eights before writing full words. Focus on making each movement steady instead of rushing to finish the page. These simple exercises strengthen the small muscles in your hand and improve coordination over time.
Avoid gripping your pen too tightly because it creates unnecessary tension. Hold it firmly enough to stay in control while allowing your hand to move freely. The more relaxed your grip becomes, the smoother your lettering usually looks.
If you’d like more targeted exercises, 17 Lettering Exercises That Instantly Improve Pen Control provides beginner-friendly drills that are easy to add to your routine.
11. Create Simple Lettering Projects
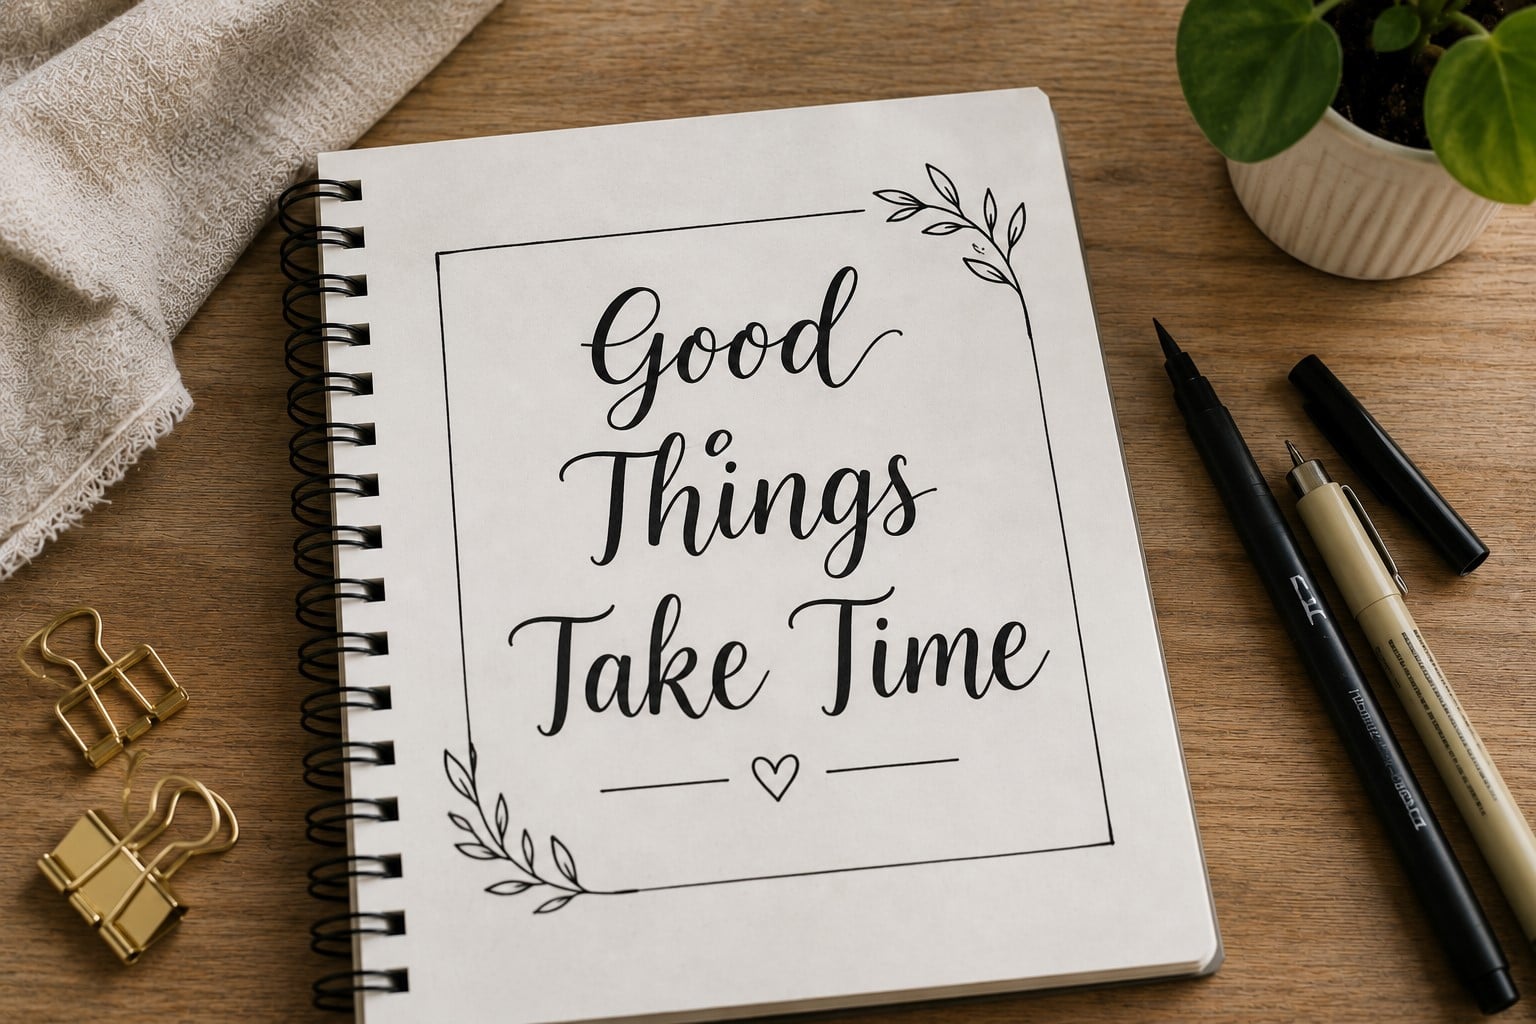
Practicing individual letters is important, but applying your skills to real projects builds confidence much faster. Creating something useful also makes practice feel more rewarding because you can see your progress in everyday life.
Start with simple projects like bookmarks, gift tags, greeting cards, journal covers, or encouraging quotes for your workspace.
Don’t worry about making them perfect. Focus on enjoying the process and using the techniques you’ve been practicing.
Working on small projects also helps you identify areas that still need improvement. You may notice that spacing becomes more difficult on longer quotes or that larger letters need extra attention. Those discoveries give your future practice sessions more direction.
If you’d like to create lettering that feels more polished, How to Create Modern Hand Lettering in 17 Easy Steps offers practical techniques you can apply to your next project.
12. Practice Different Letter Sizes
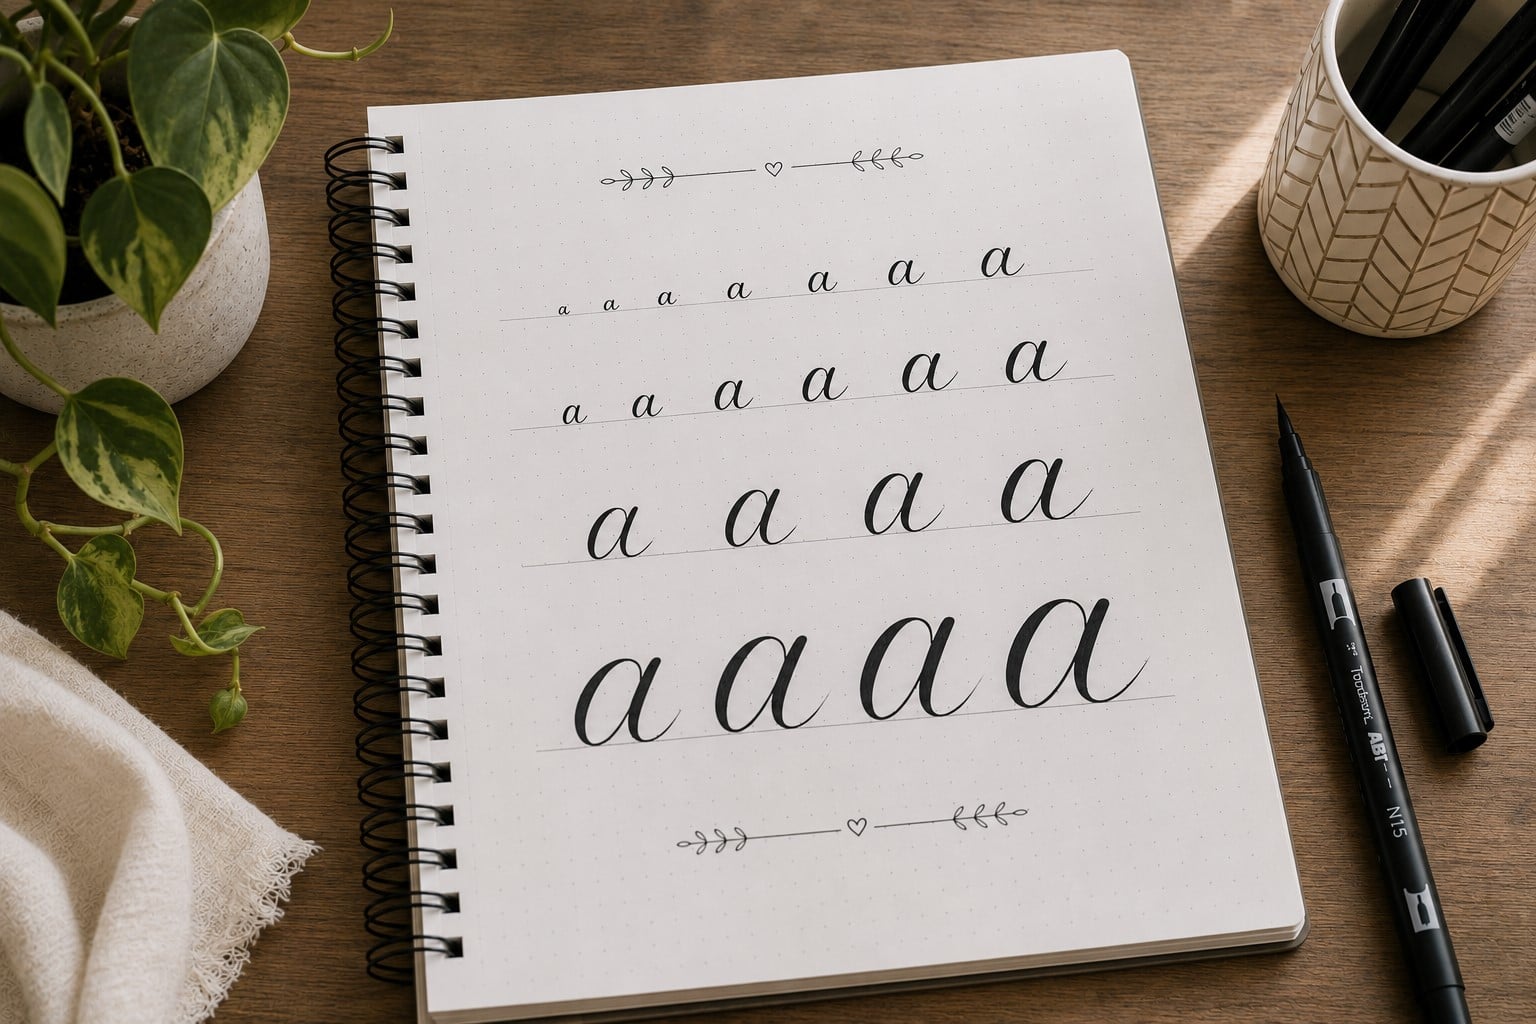
Writing letters at different sizes improves your control and makes you more comfortable working on different kinds of projects.
Small journal headings, large wall art, and greeting cards all require slightly different movements. Practicing only one size can limit your confidence when trying something new.
Choose one word and write it several times. Start with small letters, then increase the size with each new line. Keep the shape of every letter consistent as the size changes. Pay attention to spacing because larger letters need more room.
Don’t rush through this exercise. Large letters often reveal mistakes that are difficult to notice in smaller writing. Practicing different sizes also teaches you how to maintain balance regardless of the project.
If you’re ready to improve your layouts, 13 Secrets to Creating Beautiful Hand Lettering Compositions will help you arrange your lettering more effectively.
13. Use Bounce Lettering Carefully

Bounce lettering adds movement and personality to your work, but it can quickly look messy if every letter sits at a different height. Learning when and how to use it makes a big difference.
Start by choosing one simple word. Let only a few letters dip slightly below the baseline while keeping the rest aligned. This creates a playful look without making the word difficult to read. Practice the same word several times until the movement feels natural.
Many beginners exaggerate every bounce, making the lettering feel crowded and uneven. Small changes usually create a much cleaner result. Once you understand the basics, you’ll find it easier to add character without losing balance.
If you’d like to learn this style in more detail, How to Create Beautiful Bounce Lettering in 13 Easy Steps walks through the process step by step.
14. Stay Patient With Your Progress
Every lettering journey looks different. Some skills improve quickly, while others take weeks of consistent practice. Expecting perfect results too soon often leads to unnecessary frustration.
Celebrate small improvements instead of waiting for perfection. Maybe your spacing feels more balanced this week, or your curves look smoother than they did last month. Those small wins are signs that your practice is working, even if you still have more to learn.
Keep reminding yourself why you started. Enjoying the process makes it much easier to stay consistent. The more patient you become, the more likely you are to keep practicing until beautiful lettering becomes second nature.
15. Warm Up Before Every Practice Session

Just as athletes warm up before exercising, your hand benefits from a few minutes of preparation before lettering. Jumping straight into long words or detailed quotes can make your first few lines feel stiff and unsteady.
A simple warm-up helps your hand relax and prepares your muscles for smoother movements. It’s one of the easiest Ways to Improve Your Hand Lettering Faster because it only takes a few minutes.
Spend three to five minutes drawing straight lines, circles, loops, and gentle curves. You can also practice a few basic strokes before writing any letters. Don’t worry about making them perfect. The goal is simply to loosen your hand and improve your control before moving on to more detailed practice.
Many beginners skip this step because they’re eager to start lettering. In reality, those few extra minutes often lead to a much better practice session. You’ll feel more comfortable, your strokes will look smoother, and you’ll spend less time correcting mistakes.
16. Use Guidelines Until You No Longer Need Them
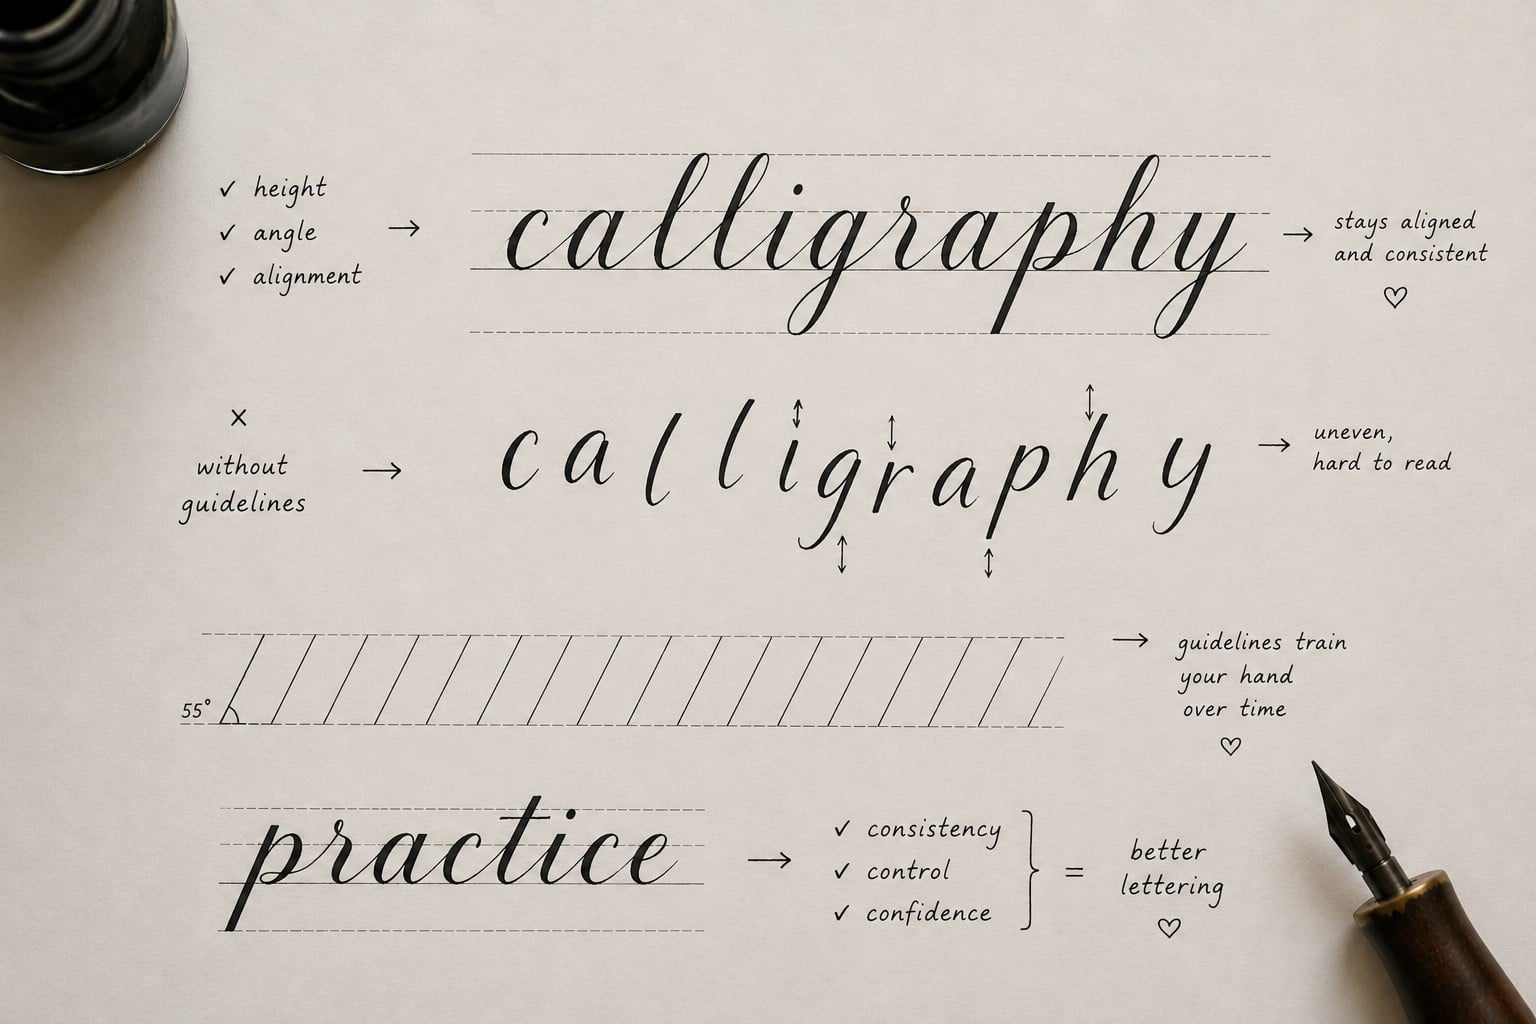
Some beginners think using guidelines is a sign that they aren’t improving. The truth is that many experienced letterers still use them when working on important projects. Guidelines help you keep your letters the same height, improve spacing, and create straighter words across the page.
Draw light pencil lines before you begin lettering or print worksheets with built-in guidelines. Use them to keep your letters sitting on the same baseline while maintaining a consistent height. As your confidence grows, gradually reduce how often you rely on them.
Don’t feel pressured to stop using guidelines too soon. They’re a learning tool, not a shortcut. The more consistently you practice with them, the easier it becomes to create balanced lettering even without visible lines.
17. Focus on One Improvement at a Time
Looking at a page full of mistakes can feel discouraging. You might notice uneven spacing, shaky strokes, inconsistent sizes, and awkward curves all at once. Trying to fix every problem during one practice session usually creates even more frustration.
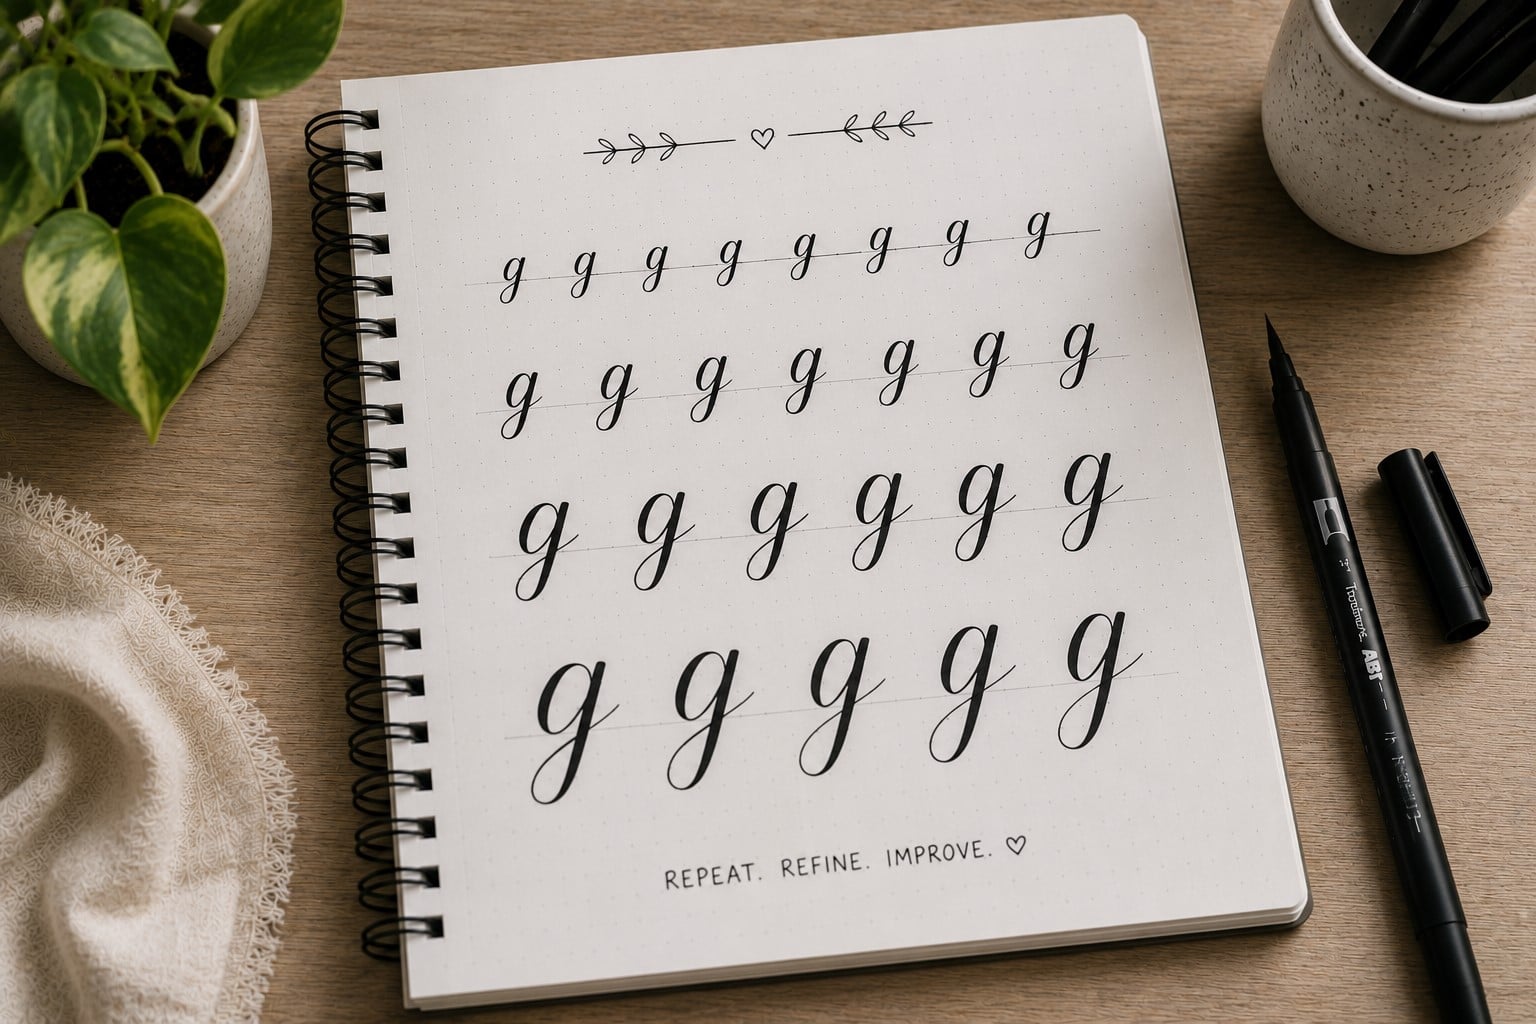
Instead, choose one skill and give it your full attention. Spend the entire session improving that single area before moving on to something else.
You may focus on smoother downstrokes today and better spacing tomorrow. This approach makes your progress easier to measure because you know exactly what you’re working on.
Small improvements build stronger habits than trying to change everything overnight. Before long, those individual skills come together naturally, and your lettering begins to look more polished without feeling forced.
18. Watch Your Hand Position
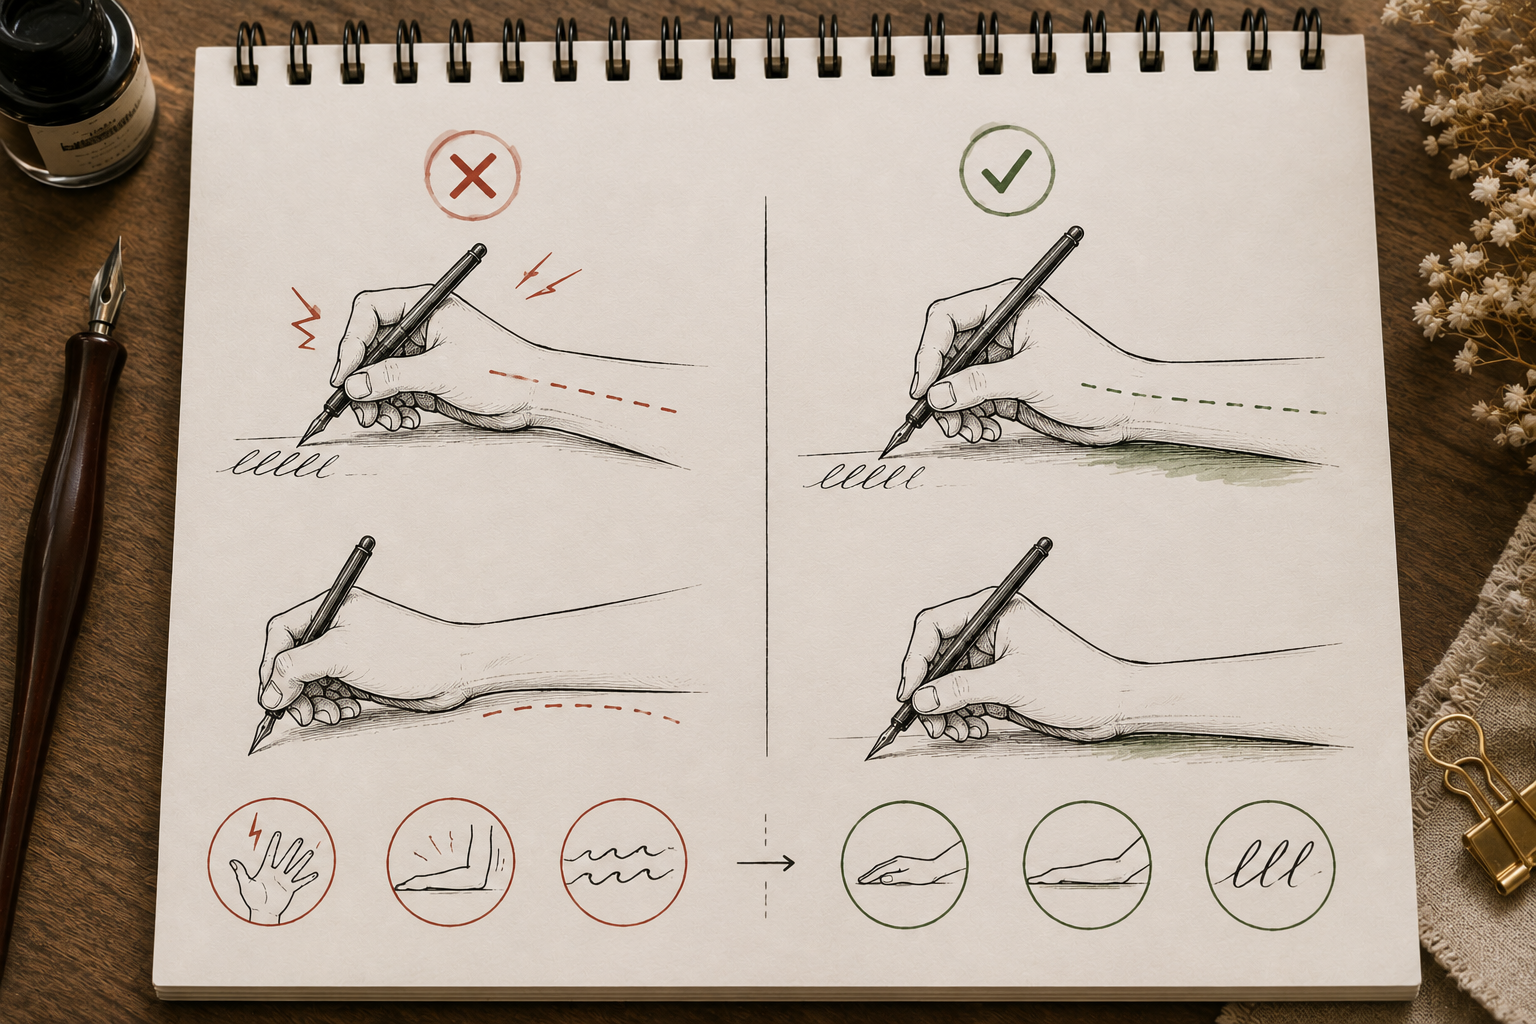
Many beginners focus only on the pen and forget about the rest of their hand. An uncomfortable hand position can make smooth lettering much more difficult. It can also lead to tired fingers and sore wrists during longer practice sessions.
Rest your hand comfortably on the paper and avoid bending your wrist into awkward angles. Rotate your notebook if it helps you create straighter strokes. Small adjustments often make lettering feel much more natural.
Take short breaks whenever your hand starts to feel tense. Stretch your fingers, shake out your wrist, and return when your hand feels relaxed again. Good posture and a comfortable grip allow your hand to move more freely throughout every practice session.
19. Practice With Real Words You Enjoy

Writing random letters has its place, but practicing words you actually enjoy makes lettering feel much more rewarding. Whether it’s your favorite quote, your name, or encouraging words, meaningful practice keeps you motivated.
Choose words that include different letter shapes and repeat them several times. This helps you practice transitions between letters while creating something that feels personal. You may even discover certain words become your favorites because they flow so naturally.
Meaningful practice also encourages you to spend more time lettering because you’re creating something you genuinely enjoy. Motivation grows much faster when practice feels creative instead of repetitive.
If you’re looking for beautiful projects to apply your skills, 19 Beautiful Ways to Letter Quotes Like a Pro is full of inspiring ideas.
20. Review Your Progress Every Month
It’s easy to forget how much you’ve improved because you see your lettering every day. That’s why reviewing older work is such a valuable habit.
Comparing today’s practice with something you created a month ago often reveals progress you didn’t even realize you’d made.
Set aside one day each month to look through your practice journal. Notice smoother lines, cleaner spacing, and stronger letter shapes.
You may also discover areas that still need extra attention, giving your next month of practice a clear direction.
Avoid judging your older work too harshly. Those pages represent the effort that helped you become a better letterer. Every practice session, even the messy ones, played a role in your progress.
21. Keep Practicing Even When Progress Feels Slow
Every lettering journey includes days when nothing seems to improve. You may finish a page feeling disappointed or wonder if you’ll ever reach the level you admire. Those moments happen to almost everyone, and they don’t mean you’re failing.
Progress often happens quietly. Your hand becomes steadier, your spacing improves, and your confidence grows long before you notice dramatic changes. The important thing is to keep showing up, even on days when your lettering doesn’t meet your expectations.
The people who improve the most aren’t always the most naturally talented. They’re usually the ones who stay consistent and trust the process.
These Ways to Improve Your Hand Lettering Faster work because they help you build lasting habits instead of chasing quick results.
Final Thoughts
Beautiful lettering isn’t created in a single weekend. It grows through small decisions you make every time you sit down to practice. Whether you’re slowing down your strokes, improving your spacing, or trying a new style, every step brings you closer to the results you want.
That’s why these Ways to Improve Your Hand Lettering Faster focus on building strong habits instead of searching for shortcuts.
Remember that improvement isn’t about being perfect. It’s about becoming a little better than you were yesterday. Keep your practice pages, celebrate the small wins, and don’t be discouraged by mistakes. They are part of the learning process and often become your greatest teachers.
Most importantly, enjoy creating. The more you enjoy the process, the easier it becomes to stay consistent. As your confidence grows, challenge yourself with How to Master the Hand Lettering Alphabet in 15 Simple Steps to continue building your skills.
With patience and regular practice, these Ways to Improve Your Hand Lettering Faster will help you create lettering you’re proud to share.