17 Lettering Exercises That Instantly Improve Pen Control
Disclosure: Some of the links in this post are affiliate links. This means if you click on the link and purchase an item, I will receive an affiliate commission at no extra cost to you.
You can own the best brush pens, copy beautiful lettering, and watch endless tutorials, yet your letters may still look shaky. The reason is simple. Beautiful hand lettering starts with control, not fancy techniques.
Every smooth curve, straight downstroke, and clean oval comes from training your hand to move with confidence. That’s why Lettering Exercises That Improve Pen Control are so valuable.
Think of your hand like a muscle. The more you practice the right movements, the steadier and more natural they become.
You don’t need hours of practice or expensive supplies to build better control. A few focused exercises done consistently can make a noticeable difference in the way your letters look.
If you’re still building a strong lettering foundation, How to Learn Hand Lettering Step-by-Step (Even If You Can’t Draw) is the perfect place to start before adding these exercises to your routine.
In this guide, I’ll share seventeen simple exercises that strengthen your pen control, improve consistency, and help your lettering feel smoother with every practice session.
Some take only a few minutes, but together they can completely change the quality of your hand lettering.
17 Lettering Exercises That Instantly Improve Pen Control
1. Fill a Page With Straight Lines

Straight lines may look like the easiest exercise, but they reveal how much control you really have.
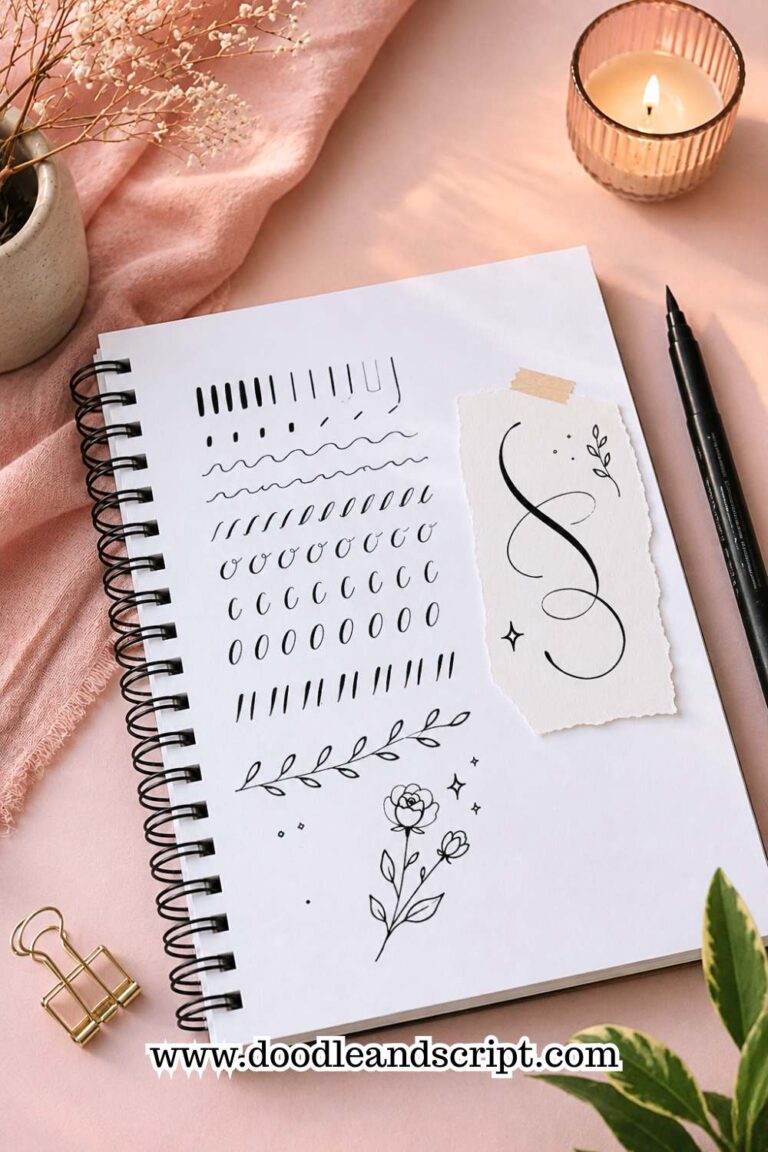
Draw slow vertical lines from the top of the page to the bottom, keeping each one the same length and distance apart. Then repeat with horizontal and diagonal lines.
Don’t worry about speed. Focus on making every stroke smooth instead of correcting it halfway through. As your control improves, you’ll notice your letters becoming cleaner and more consistent.
That’s why this is one of the most effective Lettering Exercises That Improve Pen Control. Try using the entire page instead of stopping after a few rows. The more repetitions you complete, the steadier your hand will become.
If you notice your lines starting to wobble, pause for a moment and begin again with slower, more controlled movements.
If you want more ways to strengthen your daily practice, 25 Beginner Lettering Exercises That Actually Work is a great next read.
2. Practice Ovals Until They Feel Natural

Many lowercase letters begin with an oval shape, so this exercise pays off quickly. Fill a page with small ovals, aiming to make them the same size and shape. They don’t need to be perfect, but they should look consistent.
If one side keeps flattening or becoming wider than the other, slow down and pay attention to your hand movement.
Once your ovals become smoother, you’ll find letters like a, d, g, and o much easier to write. Don’t rush to make tiny ovals before you’re comfortable with larger ones.
Bigger shapes are easier to control and help you understand the movement. As your confidence grows, gradually reduce the size until they resemble the letters you normally write.
3. Draw Continuous Loops

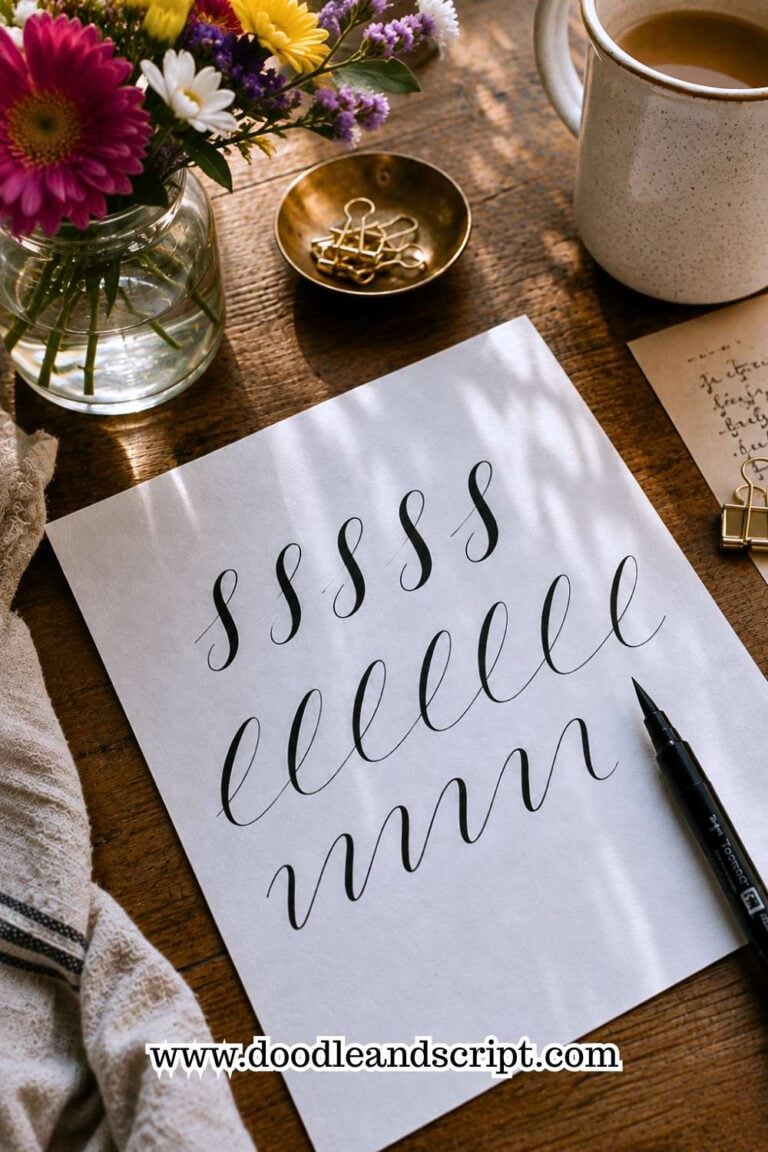
Loops improve your ability to move your pen smoothly without stopping. Start at the bottom of the page and draw connected loops all the way across, then repeat the exercise in the opposite direction.
Keep the loops similar in height and width. This helps your hand develop a steady rhythm instead of making random movements.
Over time, you’ll notice smoother ascenders, descenders, and flowing script letters. Try completing several rows without lifting your pen from the paper.
This encourages fluid movement and helps reduce stiff wrist motions. Once the loops feel comfortable, experiment with making them slightly taller or narrower while keeping them consistent.
4. Master Light and Heavy Pressure

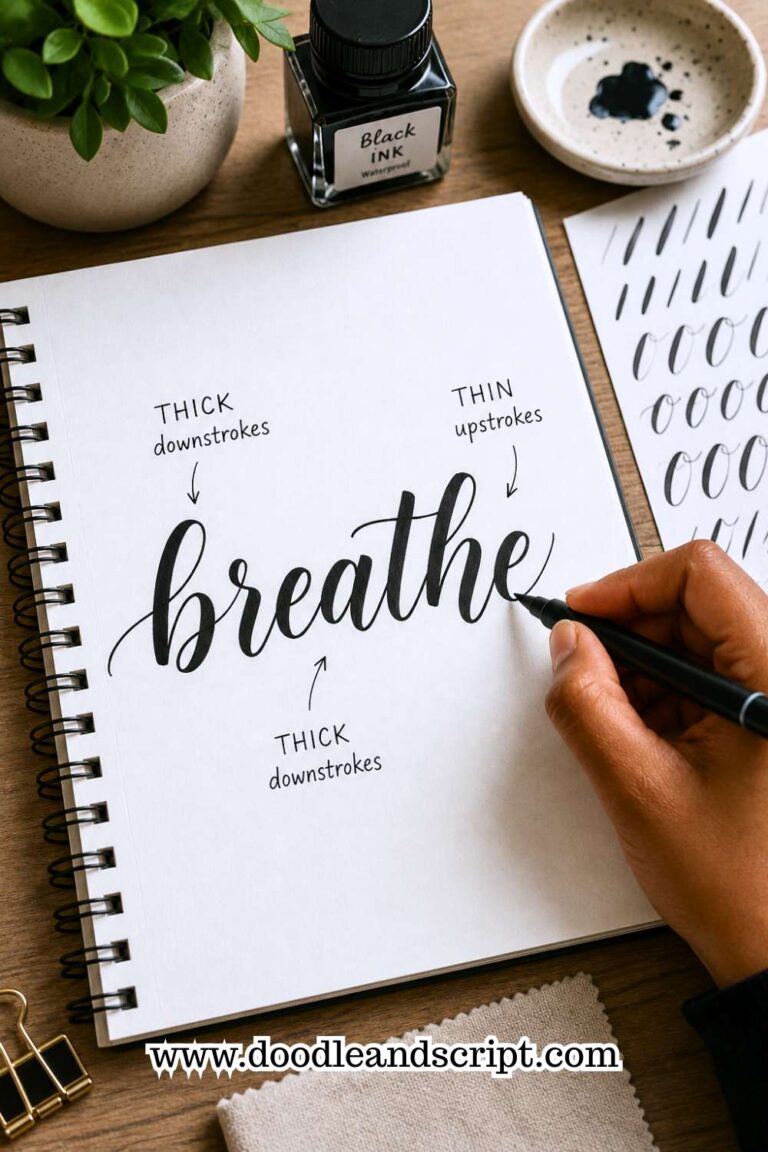
If you’re using a brush pen, controlling pressure is one of the biggest skills to develop. Practice making light upstrokes and heavier downstrokes without changing your speed.
Instead of writing letters immediately, fill a page with simple pressure strokes. This allows you to focus entirely on your pen control. Once this movement becomes natural, your brush lettering will look much cleaner.
Don’t press harder than necessary because that can damage your brush tip over time. Aim for smooth transitions instead of dramatic changes in pressure.
A few minutes of this exercise before every practice session will warm up your hand and improve your control.
If you’re new to pressure control, Easy Hand Lettering Tutorial: Learn in 21 Minutes will help you build confidence with the basics.
5. Practice Underturns and Overturns

Underturns and overturns appear in many letters, including u, n, m, h, and y. Practicing these shapes repeatedly trains your hand to create smooth transitions instead of shaky corners.
Start slowly and pay attention to the curve at the top and bottom of each stroke. Try to make every shape match the previous one.
Once they become consistent, you’ll notice many letters improving without extra effort. A useful trick is to complete one full row of underturns before switching to overturns.
This helps your muscles remember each movement instead of constantly changing direction. As the shapes become smoother, you’ll notice that writing common letters requires much less effort.
6. Connect Basic Strokes Together

Instead of practicing single strokes, begin joining them together. Combine an overturn with an underturn or an oval with a straight stroke to create flowing patterns.
This exercise teaches your hand to move naturally from one shape to another. It’s also excellent preparation for writing complete letters because you’re practicing the same movements you’ll use in real words.
Move slowly enough that every connection feels smooth instead of rushed. If one transition feels awkward, repeat just that combination several more times before moving on.
Building confidence with connected strokes will make writing full words feel much more natural.
If you want to build those skills further, How to Master the Hand Lettering Alphabet in 15 Simple Steps will show you how these basic strokes form every letter.
7. Practice Figure Eights

Figure eights are excellent for improving control because they combine curves in two different directions.
Draw one continuous figure eight after another, keeping each one the same height and width. Try not to stop between shapes, as the goal is to develop a smooth, flowing motion.
As you practice, focus on making the center of each figure eight neat instead of rushed. If one side keeps becoming larger than the other, slow your hand down until both halves look balanced.
This simple exercise improves wrist flexibility and helps you create smoother curves when lettering.
With regular practice, you’ll notice that rounded letters feel much easier to write. If you’re looking for more ways to improve your overall lettering skills, 21 Proven Ways to Improve Your Hand Lettering Faster is a helpful guide.
8. Trace Your Favorite Letterforms

Tracing isn’t cheating. It’s actually one of the fastest ways to train your hand to understand smooth letter movements. Print a lettering worksheet or place tracing paper over lettering you admire, then carefully follow each stroke.
Pay attention to the speed, pressure, and direction of every line instead of tracing mindlessly. After tracing a few times, try writing the same letters without looking at the guide. You’ll often be surprised by how much you’ve learned.
This exercise builds muscle memory while helping you understand proper letter construction. The goal isn’t to copy another artist forever but to learn techniques you can apply to your own lettering style.
9. Fill a Page With Parallel Lines

Parallel lines are a simple but powerful exercise for building steady hand movement. Draw one line, then place another beside it while keeping the spacing as even as possible. Continue until you’ve filled the page.
This exercise trains both accuracy and consistency because your hand learns to judge distance without relying on guesswork.
If some gaps become wider than others, don’t get discouraged. Simply slow down and aim for improvement with each new row.
Over time, you’ll notice better spacing in both your letters and your words. If you want to create cleaner layouts, 13 Secrets to Creating Beautiful Hand Lettering Compositions explains how consistency improves every design.
10. Write the Same Letter Repeatedly

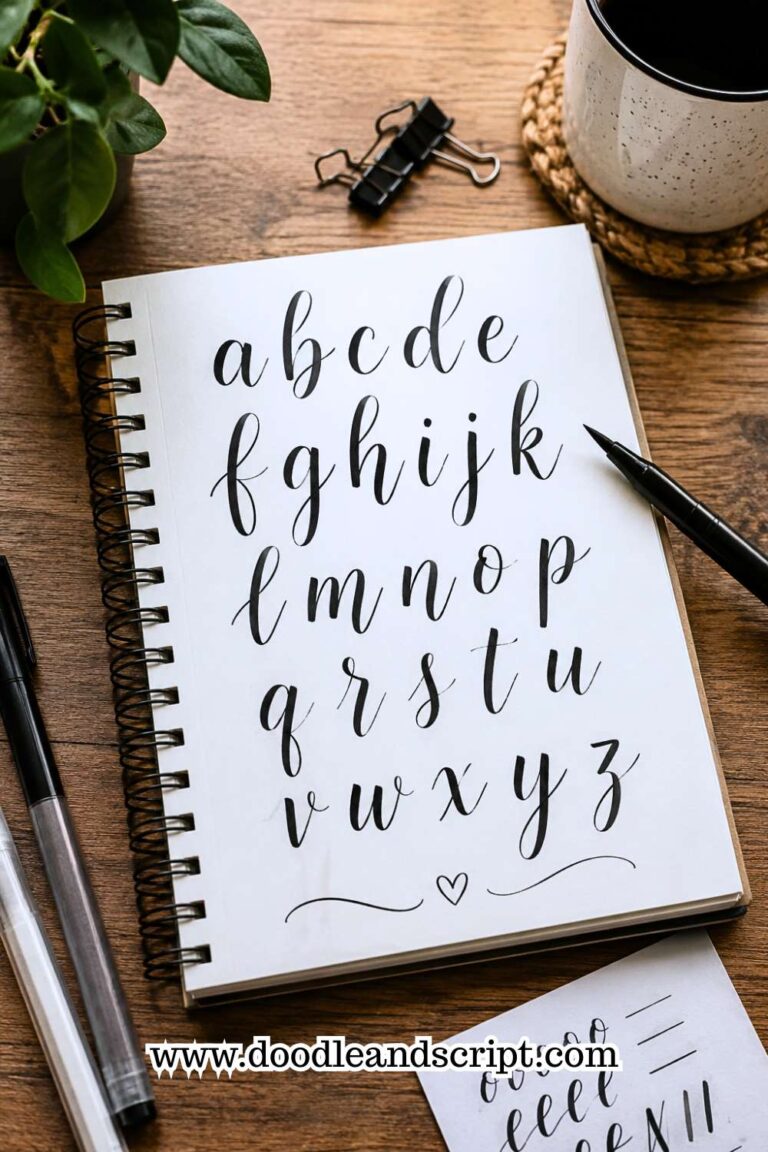
Instead of writing the entire alphabet, choose one letter that needs improvement and fill a page with it. You might spend one session practicing only s, then focus on g the next day.
Repeating a single letter helps your muscles remember the movement much faster than constantly switching between different shapes.
By the end of the page, you’ll usually notice smoother strokes and better consistency than when you started.
Don’t worry if the first few attempts aren’t your best. Every repetition teaches your hand something new, and those small improvements quickly add up.
11. Practice Slow Pen Lifts

Knowing when to lift your pen is just as important as knowing when to keep it moving. Practice writing simple shapes while lifting your pen only at natural stopping points.
This teaches you to make deliberate movements instead of breaking every stroke into small, shaky sections.
As you become more comfortable, begin applying the same idea to letters and short words. You’ll notice your lettering looking smoother because each stroke flows with more confidence.
Taking control of your pen lifts also helps reduce unnecessary corrections that interrupt the rhythm of your writing.
If you want your finished pieces to look more polished, 23 Easy Tricks to Create Aesthetic Hand Lettering shares several techniques that build on this skill.
12. Warm Up Before Every Practice Session
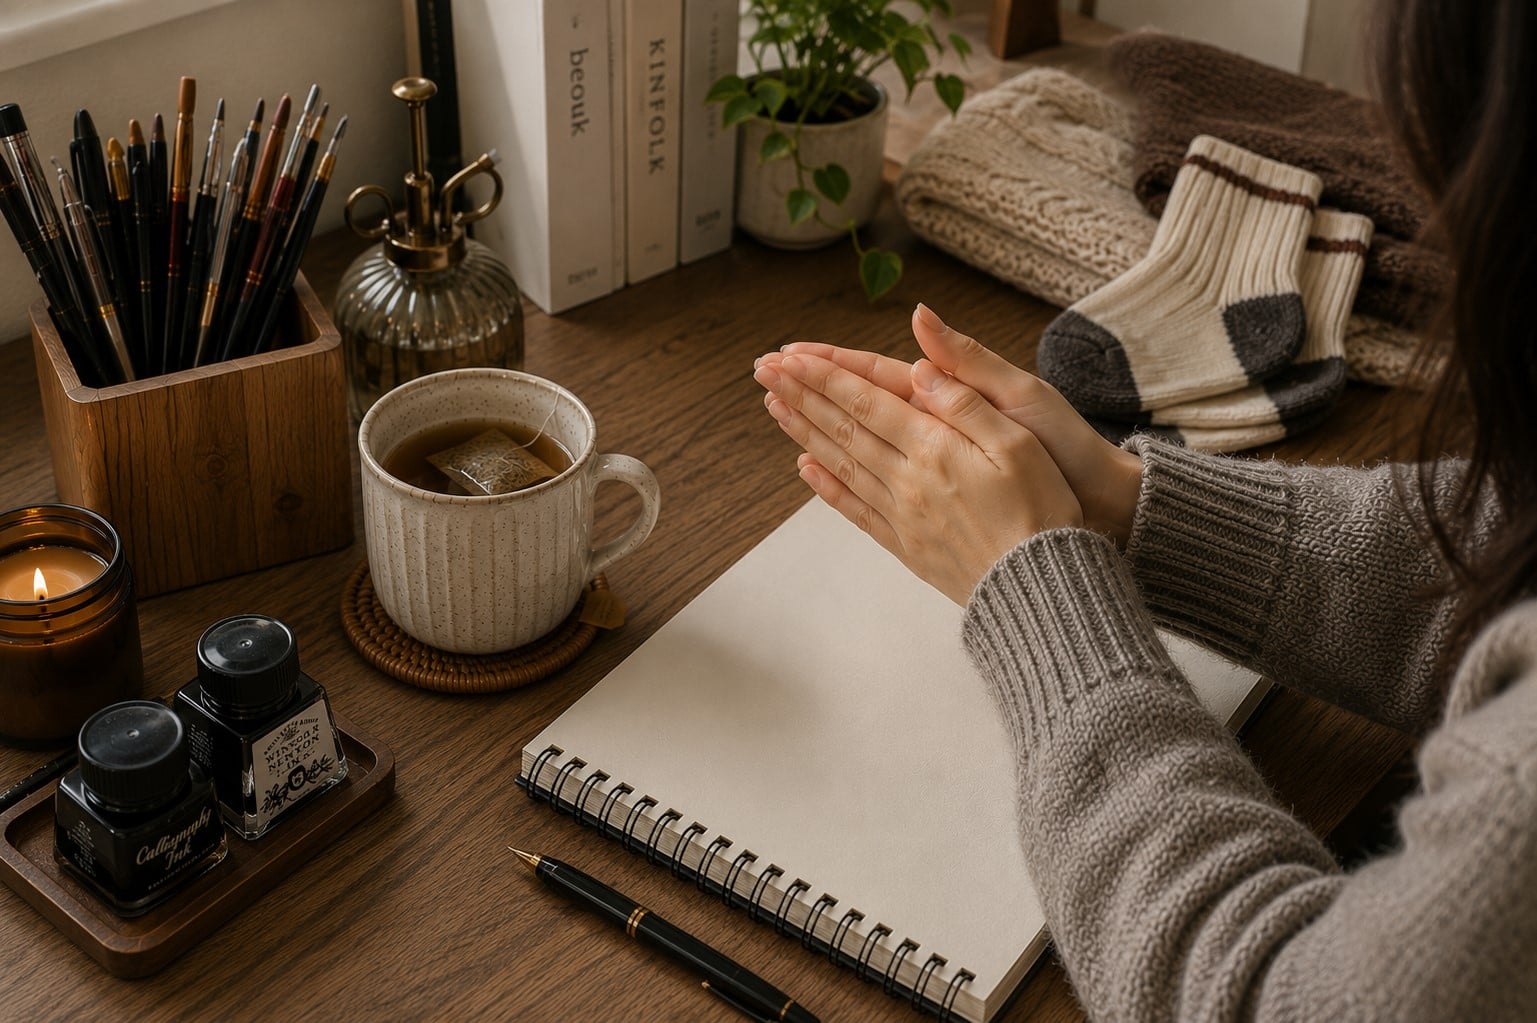
Just as athletes warm up before exercising, your hand benefits from a short warm-up before lettering. Spend five minutes drawing lines, loops, ovals, and gentle curves before writing your first word.
This prepares your muscles for longer practice sessions and helps reduce stiffness. It also gives you a chance to settle into a steady rhythm before working on more detailed lettering.
You’ll often notice that your first real lettering exercise looks much better after a proper warm-up than when you start cold. Making this a daily habit can improve both your pen control and your confidence over time.
13. Draw Long S Curves

Long S curves are great for improving control because they require smooth direction changes. Start at the top of the page and draw large, flowing S shapes all the way down. Keep your movement relaxed and avoid making sharp bends.
As you repeat the exercise, aim to make every curve look similar. This trains your hand to move with confidence instead of making hesitant corrections. You’ll notice the improvement when writing letters like s, f, and decorative flourishes.
If you’d like more guidance on creating smooth, stylish lettering, How to Create Modern Hand Lettering in 17 Easy Steps is a great resource.
14. Practice Writing Simple Words

Once your basic strokes feel comfortable, begin putting them together in short words. Choose simple words like joy, hope, dream, or kind and write each one several times across the page.
Writing complete words helps you practice letter connections, spacing, and rhythm all at once. It also shows you which letters still need extra attention.
If one word feels awkward, slow down and identify which letter is causing the problem before repeating it. This exercise bridges the gap between drills and real lettering projects.
For more ideas on combining letters beautifully, 11 Hand Lettering Styles Every Beginner Should Try is worth exploring.
15. Change Your Writing Speed
Many people practice at only one speed, but changing your pace teaches better control. Write a row of letters very slowly, then write the next row a little faster while keeping the same quality.
This helps you discover the speed where your lettering feels the most comfortable. If your strokes become shaky as you speed up, you’ve found an area to work on.
As your control improves, you’ll be able to write faster without losing consistency. Don’t rush the process; smooth lettering always comes before quick lettering.
16. Review Your Practice Pages
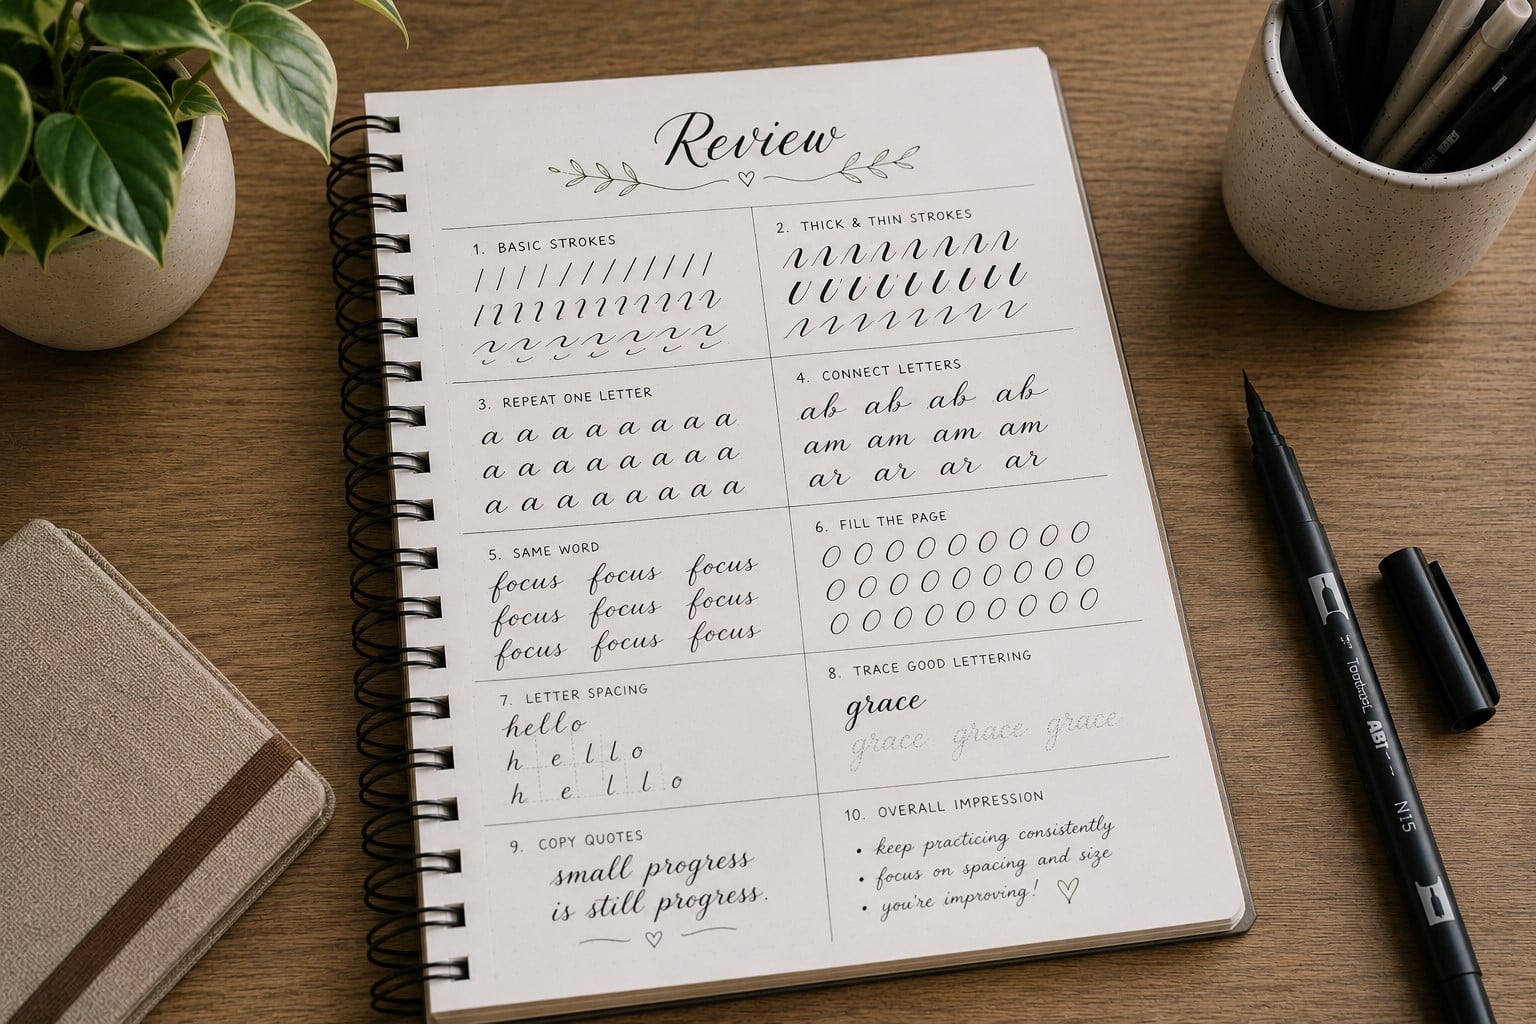
Don’t close your notebook as soon as you finish practicing. Spend a few minutes looking over your work and comparing the first row with the last. You’ll often spot improvements you didn’t notice while writing.
Circle one thing you did well and one thing you want to improve during your next session. This keeps your practice focused instead of repeating the same mistakes every day. Small observations lead to steady progress, especially when you act on them.
If you’re looking for more beginner-friendly advice, 17 Hand Lettering Tips Every Beginner Should Know will help you build smarter practice habits.
17. End Every Session With a Finished Piece

After completing your exercises, reward yourself by lettering a short quote, your name, or a favorite word. This gives you the chance to apply everything you’ve practiced while ending your session on a creative note.
Don’t expect perfection. The goal is simply to see how your warm-up exercises have improved your pen control.
Save each finished piece so you can compare it with future work. Looking back at older pages is one of the best ways to see just how far you’ve come.
If you’d like your practice to lead to more polished designs, Tricks to Create Aesthetic Hand Lettering: 23 Easy Ways to Elevate Your Style is the perfect next step.
Final Thoughts
Improving your pen control doesn’t happen overnight, but it also doesn’t require endless hours of practice. A few focused minutes each day can strengthen your hand, improve your confidence, and make every lettering session more enjoyable.
The more consistently you practice these Lettering Exercises That Improve Pen Control, the more natural smooth, confident strokes will become.
Remember that every artist starts with shaky lines and uneven letters. What separates confident lettering artists from beginners isn’t talent; it’s consistent practice.
Keep showing up, stay patient with yourself, and celebrate the small improvements along the way.
When you’re ready to take your lettering to the next level, 15 Common Hand Lettering Mistakes (And How to Fix Them) will help you avoid common habits that can slow your progress and keep your skills moving forward.