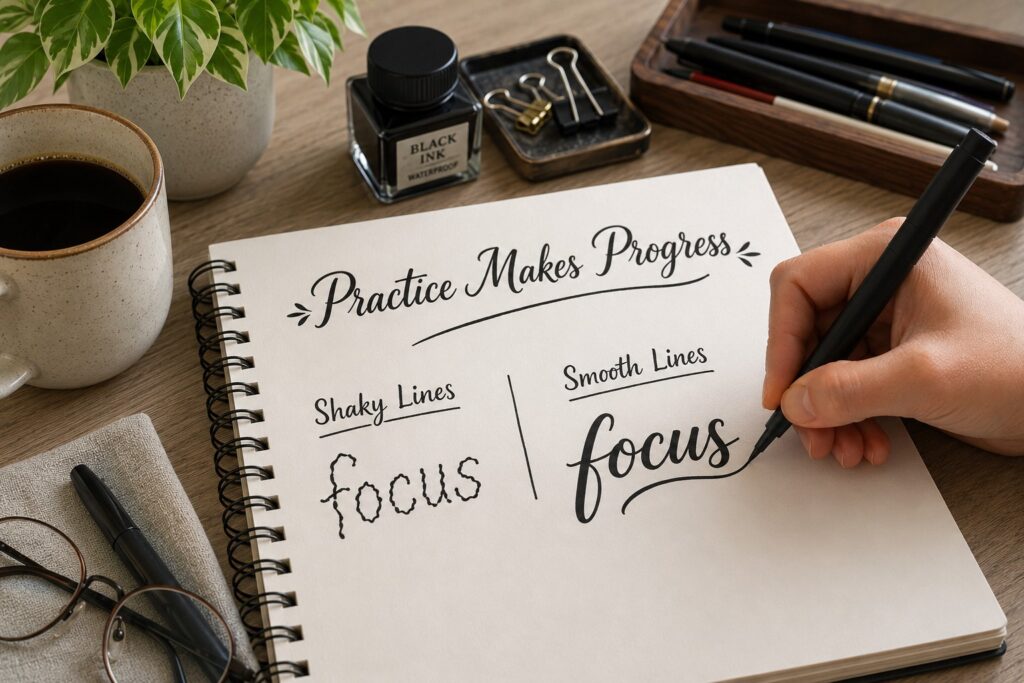
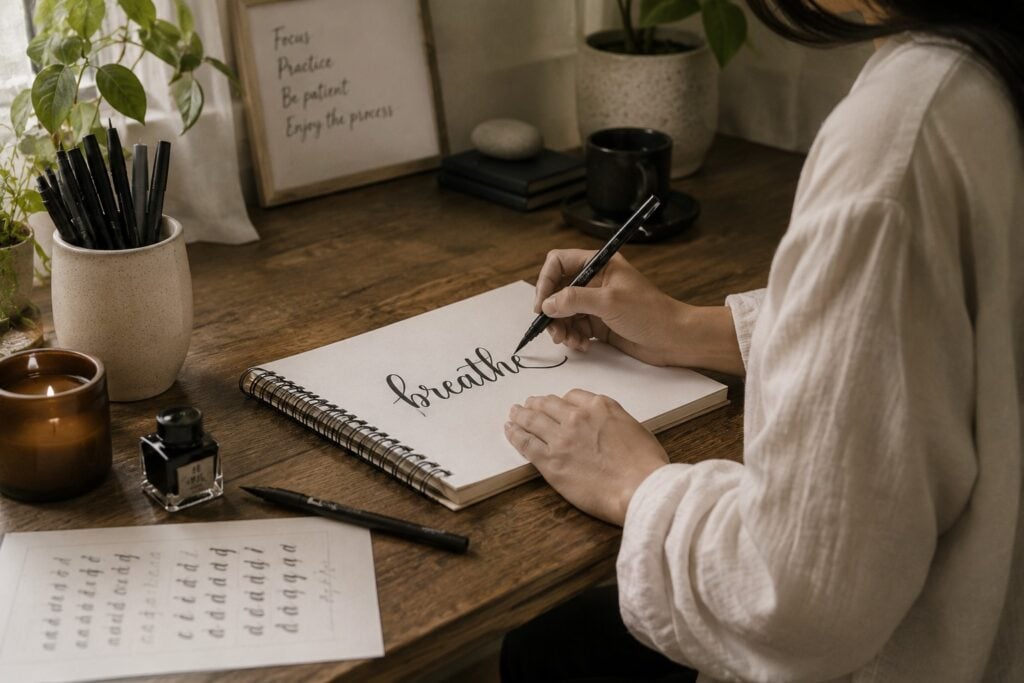
How to write smoothly without shaky lines
If you are always frustrated at how shaky your lines come out each time you write calligraphy, you’re certainly not alone. A lot of other calligraphers are on this table and shaky lines don’t occur because you aren’t creative or you don’t have steady hands but it boils down to the technique, like how you hold your pen, the amount of pressure you apply when writing and how you move your hand. If you’re just starting out and want to understand the full picture of what good technique looks like, this calligraphy for beginners: complete starter guide is a great place to build that foundation.
Apart from these techniques, there are a few other personal things I did like to share with you that will help as well, so stick around till the end.
In this guide, I’ll walk you through exactly how to write smoothly in calligraphy without shaky lines. You’ll learn what’s really causing those uneven strokes, the simple adjustments that can make a huge difference, and practical exercises you can start using right away.
Before I talk about the techniques that you need to apply to get smooth lines, let me tell you;
Things that I do personally before practice to prep me for writing
1. I fill up my stomach first

This may sound funny but it’s very important, if you are hungry and you try to write calligraphy, the tendency that your lines will come out wobbly is high because hunger may cause a lack of proper concentration that is required to produce the lines and muscle fatigue or hand trembling making your hands to shake while writing.
2. I warm up my body

I easily get cold, so during the rainy season, I usually warm up my body by either drinking hot tea or taking a warm bath and wearing thick clothes with socks on my feet. Even when I don’t feel cold, I usually rub my palms together as an exercise to warm up. A cold environment can cause muscle tension, difficulty with fine motor skills, hand fatigue, which could lead to shivering and your lines won’t come out straight.
3. Avoid caffeine
I don’t take coffee personally; I don’t just like it. But if you plan to do calligraphy, avoid a high intake of caffeine beverages beforehand.
Why Your Writing Looks Shaky
1. Lack of Motor Control
I used to think shaky writing was just “bad handwriting,” but honestly, it’s usually just a control issue. Writing depends a lot on your fine motor skills; I mean those small, controlled movements that your fingers and hands make. If your hand isn’t used to moving slowly and precisely, your lines will naturally come out wobbly, even if you’re trying your best. Working through beginner calligraphy exercises to improve control is one of the most effective ways to train your hand to move with the kind of precision calligraphy requires.
Look at it in this aspect: if you’ve never trained your hand to move smoothly, you can’t expect it to suddenly produce perfect lines. It’s not about talent; you need to practice and control. Don’t worry, I will guide you on how to train your hands; just keep reading.
Check out these signs to see if your hand control needs improvement
You’ll notice this is your problem if:
Your lines look shaky even when you’re going slowly.
You struggle to keep strokes straight or consistent.
Your curves look uneven or bumpy.
Your hand feels awkward or unsteady when writing.
2. Poor Grip Technique
This one is very common among beginners, and I didn’t even realize I was doing it at first when I started. Knowing how to hold a calligraphy pen correctly is one of the most important things you can sort out early; because a wrong grip affects everything from your pressure control to the steadiness of your strokes. Here are a few poor pen grips you should take note of when next you are practicing:
Don’t hold your pen too tightly.
Avoid pressing too hard on the paper, especially for the downstroke.
Stiff finger position can also result in shaky lines.
A lot of calligraphers grip the pen as if they’re trying to control it too much, but actually end up doing the opposite.
3. Writing Too Fast
Don’t be too surprised or fooled by those Instagram pros you see who usually post videos of them writing with speed and still get smooth lines; most of them may have probably shot the video many times before they got it right.
I understand the temptation that you just want to write quickly and get it over with. But here’s the truth: speed and control rarely come at the same time, at least not in the beginning. So, take your time and write slowly. If you want targeted tips on how to speed up your progress without sacrificing quality, this post on how to improve calligraphy fast will give you a smarter approach to practice.
Because when you write too fast, your hand won’t have enough time to guide each stroke properly, and that’s how the shaking starts to show.
Write at your speed: My speed is not painfully slow, and not too fast either. Everyone is different; the speed at which I write will differ from your own speed. But it must be intentionally slow in order to achieve the smooth lines. All you need it to find the speed which is comfortable to you,
4. Incorrect Posture
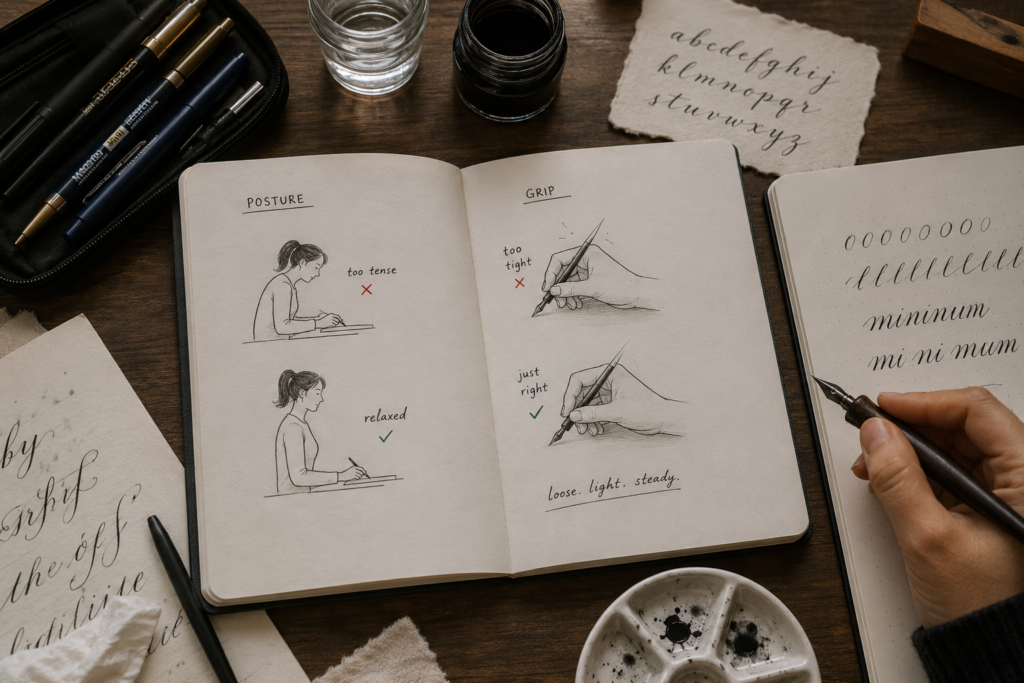
During my early days in calligraphy, I used to sit on a bench at my uncle’s shop, placing my paper on that same bench. I thought I was comfortable, but my calligraphy lines used to look so uneven. Then when I return home and sit at my study table, on a proper chair, my strokes will come out clean, at least better than when sitting on the bench. I didn’t know that my posture would affect the way my writing came out, not until I started observing it. And this is one of those things people overlook, but it makes a big difference. If you’re hunched over, sitting awkwardly, or your paper is at a weird angle, your hand won’t feel stable. Everything about setting up a proper workspace for calligraphy is covered in this guide on how to learn calligraphy at home.
Another one is your arm movement, and if you write using only your fingers or wrist, your strokes will probably come out shaky. All you need to do is allow your arm to guide the motion so that your writing will flow naturally.
Hand Control Exercises to Eliminate Shakiness
Remember that I actually promised to guide you on how to train your hands to achieve smooth lines. These simple hand control exercises helped me move from shaky lines to smooth, confident strokes, and they’ll do the same for you if you stay consistent.
1. Basic Line Drills:
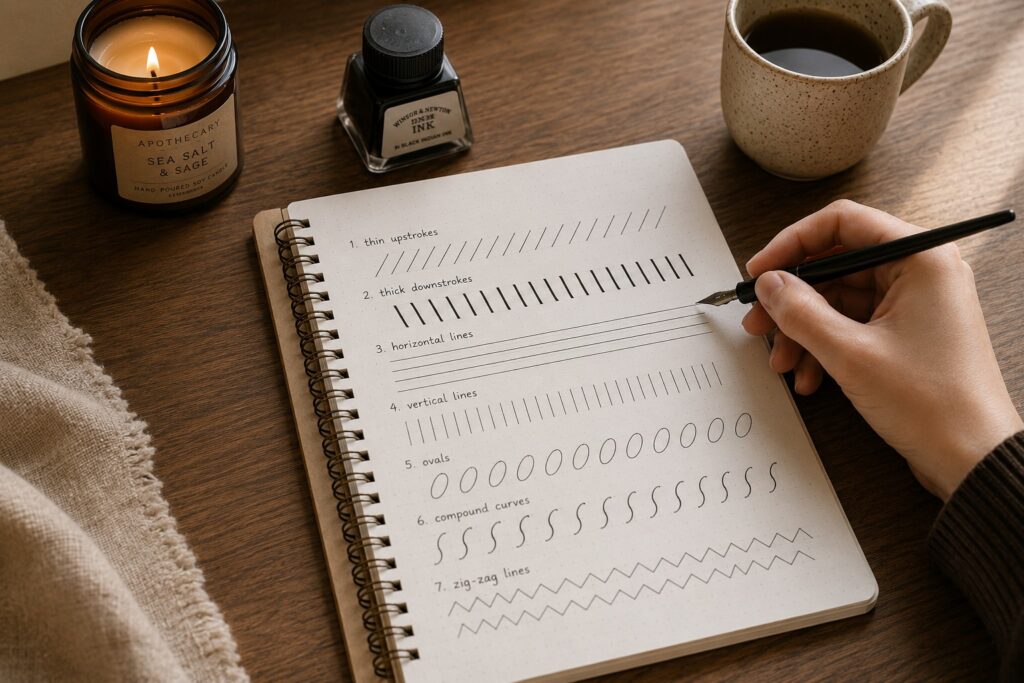
You may see this as basic, but it is the stepping stone; the foundation of smooth and controlled writing. Don’t joke with it. These are essentially the same foundational drills covered in calligraphy drills every beginner should practice and the reason they work so well is that they build muscle memory faster than anything else.
Start with straight lines practice
I usually start with straight lines because they teach you everything: your control, pressure, and even your patience.
Here’s how to practice:
If you are using blank paper, first draw out your guidelines (horizontal lines across your page).
Then slowly draw light straight lines with minimal pressure from bottom to top for upstrokes. For downstrokes, press your pen firmly to your paper and create a thick line from top to bottom, gradually increasing the pressure as your pen moves downward.
Don’t rush, just focus on keeping the line steady.
And keep your pressure consistent from start to finish.
Don’t be disappointed if your line still shakes a bit at first; the goal isn’t perfection, it’s control. Keep practicing it repeatedly, and you’ll improve.
2. Curved Lines and Loops:

After straight lines come the curves and loops; here, it usually looks tricky at first because curves require more control. Understanding how pressure changes between upstrokes and downstrokes is what makes curves feel natural rather than forced, so that post is worth revisiting alongside this exercise.
Start by drawing soft “C” shapes, making the beginning and ending of the light while the middle thicker.
Practice ovals as well, beginning in a counterclockwise direction with a light thin stroke and then transition to a thick stroke and also, try out gentle loops too.
Pro tip: As a matter of fact, if you’re just starting out, your curves won’t just look that smooth immediately but here are a few things I recommend you focus on; avoid stopping abruptly as you are creating the curves because it will be noticeable and allow your hand to flow naturally.
3. Zigzag Control Drills:

You see this drill? It’s everything; it trains your hand to control movement, and most people underrate it a lot without knowing the significance. This drill is also one of the key exercises covered in calligraphy basics: strokes every beginner must learn because it directly prepares your hand for letters with lots of angles and direction changes.
I usually draw my up and down strokes in a slow and deliberate continuous motion; none stop till I reach the edge of my paper while ensuring that the angles and thickness of each stroke is consistent throughout the rows.
4. I call this one, “shape repetition exercises”:

You see all those beautiful flourishes? This is the exercise that will help you achieve it. How I perform this exercise is that I simply draw shapes, either circles, ovals, or spirals, and fill an entire page with them. Mind you, it can be very boring, but that repetition made my strokes smoother.
When performing this exercise, pay attention to keeping your shapes even, maintaining steady pressure, and lastly, try to move at a controlled pace, not too fast and not extremely slow. Combining this exercise with a structured 30-day calligraphy practice plan will ensure you’re building on these exercises progressively rather than repeating the same drills without direction.
Techniques that can instantly improve smoothness
1. Write from your arm instead of your fingers:
It feels very normal to write using just our fingers because that’s how we were taught in school but when it comes to calligraphy, you need to unlearn what your teacher taught you in pre-nursery and start involving your arm.
How to write with your arm
- I like to sit with my forearm resting on my desk, allowing my elbow or that soft forearm area to act as the pivot point instead of putting all the pressure on my wrist. If you try it, you’ll notice that your movement feels more stable.
- For movement, I focus on using my shoulder to guide the pen across the page. Your hand shouldn’t be doing all the work; it should just glide while your shoulder controls the direction.
- I love practicing large infinity loops (both clockwise and counterclockwise) and it is one of the drills that really helped me at first. Do this consistently; you’ll start building the smooth muscle memory your hand needs. This arm movement technique is also one of the key foundations of brush calligraphy; where fluid, flowing motion is what separates beautiful lettering from stiff, choppy strokes.
- Try angling your paper slightly; about 55 degrees works well for me. If you are comfortable at 45 degrees, you are still good; your arm can move more naturally instead of feeling restricted, your lines will start looking smooth.
- For better stability, I usually like to rest most of my weight on the side of my forearm near the elbow. It gives me a stronger base and makes my strokes feel more controlled and less shaky.
2. Loosen Your Pressure:
If you used to think that pressing your pen too hard on your paper will give you more control, I want you to un-think it. Because after all the stress of applying too much pressure, your hands will become tensed and movement gets stiff at the end. And this will make you force it, and your lines will still come out shaky and most times, your pen gets affected. Knowing how to use brush pens properly will help you understand exactly how much pressure each type of pen needs; and how to avoid damaging your tips in the process.
How to hold your pen properly to achieve smooth lines
Here’s what I do, and you can try it out too;
- I am right-handed, so I usually tilt my paper to about 30° to 45° counterclockwise, but if you are left-handed, you’ll tilt yours in a clockwise position so that it matches the natural angle of your hand.
- Normally, right from childhood, I usually hold my pen at about 1 to 1.5 inches away from the tip of the pen. My mom usually complained when I was a child, but I never knew it was a blessing though. So, if you can, hold your pen a little distance away from the tip so you can see what you are writing and also be able to control it.
- One thing I used to do was intentionally write super lightly for a few minutes, just to train my hand to relax. Just keep practicing to find your own sweet spot, where it is not too light, not too heavy, but one that is just controlled and smooth. Many of the grip and pressure struggles beginners face are actually some of the most common beginner mistakes in calligraphy and how to fix them; and identifying yours early will save you weeks of frustration.
3. Make use of guidelines and templates:
If you practice on blank paper, just rule horizontal lines across the page to serve as your guidelines, or you can simply get papers that have already made grid lines like Rhodia pads. Using guidelines consistently is also one of the most effective habits for achieving how to create consistent calligraphy letters; they give your hand a clear reference for height, slant, and spacing so every letter sits exactly where it should.
You don’t need anything fancy for this; I didn’t have special sheets when I started either.
Sometimes, I would even create my own spacing lines depending on what I was practicing, especially for calligraphy drills. The goal is to give your hand a guide so it doesn’t have to “guess” where to go.
Final thoughts
As your lines get smoother and more controlled, the natural next step is to start applying that control to actual letters; and this post on how to create your first calligraphy alphabet will walk you through every letter stroke by stroke so you can put your improved hand control to good use. And if you’ve been working on all of this from home on your own, knowing how to avoid common beginner calligraphy mistakes will help you self-correct along the way without needing someone looking over your shoulder. Whether you’re just figuring out how to start calligraphy with no experience or you’re at the stage of trying faux calligraphy for absolute beginners to practice letterforms without pressure, smooth lines are always the goal; and now you have every tool you need to get there.
Achieving a smooth line in calligraphy isn’t about creativity but following simple techniques that I have listed out for you in this post. And now that you’ve learnt it, go and practice and run some drills on it.