Calligraphy for Beginners: Complete Starter Guide
Disclosure: Some of the links in this post are affiliate links. This means if you click on the link and purchase an item, I will receive an affiliate commission at no extra cost to you.
Calligraphy is the art of creating beautiful letters that uses deliberate strokes: thin upstrokes and thicker downstrokes. It’s not the same as regular cursive writing or just writing neatly. And it’s definitely not about rushing through words. In fact, it’s the opposite. Calligraphy forces you to slow down, pay attention, and be intentional with every letter you make. If you’re wondering how this compares to the different styles out there, modern calligraphy vs traditional calligraphy breaks down the key differences in a way that’s easy for beginners to understand.
One reason I love calligraphy is how calming it is. It gives you a break from the noise and helps you focus on something simple and creative. Plus, it’s a skill you can actually use, from writing beautiful cards and quotes to even turning it into a side hustle.
In this guide, you’ll understand the basics of calligraphy, the tools you’ll need, and how to actually start practicing it the right way without feeling overwhelmed, even if you’re starting from zero. And if you’re also asking yourself how long it takes to learn calligraphy, you’ll find a realistic answer as you read through.
What is calligraphy?
Let’s clear this up first because this is where a lot of confusion usually starts.
So, when we say calligraphy, we’re not just talking about nice-looking handwriting. We’re talking about a skill where you intentionally control every stroke to create that thin-and-thick contrast. And that difference gives calligraphy that beautiful and elegant look you probably admire.
I naturally had terrible handwriting, so when I first started, I thought calligraphy meant having naturally nice handwriting. But I quickly realized it’s actually a learned skill. It’s more about technique than talent, which means you can absolutely get good at it with practice. If you want to know exactly how to start calligraphy with no experience, that guide walks you through the very first steps without overwhelming you.
Calligraphy vs. Hand Lettering vs. Cursive Writing
Now, let’s talk about this three things people often mix up. You may have probably used them interchangeably before; I definitely did too.
Calligraphy
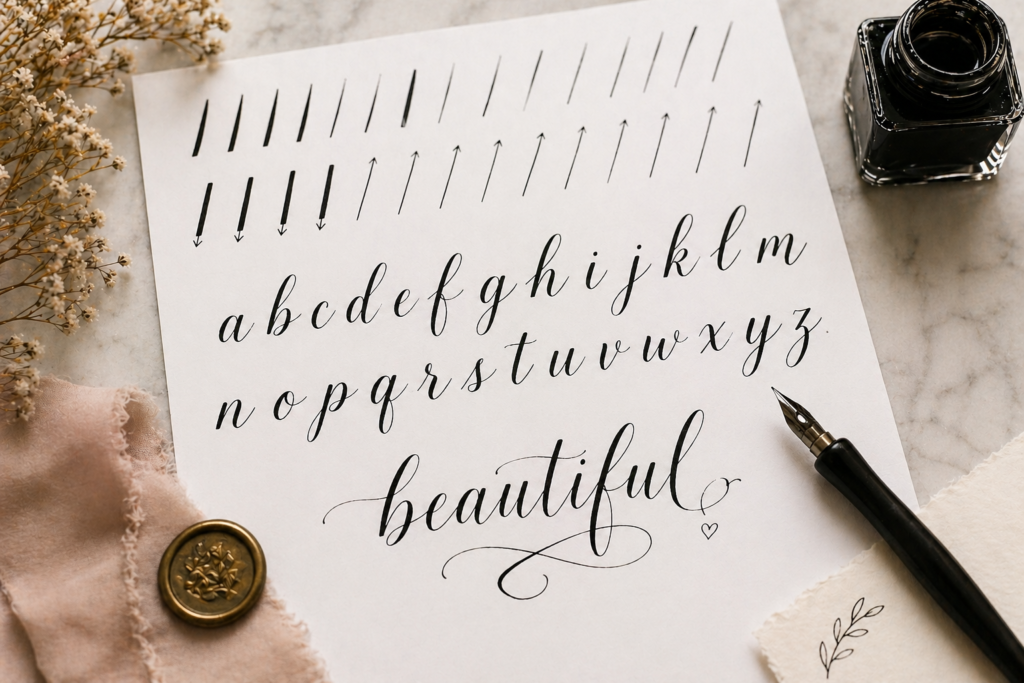
It is written using specific hand pressure control rules or techniques called the upstroke and downstroke. When you’re writing, every time your pen moves down, you get to apply pressure, and that line is called a downstroke but each time your pen moves up, you release the pressure, to create a thin light stroke and that line you just created is called upstroke. To really understand how these two movements work and why they matter so much, calligraphy basics: understanding upstrokes and downstrokes goes deep into the mechanics in a very beginner-friendly way.
Hand Lettering
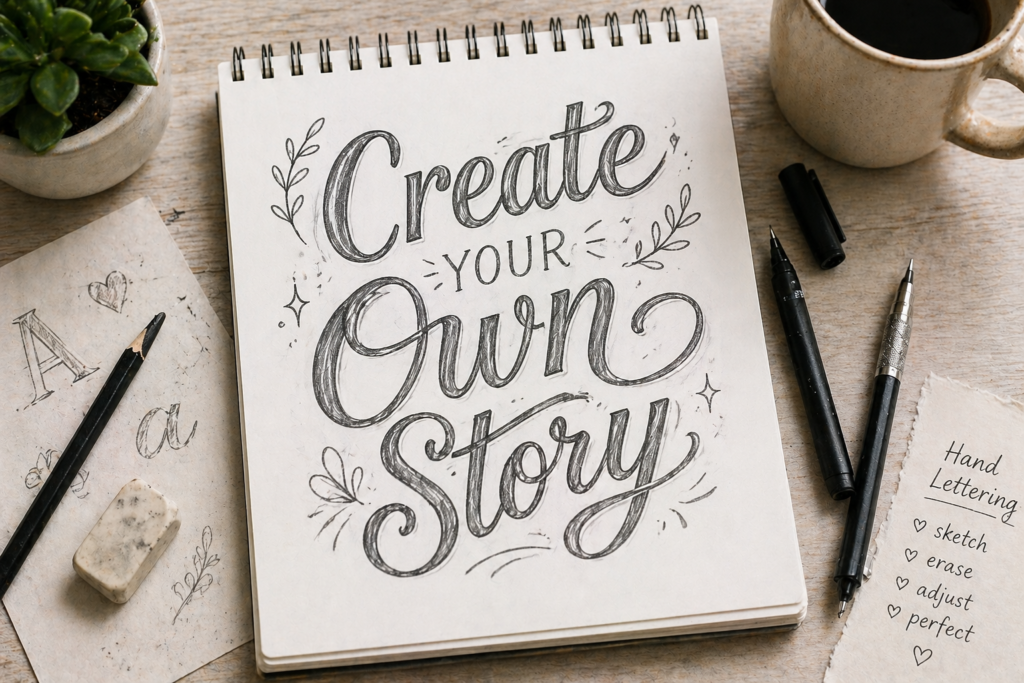
This is more like drawing letters instead of writing them. All you do is sketch, erase, adjust, and perfect each letter as much as you want. There’s no pressure literally, and no strict rules like in calligraphy.
Cursive Writing
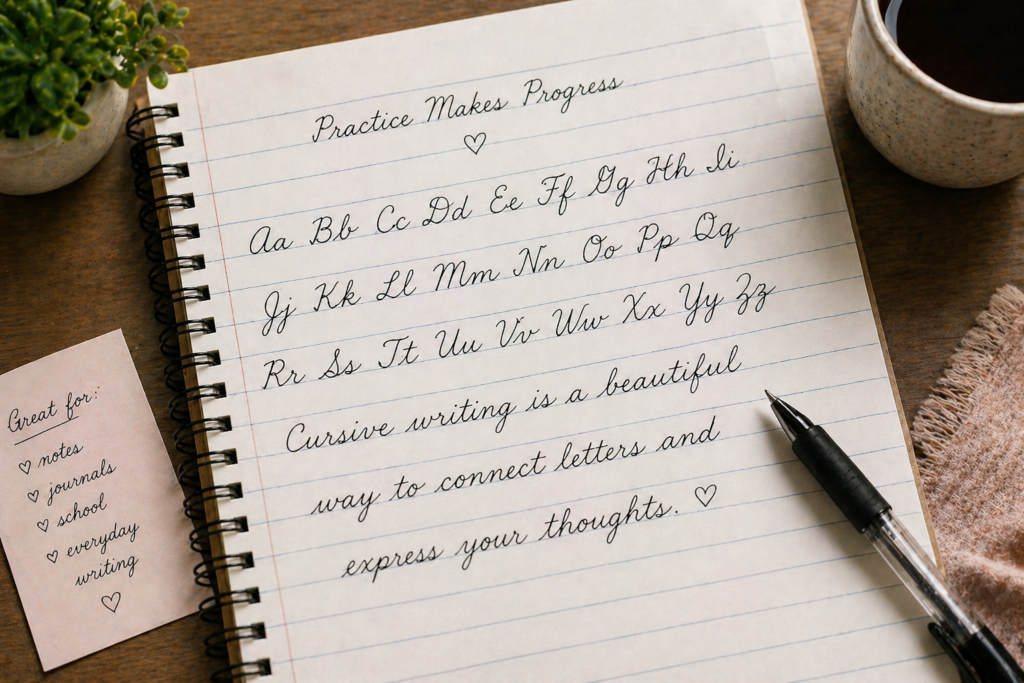
This is just a faster, connected way of writing letters. It’s practical and used for everyday writing, but it doesn’t focus on thick and thin strokes like calligraphy does.
Types of Calligraphy
Once you get into calligraphy, you’ll realize there isn’t just one style. But don’t worry, you don’t need to learn everything at once. I’ll guide you to choose the one best suit your needs.
Here are the main ones you’ll come across:
1. Modern Calligraphy
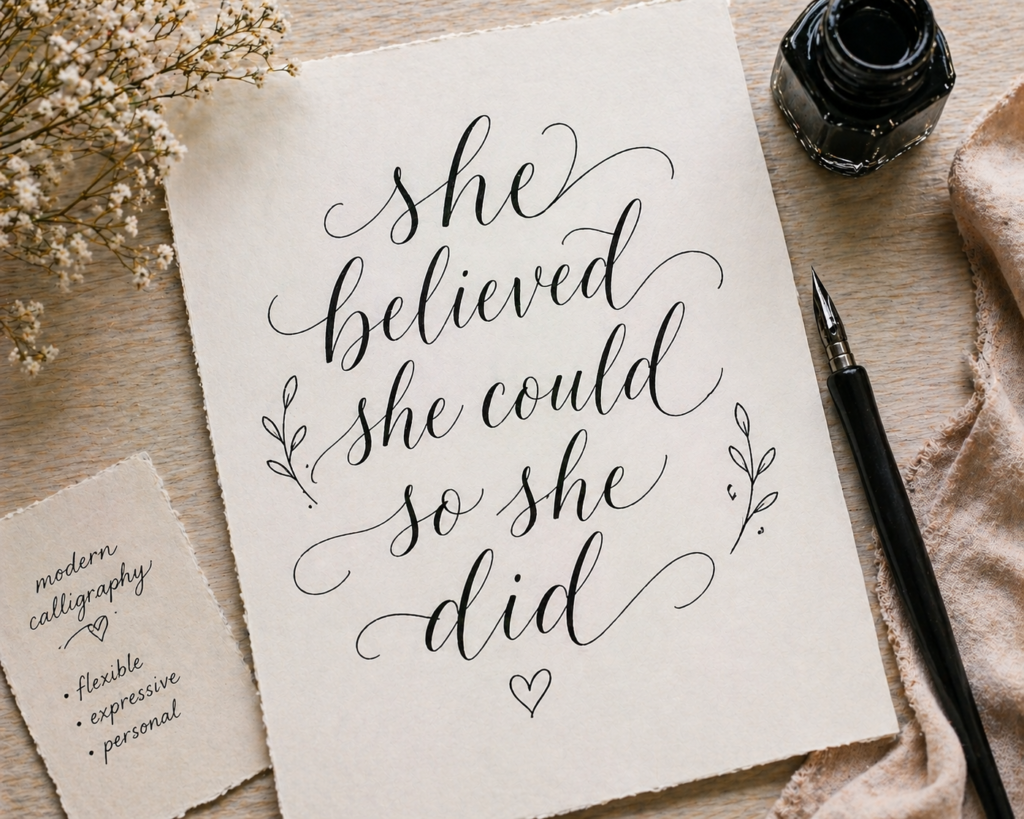
This is the most flexible and beginner-friendly style. There are fewer strict rules, and you can add your own personality to it. It’s what you see on Instagram quotes, wedding cards, and aesthetic notes.
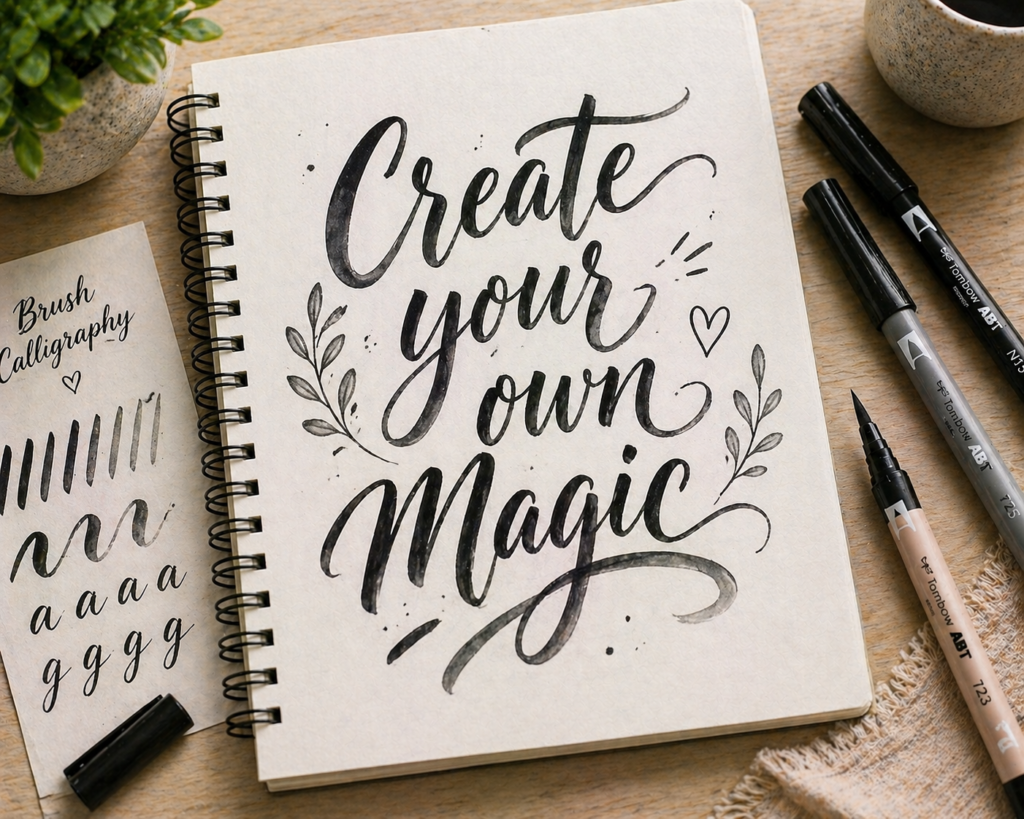
2. Brush Calligraphy
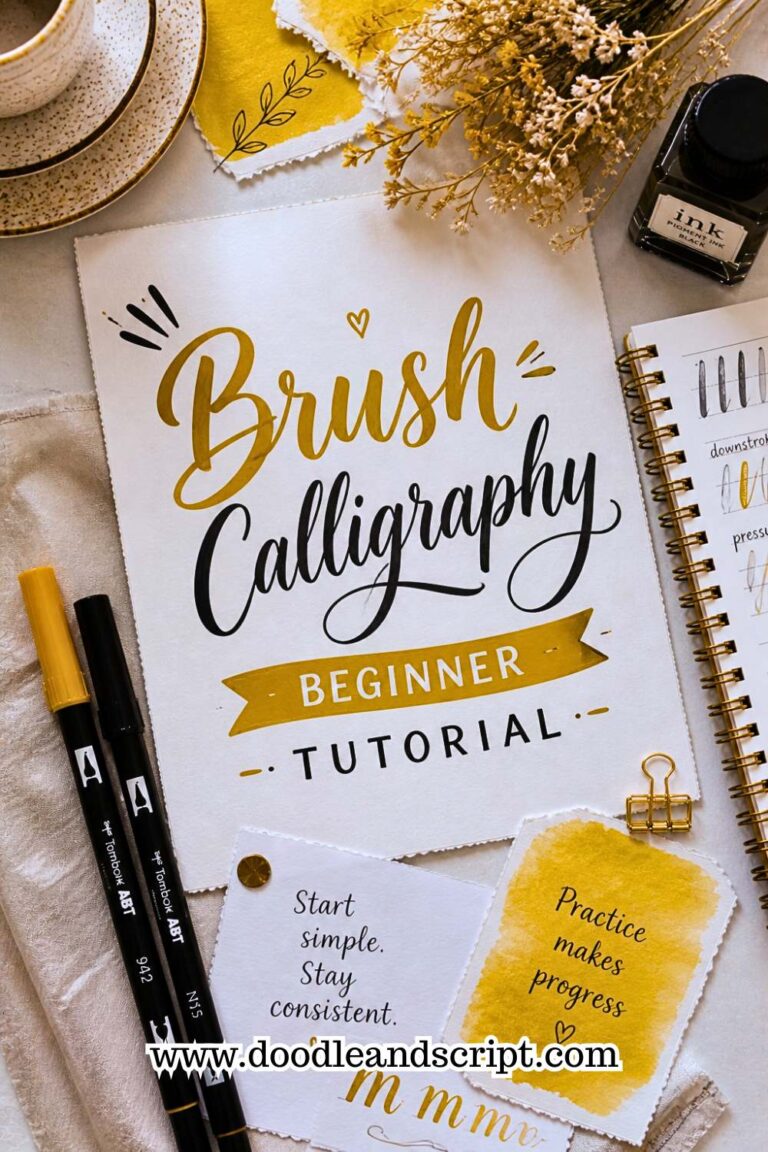
It uses a specific tool: brush pens or brush markers. The pressure you apply changes the thickness of your strokes. It’s fun, expressive, and perfect if you like a bold, flowing look. If you want a full walkthrough of this style, the brush calligraphy beginner tutorial is a great place to start.
3. Traditional Calligraphy
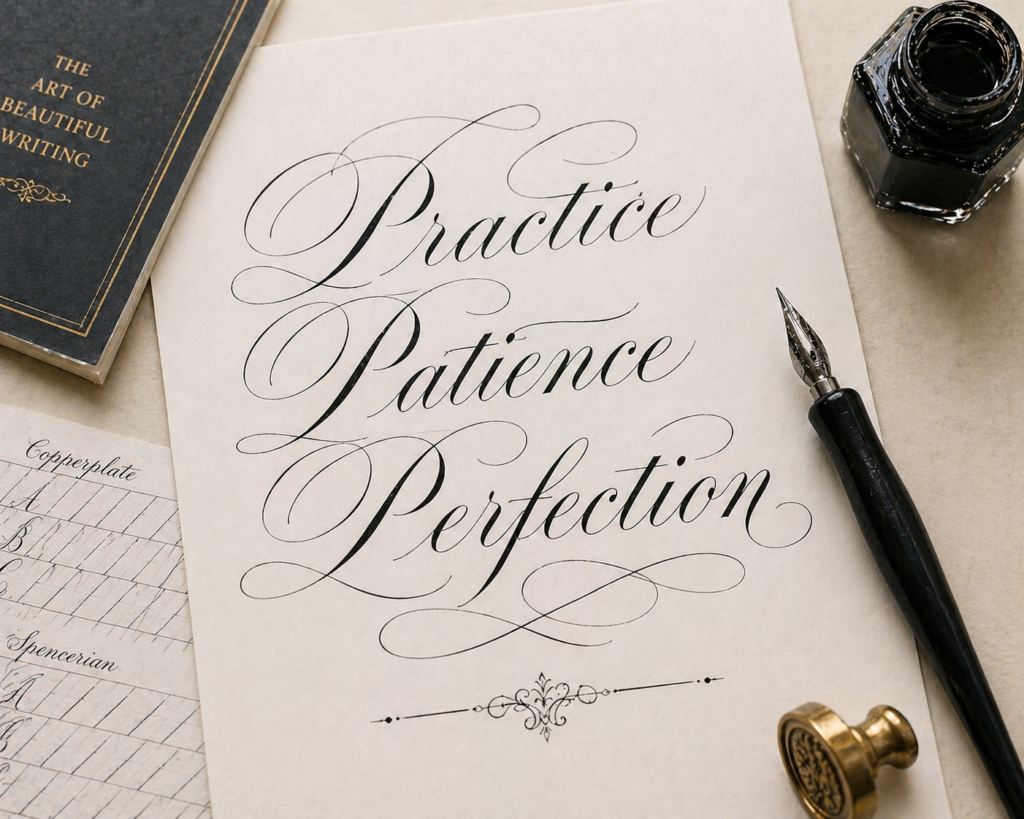
This includes styles like Copperplate or Spencerian. These follow very specific rules, angles, and structures. They’re beautiful, but honestly, they can feel a little overwhelming when you’re just starting out.
Why Beginners Should Start with Modern Calligraphy
If you’re just starting, I’ll always recommend modern calligraphy, and here’s why.
First, it gives you freedom, and you don’t have to stress about making everything perfect or follow strict rules. You can just focus on learning the basics like strokes and pressure without feeling boxed in.
Second, your letters don’t have to look exactly the same every time, and that actually makes your work look more natural and stylish.
And finally, it’s just more fun when you’re learning. You get to experiment, make mistakes, and still create something beautiful. It gives you that confidence boost that you actually need in the beginning. And if you’re not ready to invest in brush pens just yet, faux calligraphy is a perfect way to get started with any pen you already have at home.
If you want to see fast improvement, focus on modern calligraphy and build your foundation instead of overwhelming yourself trying to master everything.
Essential Calligraphy Supplies
Let me save you from a mistake I made when I was starting, I thought I needed to buy everything before I could even begin. Spoiler alert! you don’t.
You really only need a few basic tools to get started. Once you understand how things work, you can expand.
Basic Tools You Actually Need
1. Brush Pens
If you’re learning modern calligraphy, brush pens are the easiest pens to start with.
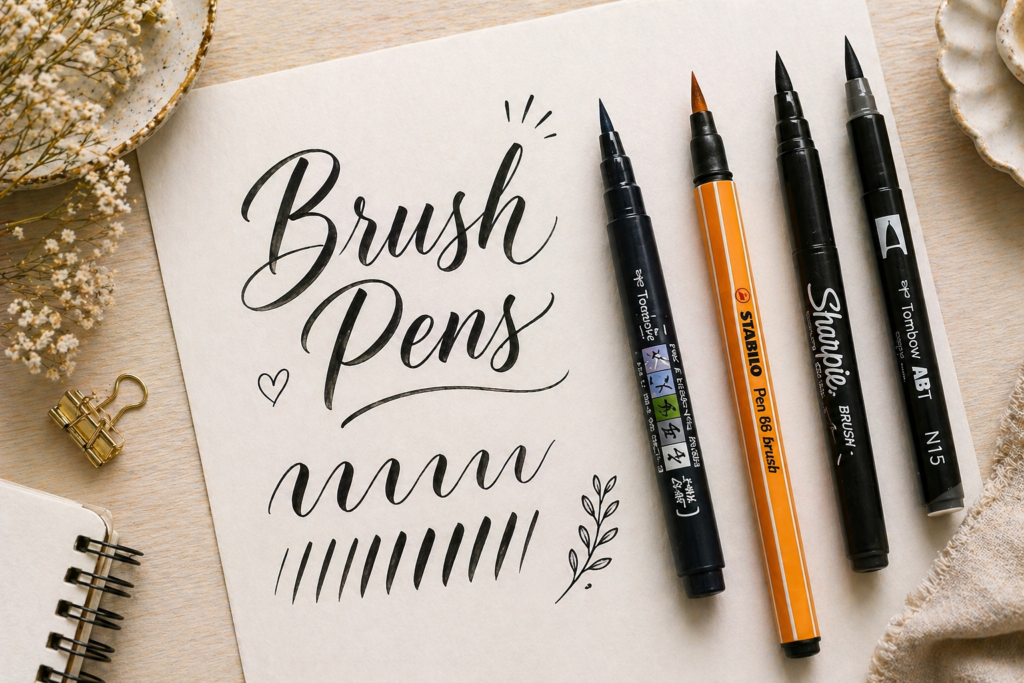
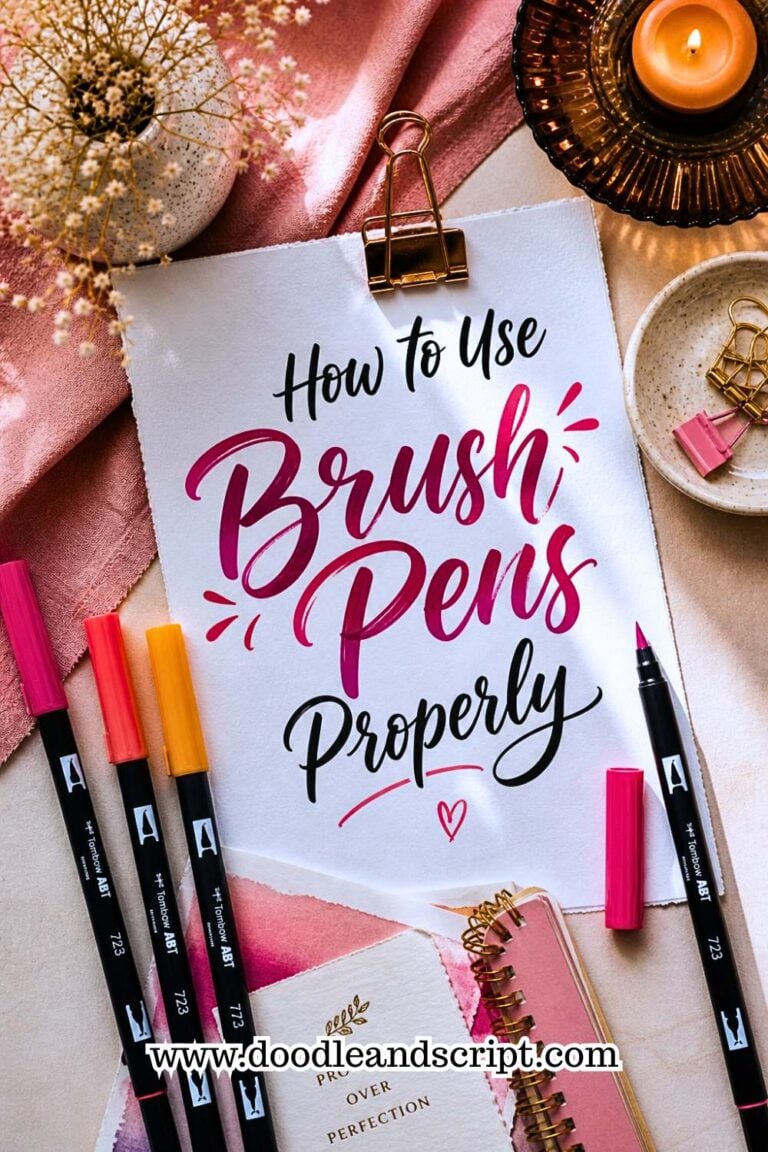
What makes them special is the flexible tip; it allows you to create those thin and thick strokes just by changing the pressure. There are a lot of brush pens these days; brands keep manufacturing them, but the ones I use personally are the Tombow Fudenosuke pens, Stabilo Pen, 68 brush pens, and Sharpie brush pens. Before you start writing, make sure you understand how to use brush pens properly; the technique matters just as much as the tool itself.
But if you still insist on traditional calligraphy, then you need to get dip pens and nibs. The only nib I usually recommend for beginners is the Nikko G pointed nib.
2. Paper
This one can make or break your progress, but most people underrate it.
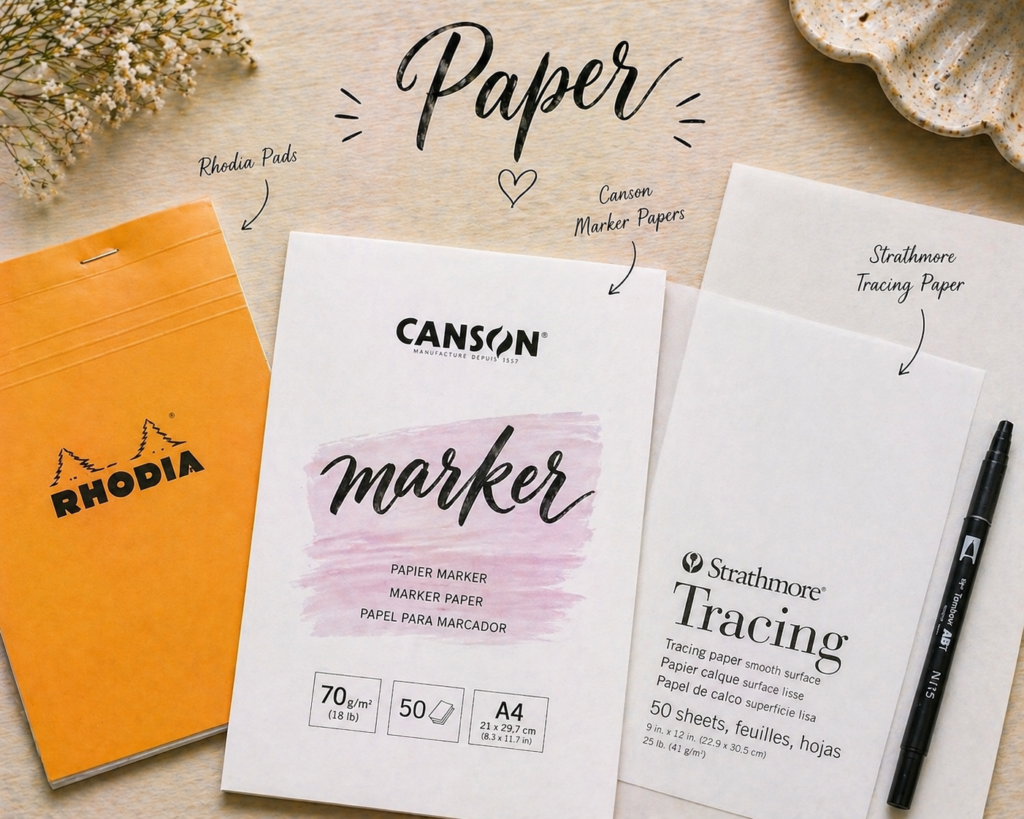
If you use rough or textured paper, it will fray your brush pen tip really fast or spoil your nib, and your strokes will come out shaky instead of smooth.
I always tell beginners to use smooth paper, especially calligraphy paper. It helps your pen glide easily and keeps your lines clean. Here are calligraphy papers that you can use without stress: Rhodia pads (my favourite), Canson marker papers, or Strathmore tracing paper.
3. Pencil, ruler, and eraser
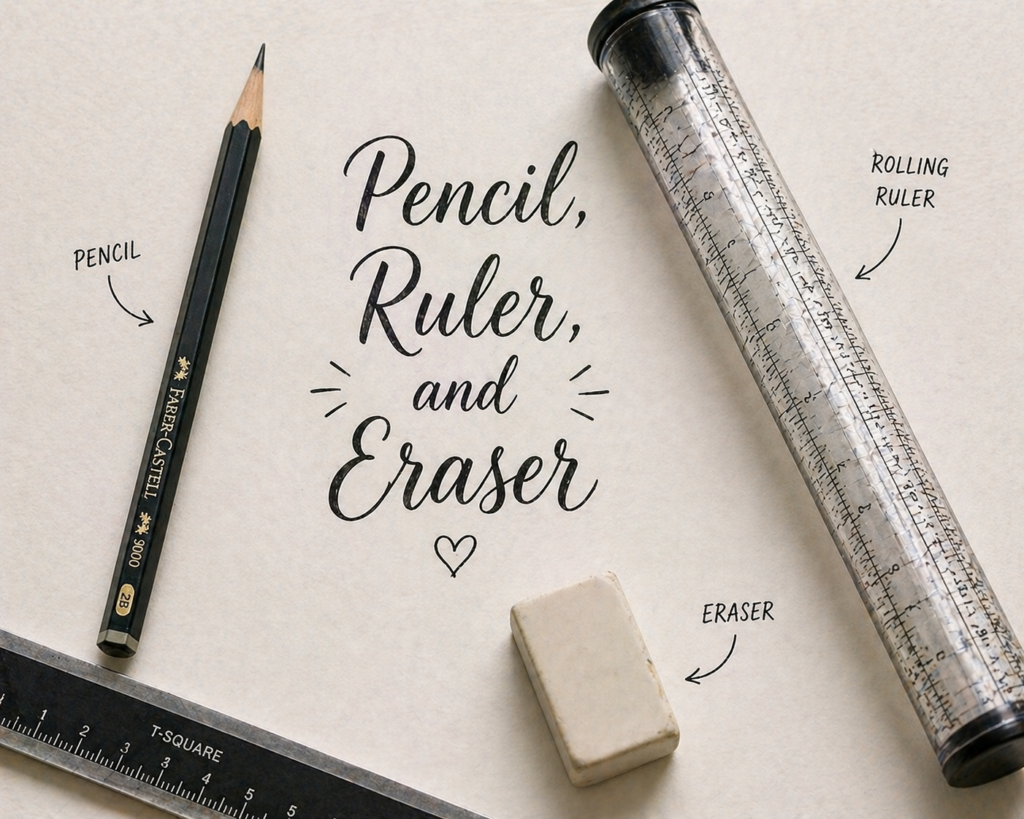
Even now, I still use pencil guidelines when I want my work to look neat and balanced. These might seem basic, but they’re super important.
- Use a pencil to sketch guidelines
- A ruler, not just any ruler but a rolling ruler. It helps you keep your lines straight and consistent. If you have a T-square, it’s still perfect.
- And an eraser lets you clean things up when you are done.
The Fundamental Strokes (The Real Foundation of Calligraphy)
If there’s anything I’ll tell you to take seriously as a beginner, is this: that strokes matter more than letters.
It is the strokes that are used to form letters, words, quotes, sentences, and anything you can think of in calligraphy. I know it’s tempting to jump straight into writing pretty words, but that’s usually where frustration begins. For a complete guide on every stroke you need to master before moving to letters, calligraphy basics: strokes every beginner must learn covers them all in detail.
So instead of memorizing the alphabet, you should train your hand to master these building blocks first.
Once your strokes improve, your letters automatically start looking better. And that’s when things begin to feel easier and more natural.
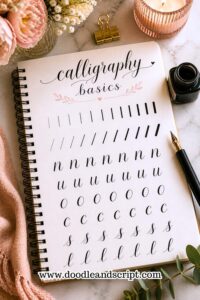
Core Strokes Every Beginner Should Practice
Let’s break down the main strokes you’ll see over and over again in any form of calligraphy:
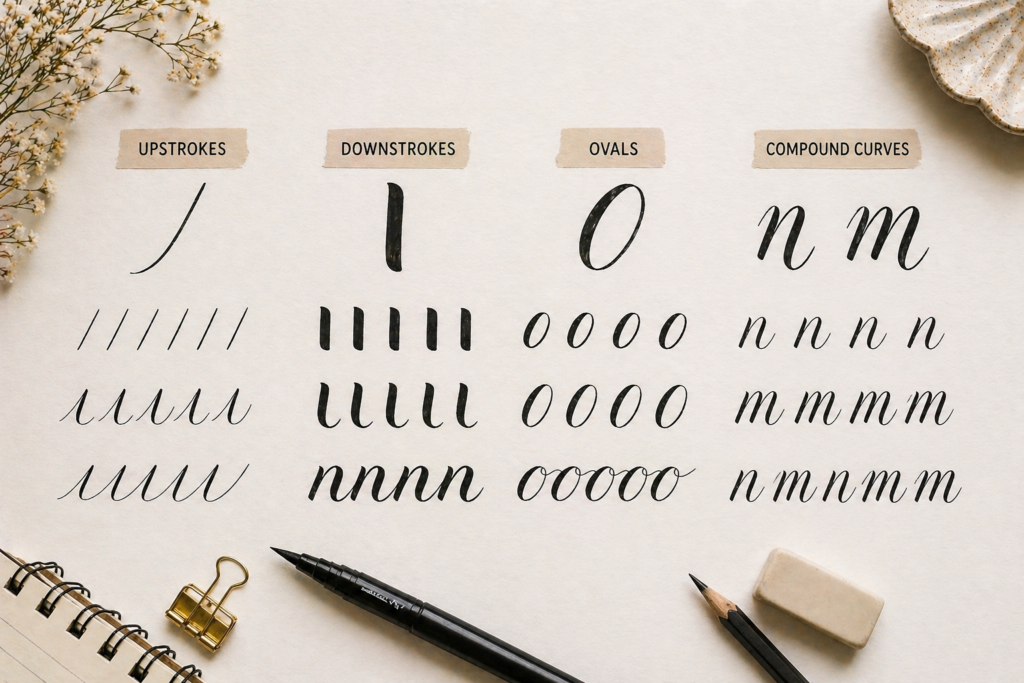
1. Upstrokes
They are thin, light lines.
It is created when you move your pen upward; you apply very little pressure, a kind of light touch, almost as if you’re barely touching the paper. This is what creates that delicate look although it might feel somehow at first, especially if you’re used to writing normally.
2. Downstrokes
This is the thick, bold line.
When you pull your pen downward, you apply more pressure by pressing down gently, not too hard but with control. This creates that strong contrast between thick and thin, which is what makes calligraphy look so beautiful.
3. Ovals
Ovals are the foundation of many letters like a, o, d, g.
This stroke helps you practice smooth, rounded motion while maintaining consistent pressure. It also trains your hand to transition between thin and thick strokes without breaking the flow.
4. Compound Curves
These are the strokes you see in letters like n, m, h.
They combine upstrokes and downstrokes in one continuous motion, which helps you build rhythm and flow in your writing.
This is where things start to come together, because here you’re not just practicing strokes, you’re practicing how they connect. Running calligraphy drills every beginner should practice on all of these strokes is the fastest way to get them into your muscle memory.
Step-by-step practice approach
Now you might be wondering, “Okay, but how do I practice all this without feeling lost?”
Here’s a simple way to approach it:
Step 1: Start with one stroke at a time
Don’t rush it. Pick one, like upstrokes, and repeat it slowly across the page. I do tell my people to intentionally fill an entire page with rows of the stroke they are practicing; as in, fill up an entire page with either upstrokes or ovals. To truly learn calligraphy, you need to make peace with repetition.
Step 2: Focus on pressure, not speed
I can’t stress this enough: slow down. Calligraphy is not about speed, especially at the beginning.
Step 3: Practice in short sessions
Even 10–15 minutes a day is enough if you’re consistent. You don’t need long hours. A structured 30-day daily practice plan can help you make every short session count by giving you a clear focus for each day.
Step 4: Combine strokes gradually
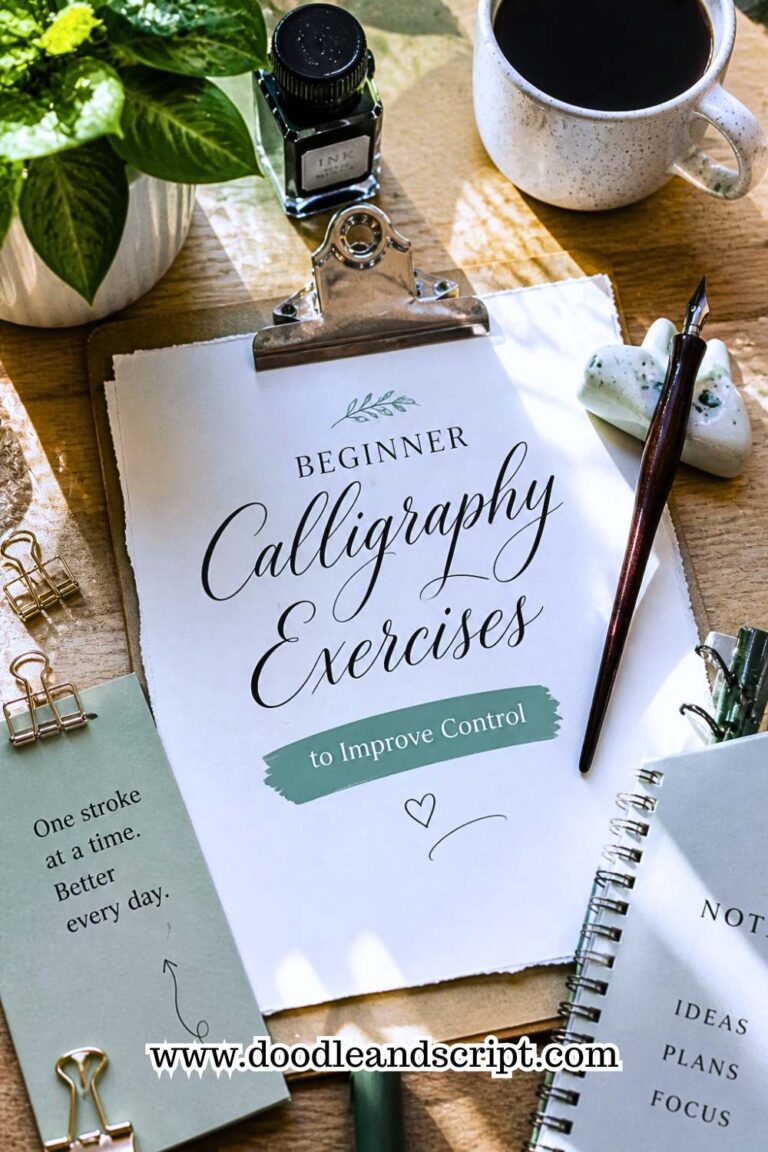
Once you’re comfortable, start connecting strokes like turning an upstroke downstroke, into another stroke called an overturn. Beginner calligraphy exercises to improve control gives you a structured set of exercises that walk you through exactly this progression.
Step 5: Be okay with imperfect results
Your strokes won’t look perfect immediately, and that’s fine. Improvement comes from repetition, not perfection.
Letter Formation in Calligraphy
All beginners love this part because you’re now moving from the basic strokes to actual letters that you’ve been waiting for.
I know it feels natural to look at a letter and try to copy it exactly. But in calligraphy, that approach can slow you down. Instead, you break each letter into strokes; I am talking about the same strokes you’ve already been practicing. The full process of building letters this way is covered step by step in how to create your first calligraphy alphabet.
How to break letters into strokes
This is the smartest way to learn calligraphy because every letter is just a combination of strokes.
For example:
- The letter “i” comprises a combination of an upstroke (as an entry stroke), a downstroke and another light stroke (as an exit stroke), then a dot at the top.
- The letter “o” is a combination of a light entry stroke and an oval
I like to tell my people to think in terms of strokes, instead of struggling to copy letters. It will help you to just combine strokes that you already know.
Pro tip: Anytime a letter feels difficult, pause and ask yourself:
“What strokes make up this letter?” This question alone will improve your calligraphy faster than anything else.
Lowercase Alphabet Guide
If you’re just starting out, focus on lowercase letters first.
Why? Because they’re simpler, more repetitive, and they help you build consistency faster.
I love grouping them to make things easier:
- Oval-based letters: a, o, d, g, q
- Stem letters: i, l, t, j
- Compound curve letters: n, m, h
- Loop letters: b, f, d, k
Instead of jumping randomly from one letter to another, you can practice in groups. You’ll start noticing patterns, and your hand will get used to the movements quicker. Once you feel comfortable with lowercase letters, how to create consistent calligraphy letters will help you take that consistency to the next level across full words and sentences.
Common Beginner Calligraphy Mistakes (and How to Avoid Them)
Let’s be real, everyone makes mistakes when learning calligraphy. I definitely did, and you probably will too. But if you can avoid these early on, you’ll improve so much faster and save yourself a lot of frustration. For an even deeper look at what trips most beginners up and exactly how to fix it, how to avoid common beginner calligraphy mistakes is worth bookmarking alongside this guide.
1. Pressing Too Hard (or Too Light)
This is one of the most common calligraphy mistakes.
As you’re starting out, you’ll mostly notice that either you press too hard (which can damage your pen and make your strokes look clunky) or too lightly (which makes your writing look faint and uneven).
So, focus on this simple rule to fix it:
- That light pressure is upstrokes
- While more pressure is applied when writing downstrokes
You can turn it into a song; I did it for my 7-year-old daughter and it worked. Part of getting pressure right is also making sure your grip is correct from the start; how to hold a calligraphy pen correctly will sort that out for you quickly.
2. Inconsistent Strokes
This one happens a lot to beginners, and most often they don’t even notice, but if you pay close attention to your lettering, you may see that one stroke looks bold and clean, while the next looks shaky or uneven.
That inconsistency can make your lettering look messy, even if your letter shapes are correct.
To fix it, simply go back to your basic strokes and run some drills. I know it sounds repetitive, but practicing strokes builds consistency. And if you want to improve your calligraphy fast, fixing stroke inconsistency early is one of the highest-impact things you can do.
Also, slow down because most inconsistency comes from trying to write too fast.
3. Ignoring Guidelines
I get that you just want to write freely and make something pretty. But skipping guidelines too early can make your letters look uneven and unbalanced.
Your letters might float, tilt, or change size without you even noticing.
Use guidelines, especially as a beginner, because they act like a framework that keeps everything aligned. Even your favorite experienced calligraphers still use them; I use them too. If you’re learning calligraphy at home without a tutor, guidelines become even more important because they act as your silent coach keeping everything on track.
4. Comparing Your Work Too Early
This is probably the most discouraging mistake.
You look at your work, then you look at someone else’s perfect calligraphy online, and suddenly it feels like you’re not making progress, it can make you want to quit.
Don’t compare your day 10 to another person’s day 1000. Instead of comparing yourself to others, compare your work from last week to today. That’s where the real growth shows. And if you ever feel like you’re stuck despite practicing, beginner mistakes in calligraphy and how to fix them will help you identify exactly what’s holding you back and how to move past it.
And now that you’ve known that calligraphy is easy to start and you don’t have to break the bank to buy tools, I hope to see your lettering soon.