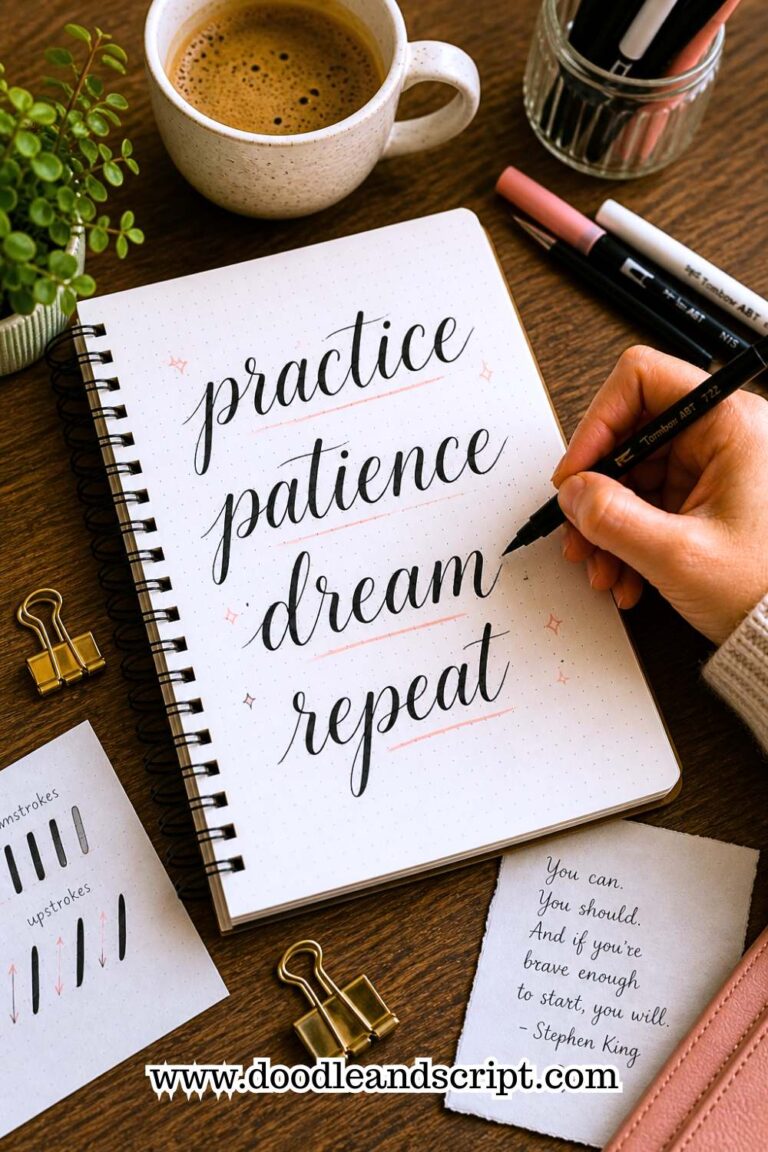
Beginner Calligraphy Exercises to Improve Control
If you’ve found yourself in a situation where you question yourself on why your calligraphy looks messy as compared to the sleek and smooth lettering you see in videos on Instagram or Pinterest. Then targeted calligraphy exercises are all you need to improve your beautiful writing game. So, what are calligraphy exercises?
In calligraphy, exercises are called drills. It’s more like slowing things down and training your hand purposefully how to write. I like to think of it as repeating simple strokes over and over so you (and your hand) really get used to controlling pressure and building muscle memory.
In this post, I’ll be sharing 4 practical beginner calligraphy exercises designed specifically to boost your control. Whether you’re just starting out with brush lettering or pointed pen, these drills will help you:
- Strengthen your grip and wrist movements.
- Control thick and thin strokes with ease.
- Improve spacing, alignment, and rhythm.
- Build confidence with every session.
- Turn frustrating practice into relaxing, rewarding progress.

By the end, you’ll have a clear roadmap of exercises you can do daily or whenever you have 10–15 minutes to see a noticeable improvement in your calligraphy. So, grab your favorite pen, pull up a comfy seat, and let’s turn those beginner struggles into beautiful strokes together. You’ve got this and I’m right here to guide you.
Beginner Calligraphy Exercises to Improve Control
Before we dive in, if you are completely new to lettering and haven’t gone through a calligraphy for beginners: complete starter guide, I’d highly recommend doing that first. It covers everything from choosing your tools to understanding the basic concepts that will make these exercises much easier to follow.
Also, one thing that many beginners overlook before jumping into drills is how to hold a calligraphy pen correctly. Your grip affects everything; your pressure control, your stroke consistency, and even how quickly your hand fatigues. Getting your grip right from the start will make every exercise in this post work ten times better for you.
1. Basic Stroke Control Exercises
If you’re often faced with the frustration of wobbly and uneven strokes, this it the very first exercise you’ll need to train your hand to get comfortable with your pen and also make it move smoothly and steadily when writing.
Before you start these exercises, the tools you’ll need are your brush pen or pointed nib pen, rolling ruler or a T-square, a proper paper that is smooth with grid lines or you can use blank paper (always use calligraphy papers like Rhodia pads, Canson marker paper, etc).
I love to prepare my paper for the exercise by drawing my baselines, x-height lines, ascender lines, and descender lines with a ruler and pencil before any other thing.
If you’ve gotten everything ready, let’s move into the exercise proper;
1. Straight vertical and horizontal lines
This drill will help you when writing letters that require vertical lines like l, t, h, b.
For downstroke drills:
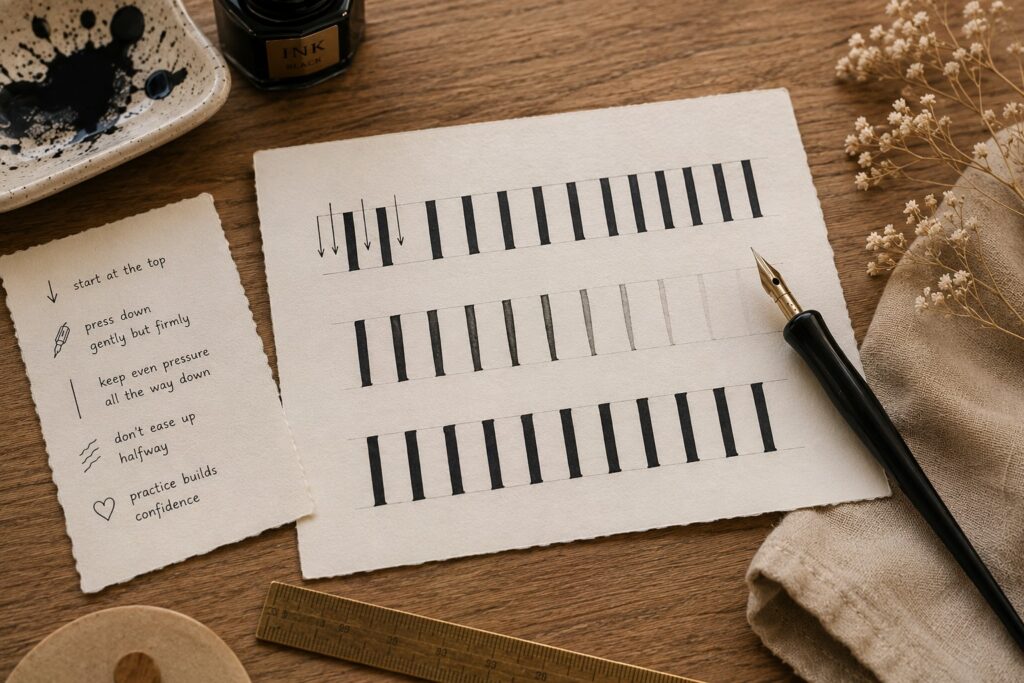
Start from the top of your guideline and press down gently but firmly as your pen goes down. Make it look even, nice and thick all the way to the bottom. Some errors you may experience are that, as you get halfway down, your lines may get thinner, these happens when you unconsciously ease up the pressure. Whenever you notice that, don’t feel stuck; just proceed to the next vertical line and try to maintain the same pressure from start to finish. This drill trains your hand to make confident, bold downstrokes, which you’ll use in almost every letter.
Upstroke drills:
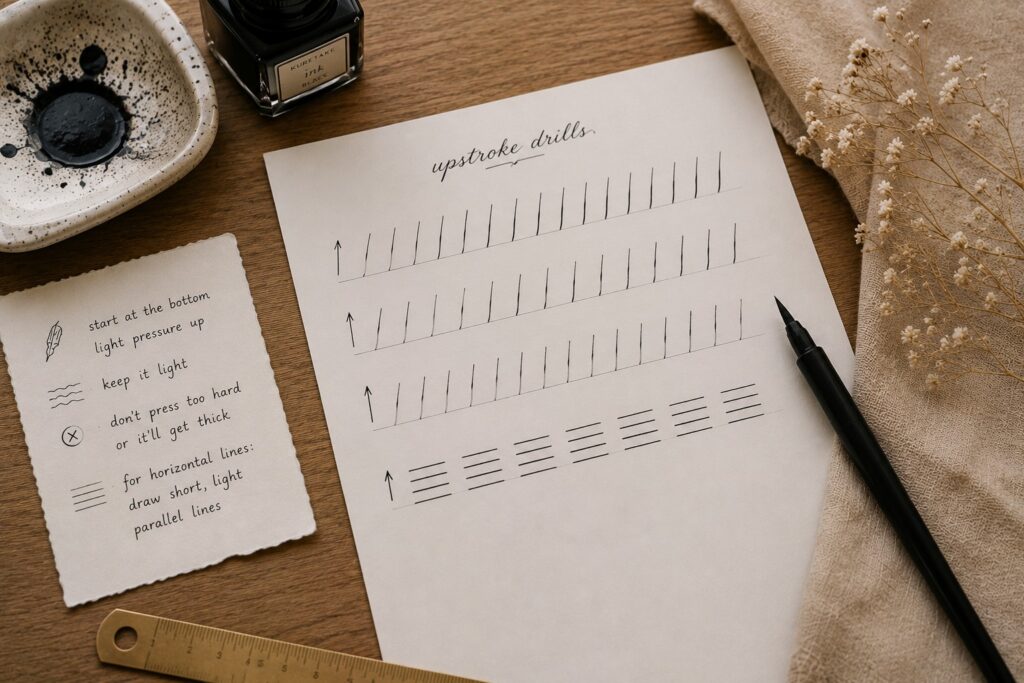
Creating a consistent, light, thin stroke is usually more difficult for beginners, and that’s where this drill comes in to help you improve.
Unlike a downstroke, you don’t need to press too hard; just hold your brush pen lightly and start from the bottom of the line to the top. If you press too hard, you’ll get a thick stroke, and this is what you want to avoid.
For straight horizontal lines; I usually draw short horizontal lines that are parallel to each other to form a kind of crossbar.
The “Ladder” Drill:

This is one of my favourites! I draw a series of vertical downstrokes between the baseline and the waistline (it is the middle line on your practice sheet). I try to keep every line perfectly straight, parallel to each other, and evenly spaced, just like the rungs of a ladder.
It’s a fun way to practice consistency. When your ladder looks neat and even, then know that your control is improving. You’ll be amazed at how much this simple exercise helps your letters look cleaner and more professional.
2. Diagonal lines
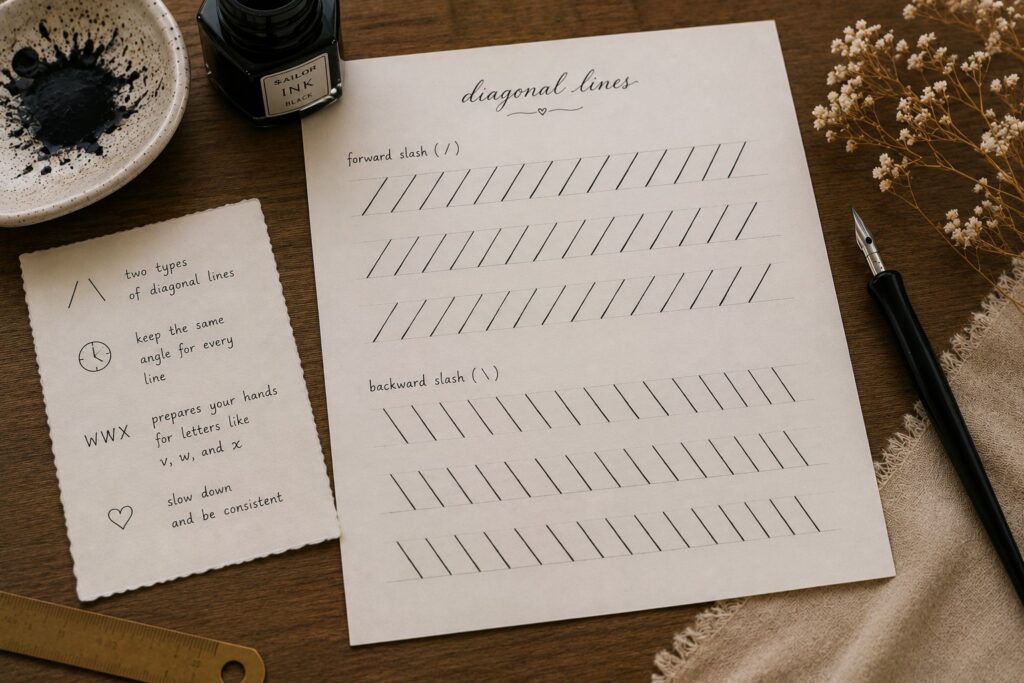
There are two types of diagonal lines you can practice: the forward slash (/) and the backward slash (\).
Forward slash: Draw slant lines slowly from the bottom left to the top right and try to keep the angle the same for every line.
For the backward slash: Go in the opposite direction, create rows of slant lines from the bottom right to the top left.
If you practice these drills consistently, it will help prepare your hands for letters like v, w, and x.
3. Dashed line tracing
Don’t freestyle here, start with a worksheet and trace over slowly straight or slightly curved dashed lines with your pen.
4. Long continuous line drills without lifting your pen
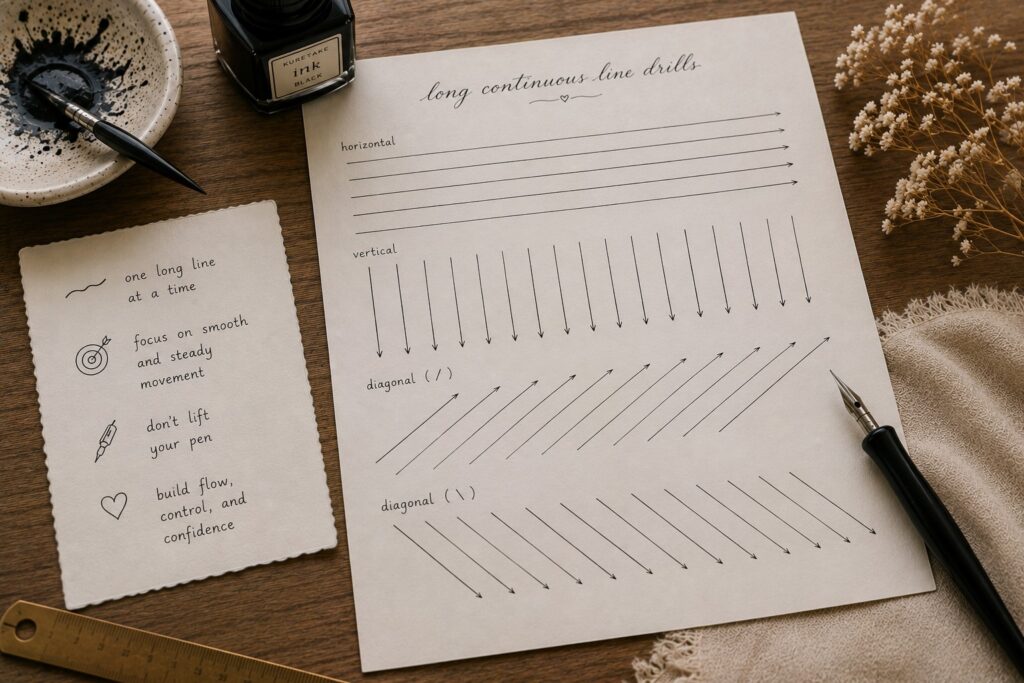
Try drawing one super long horizontal, vertical, or diagonal line across the whole page without picking up your pen. Keep going as smoothly as you can. This drill will help you when you begin actual projects like writing longer words or quotes without stopping abruptly in the middle.
2. Pressure Control Exercises
These exercises will help you create clean thin and thick strokes, regulating how much pressure your hand applies and releases. If you are always cut up with your letters looking all thick and chunky sometimes and other times, they look too light and weak, here are the drills that you can practice fixing that for you.

If you’re using brush pens for these exercises, make sure you already know how to use brush pens properly. Using a brush pen the wrong way; like pressing too hard or holding it at the wrong angle; will not only give you poor results but can also damage the tip of your pen permanently.
1. Alternate thin and thick lines

This is one of my go-to warm-ups! It is done by varying the pressure as your pen goes up and down. I usually draw a line, press hard to make it thick, then lift the pressure to make the next part thin, and keep switching back and forth. Here, you focus on the pressure and transitioning from the upstroke to the downstroke. I bet that you’ll love how this exercise will train your fingers to feel the difference, especially when you’re writing your ovals.
2. Gradual pressure increases and releases
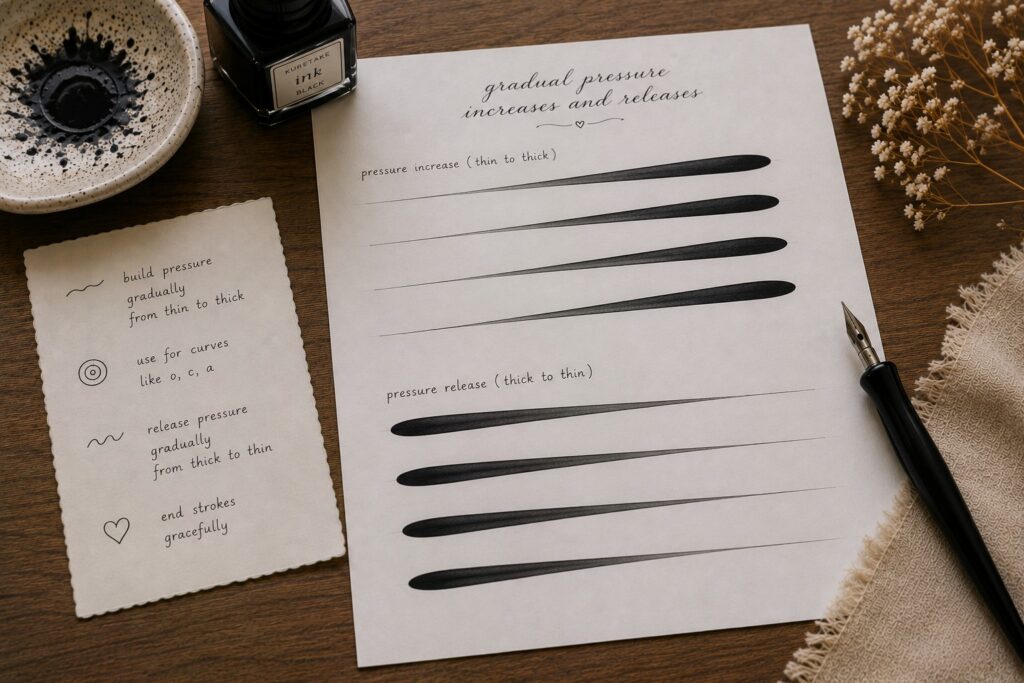
For pressure increases from thin to thick: Start with almost no pressure to make a thin line, then slowly press harder as you move along so the line gets thicker and thicker. Don’t just jump straight from thin to thick too quickly; instead, make it a slow, gradual build-up to control the change gently. You’ll use this skill a lot when writing curved letters like “o”, “c”, or “a”.
Gradual pressure release from thick to thin: Here, you’ll start with heavy pressure and then slowly ease up so that the line becomes thinner towards the end. This one was harder for me at first because my hand wanted to release pressure too fast. You’ll find this drill super useful for ending strokes gracefully instead of stopping with a sudden blunt end.
3. Wavy lines with pressure variation
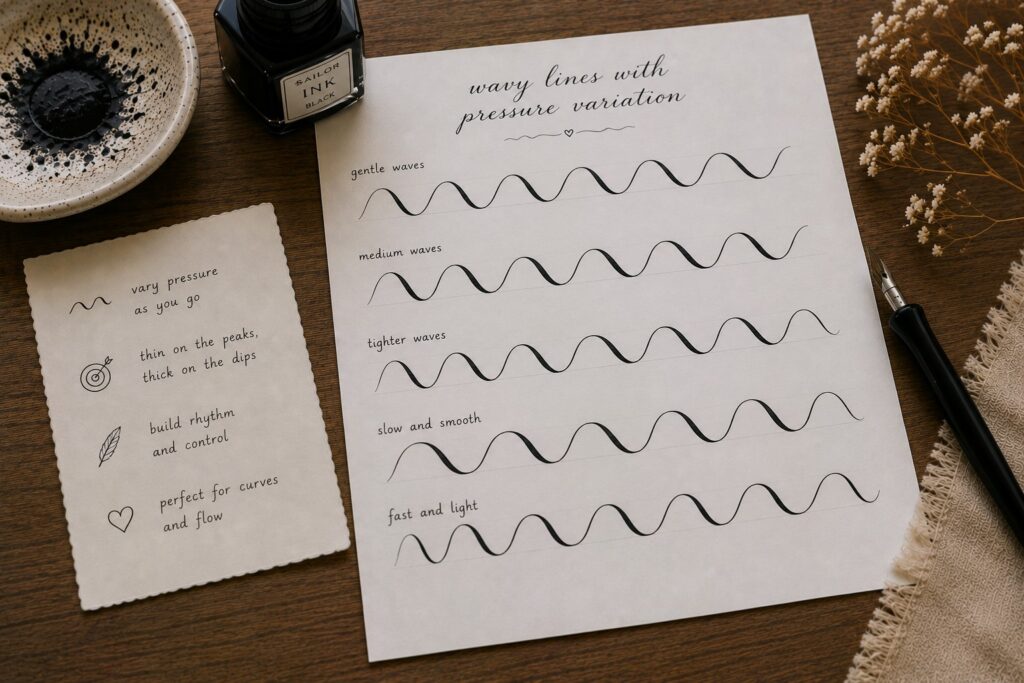
I love this one; I usually smile whenever I practice it because it feels more creative than the normal plain lines. It helps in improving your rhythm and how to change pressure even when your hand is moving in curves. All you need to do is draw gentle wavy lines across the page, but vary the pressure as you go, making the peaks thin and the dips thick.
4. Zigzag lines with thick and thin contrast
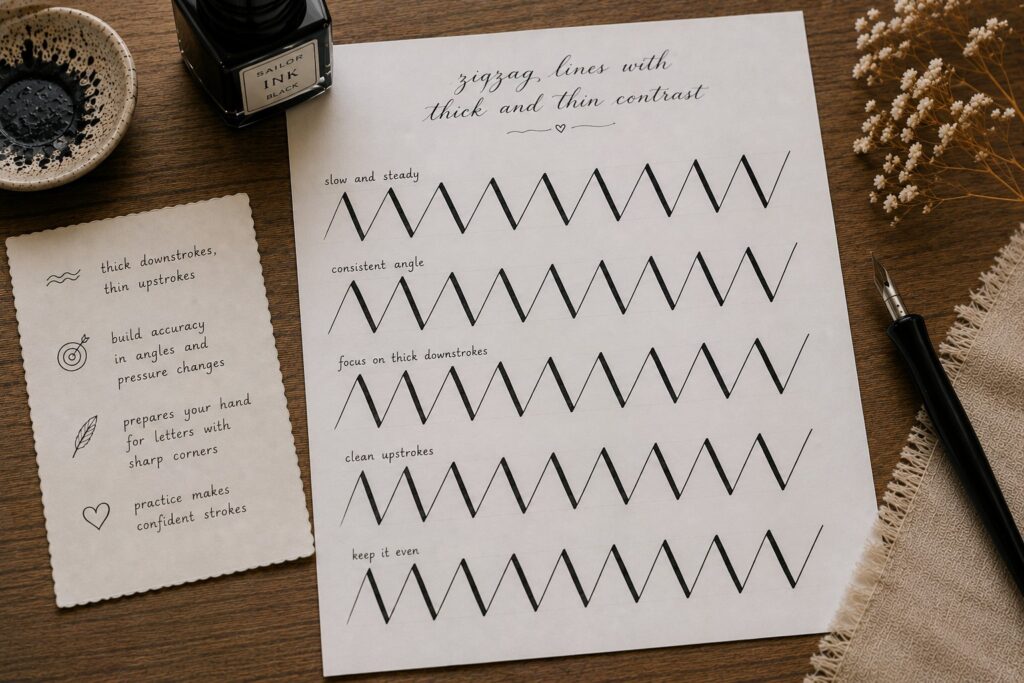
This is great practice for letters with lots of angles like uppercase alphabets like A, M, N, V, W, Z. Create sharp zigzag patterns and try to make every down part thick and every up part thin. My first zigzags looked messy and uneven, but this exercise really sharpened my control. It’s challenging but fun, and it trains your hand to react quickly when switching pressure.
3. Curve & Shape Exercises
If your ovals usually look like squashed potatoes (pun intended) and your circles wobbly, you need to practice this drill to help you tame those curves and make your letter o, c, a and d look way more polished.
This is also the stage where most beginners make the most errors without realizing it. If you want to stay ahead of that, reading up on how to avoid common beginner calligraphy mistakes will save you a lot of time and unnecessary frustration during your practice sessions.
a. Oval drills
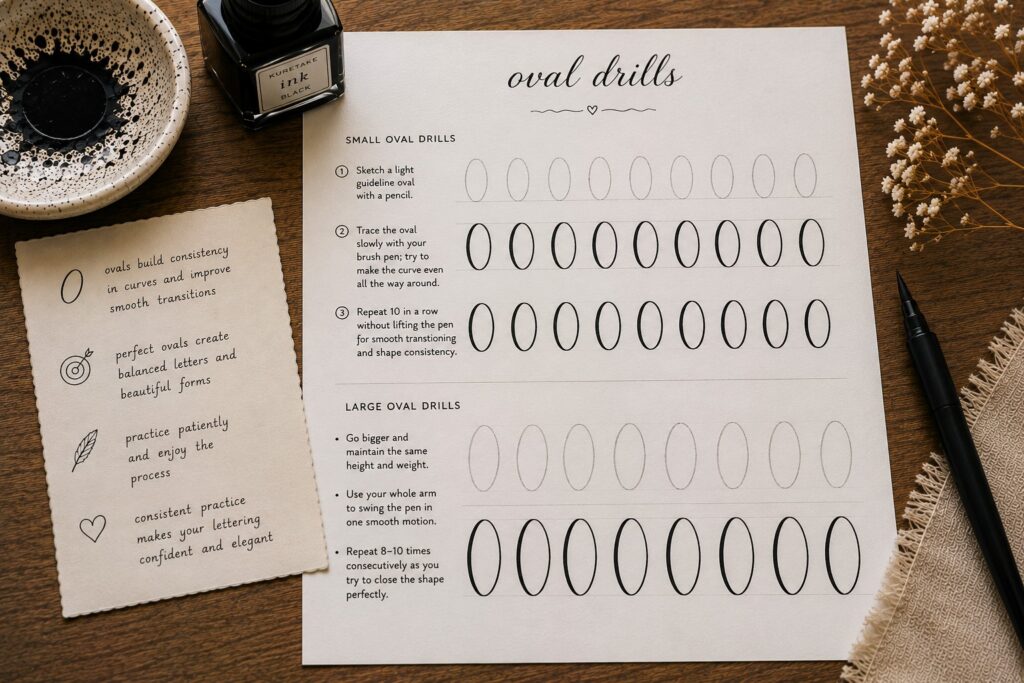
Start by drawing a small oval shape, ensuring to keep the same height and width every time.
1. Sketch a light guideline oval with a pencil.
2. Trace the oval slowly with your brush pen; try to make the curve even all the way around.
3. Repeat 10 in a row without lifting the pen for smooth transitioning and shape consistency.
Large oval drills: This time go bigger and maintain the same height and weight. Big ovals taught me how to relax my shoulder when writing. It will make you feel more confident when creating larger letters and flourishes.
Tip: Use your whole arm to swing the pen in one smooth motion and repeat 8–10 times consecutively as you try to close the shape perfectly.
b. Circle repetition (closed shapes)

This exercise will help in making your circles evenly round and closed, with no gaps. All you need to do is draw a small size circle on a row, then draw another one next to it, repeat it like that till the entire row is filled up without stopping, making sure that they maintain the same size.
Other curve and shape drills to practice are S- curve, spiral shapes, infinity loops, and wave patterns; most of them prepare your hand for flourishes.
4. Connection & Letter Formation Exercises
Here, you are going to turn those individual lines and curves into actual letters and words.
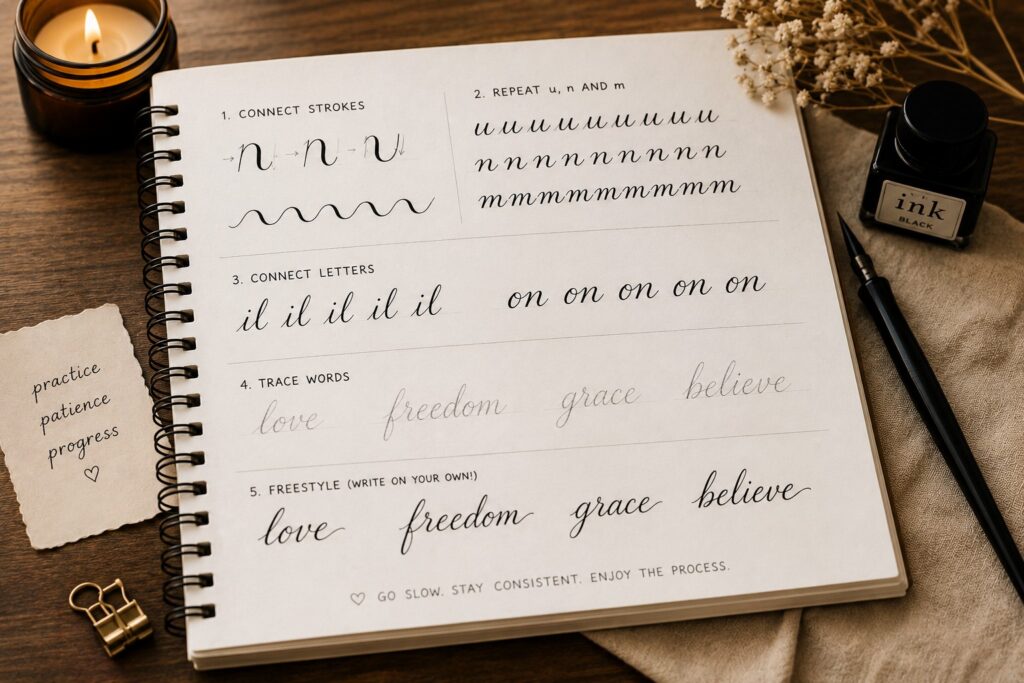
i. Connect basic strokes together:
This is the easiest; it is simply taking your basic upstrokes, downstrokes and curves and practicing how you can join them together smoothly without lifting your pen too much.
Start by joining your upstroke with the downstroke and vice versa to form an overturn and an underturn, respectively. The next day you can practice joining the overturn to underturn to form a compound curve.
ii. Repeat u, n and m across a line:
If you want to build consistent curves, sharp humps and connections, just write rows of “nnnnnn”, “uuuuu” and “mmmm” respectively. This will make your lowercase letters look neat and your hand will feel relaxed when writing.
iii. Connect letters into short patterns:
Write repeating patterns like “ilililil” or “ononononon”. This teaches you how to connect different letter shapes smoothly. Try saying the pattern out loud as you write; it makes it more playful, helps with rhythm and makes it stick to your brain.
iv. Word tracing:
Print out some words and use tracing paper to trace over them slowly and neatly, focusing on the flow and control rather than speed. To make it even more fun, you can trace your favourite quotes or short words like “love”, “freedom”.
v. It’s time to go freestyling:
Try a freehand of the words you traced. I mean, write the word out with no guidelines or tracing, just your pen and your blank paper. You’ll make some mistakes, but just keep moving and correcting each error as you go. Make sure the letters are evenly spaced with the same size and slant. Write the same word multiple times; it will help you build uniformity.
There was a time I had a bad day, so I picked my dip pen and blank paper and filled up the page with the word “gratitude”, my lettering improved and my mood was lifted as well.
This is also the perfect point to start working on how to create your first calligraphy alphabet. Once your strokes and connections are feeling more natural, putting together a full alphabet is a truly rewarding milestone that will push your skills even further.
Building a Consistent Practice Routine
Now that you have all these exercises, the next question is; how do you stay consistent with them? The truth is, doing these drills once in a while won’t move the needle much. What really transforms your lettering is showing up regularly.
If you need help with structure, check out my post on how to practice calligraphy daily with a 30-day plan. It maps out exactly what to work on each day so you never feel lost or unsure about what drill to pick up next.
And if you’re wondering how long it takes to learn calligraphy, the honest answer is that it varies for everyone. But with consistent daily practice using targeted exercises like these, most beginners start seeing a visible difference in their strokes and letter quality within just a few weeks.
The key is not to rush. Whether you are practicing calligraphy basics: strokes every beginner must learn or exploring more advanced letter formations, give yourself permission to go at your own pace. Progress in calligraphy is not always linear but it is always happening, even on the days it doesn’t feel like it.
If you ever feel like your progress has stalled, revisit some tips on how to improve calligraphy fast; sometimes a small tweak in technique or a fresh drill is all it takes to break through a plateau and reignite your momentum.
Exploring Different Calligraphy Styles
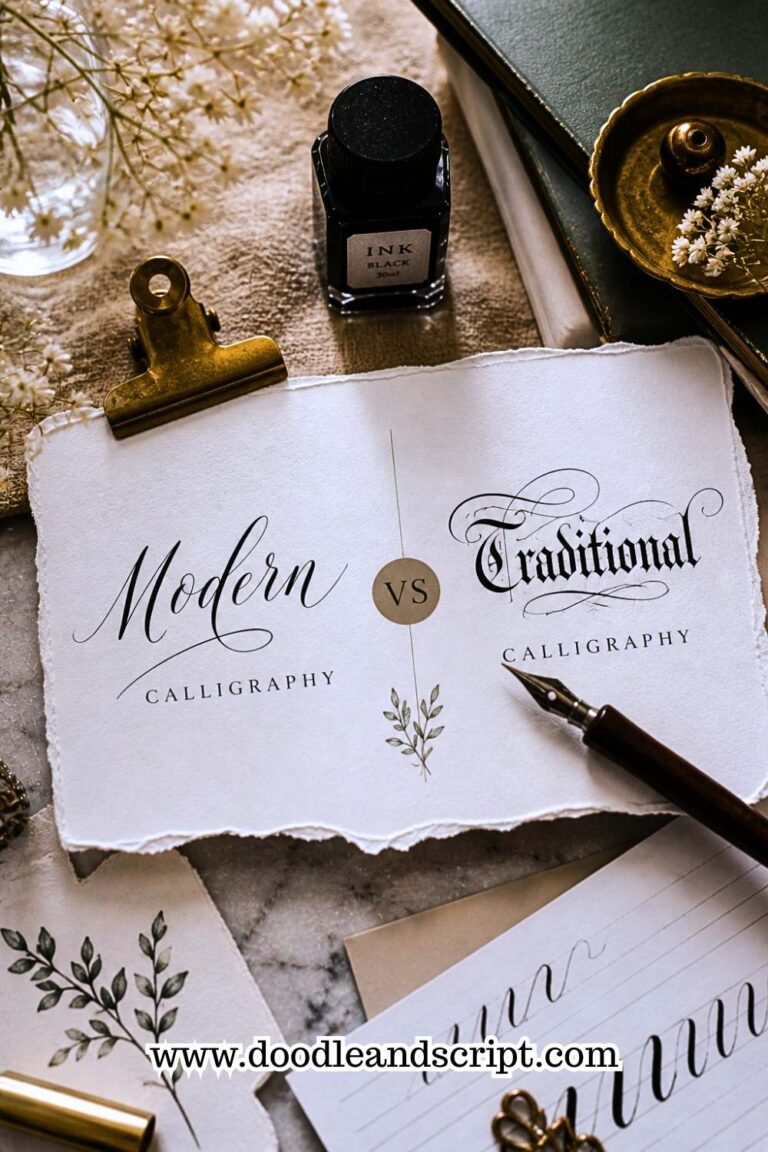
As your control improves, you’ll naturally start getting curious about different calligraphy styles. You might wonder whether to explore modern calligraphy vs traditional calligraphy; both are beautiful in their own way and understanding the difference will help you choose the path that best suits your creative personality and goals.
If you’re leaning towards a more expressive and relaxed style, a brush calligraphy beginner tutorial is a wonderful next step. Brush calligraphy is incredibly forgiving for beginners and the exercises in this post translate perfectly to brush pen practice.
And if you haven’t tried it yet, faux calligraphy for absolute beginners is another great style to explore alongside your drills. It requires no special tools, just your regular pen, making it a brilliant way to practice letterforms and spacing without worrying about pressure control just yet.
As you get more comfortable with letter formation, you’ll also want to focus on how to create consistent calligraphy letters; because consistency in size, slant, and spacing is ultimately what gives your lettering that clean, professional finish that makes people stop and stare.
And once you’re ready to take everything you’ve practiced to the next level, exploring how to learn calligraphy at home with a structured self-teaching approach will help you continue growing as a calligrapher long after you’ve mastered these beginner exercises.
Final Thoughts
When you’re starting out, you shouldn’t rush into trying to write full words yet. Instead, focus on the basics: light upstrokes, heavier downstrokes, smooth ovals, and those little entrance strokes too. If you’re unsure about the difference between upstrokes and downstrokes, I have a full post breaking down calligraphy basics: understanding upstrokes and downstrokes that will give you a solid foundation before diving into these drills. It might feel repetitive at first, but in the long run, this is what will help you create those clean, consistent, elegant letters you’re aiming for.
You don’t need to practice all of these exercises at once. Look at your lettering, what do you want to fix? Is it your strokes? Your curves, alphabets? Or do you want to learn how to add flourishes? Once you know the part you need to improve, then you can choose the drills that best suit you.
Remember, every beautiful calligrapher you admire went through the same wobbly lines and uneven ovals that you’re working through right now. These exercises are your shortcut to getting there faster. Stay consistent, be patient with yourself, and enjoy every stroke of the journey.