How to Practice Calligraphy Daily (30-Days Plan)
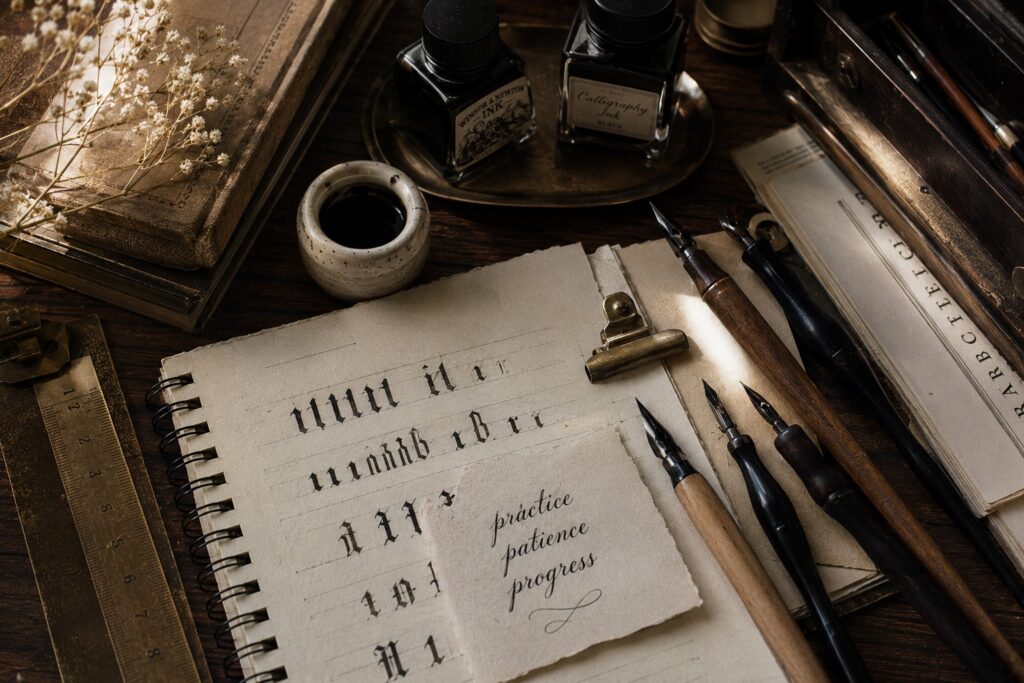
One of those days at my uncle’s small gift shop, a friend of his brought a wedding invitation card to him. The letterings were so elegant, with precision and structure. The calligraphy I used to think I wrote on wrapping papers or the ones I used to see on birthday or anniversary cards weren’t anywhere close to it. Curious, I asked the man, what type of lettering were those and he said “traditional calligraphy” that he paid an artist to write them, he said it proudly.
I still remember that afternoon, how bright my eyes were when he mentioned that he paid someone to write it. So, they can earn from this? Mind you, it was later that I discovered that all those lettering I wrote then were cursive, not exactly calligraphy. If you’re also just discovering the difference, this guide on modern calligraphy vs traditional calligraphy breaks down both styles clearly so you know exactly what you’re getting into.
Not in a rushed, messy way but in a structured, consistent way that would actually help me improve and most importantly start earning.
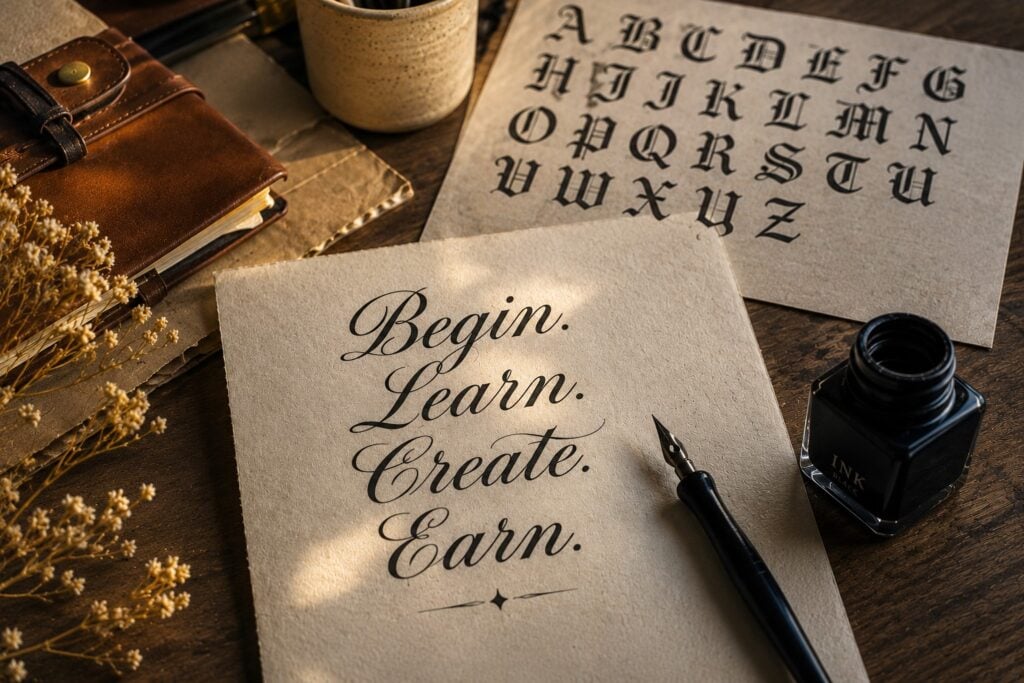
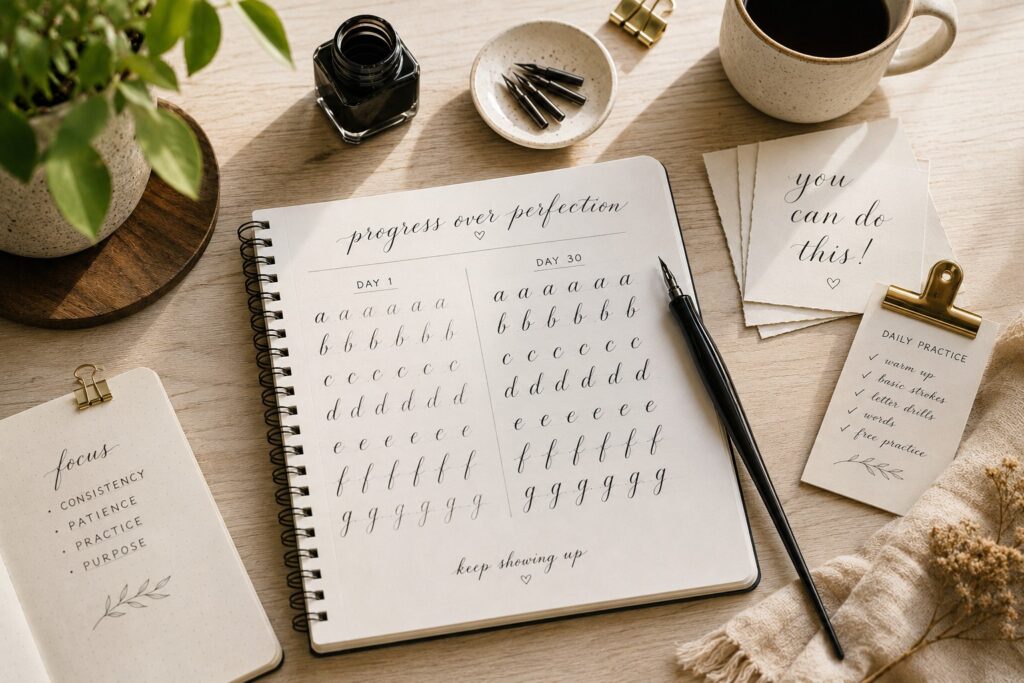
In this guide, I will show you how to draw out a plan that at the end of these 30 days, you won’t just try but understand the foundations of traditional calligraphy, develop steady hand control and consistent strokes, write letters and words and simple designs confidently, then look back at a clear difference between your Day 1 and Day 30 work.
Why Daily Calligraphy Practice Is the Fastest Way to Improve
Daily practice will build your muscle memory faster, correct mistakes in real time and as well stay connected to the skill instead of starting over each time.
It’s not about practicing for 5 hours today and disappearing tomorrow, it’s how often you practice. But first and foremost, you need to have a strong reason to adhere to this plan. As I earlier mentioned, my “why” was because I saw that people actually earn from it and I wanted that too.
Because even on days that I felt tired after returning from the shop, I still found myself picking up my pen holder to fix the dip to the flange for a short 30-minute practice session. If you want to understand how long it takes to learn calligraphy and what to realistically expect at each stage, that post will give you a much clearer picture of the journey ahead.
Who This 30-Day Calligraphy Plan Is For
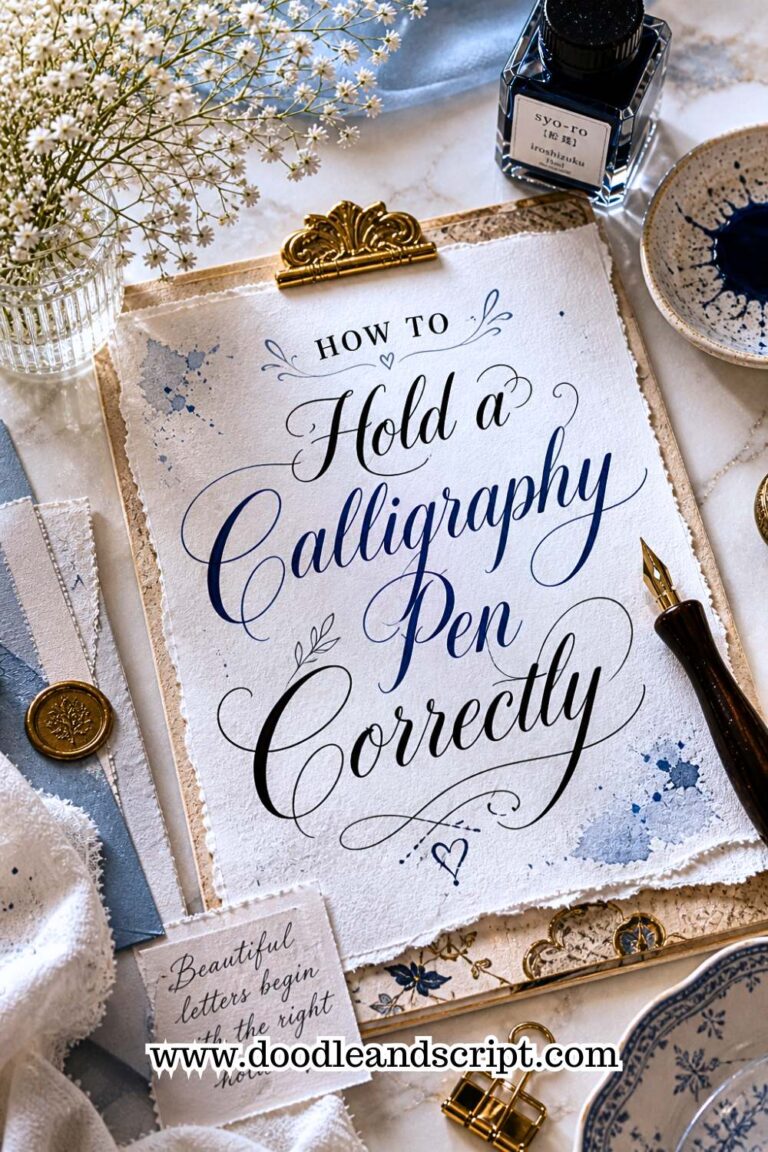
i. Complete beginners; yes, those that are still struggling with how to hold a calligraphy pen correctly, I made a separate guide on that for you.
ii. If you want to take calligraphy as a hobby, this will be of great help too.
iii. And if you’re like me, who wanted a structured path to growth and earn from it, I am talking about aspiring calligraphers, then this plan is for you.
Getting Started with Daily Calligraphy Practice
Tools you need before starting your 30-day calligraphy challenge
If you want to start with traditional calligraphy, you’ll need dip pens, nibs (pointed and broad-edge), ink bottles, parchment or high-quality paper, rulers and guidelines, pencil for sketching, ink wells and blotting paper.
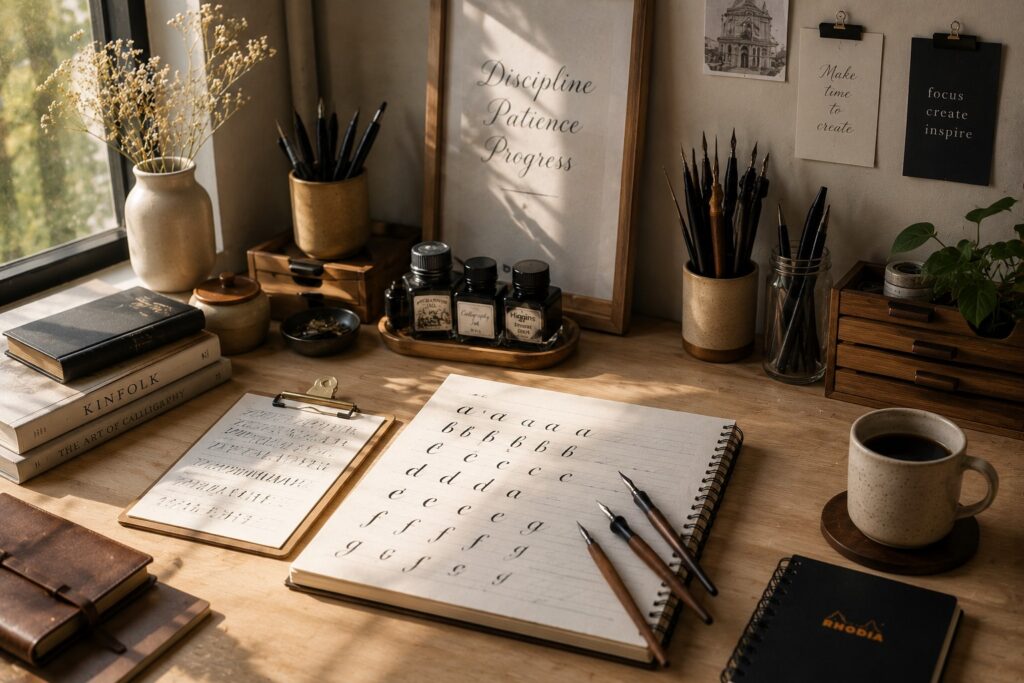
For modern calligraphy, the tools are; brush pens, marker pens, gel pens, fountain pens with flexible nibs, watercolor brushes, calligraphy notebooks like rhodia pads, digital tablets with stylus like iPad with Apple Pencil and chalk pens or brush markers. For a full breakdown of all the tools you need as a beginner, this calligraphy for beginners: complete starter guide covers everything in one place.
Set up a comfortable and inspiring practice space
Your study table needs to be comfortable and neat. Arrange your space in such a way that you can make good use of the few minutes you have to practice. Even up till now, my tools are always kept at arms length but not crowded. If you’re learning from home and need help setting up your space properly, how to learn calligraphy at home has a full section dedicated to creating the right environment for focused practice.
How to choose the right Calligraphy Style
Since I wanted something that I could earn from, I didn’t really focus on modern calligraphy like that. I am not saying you can’t earn from modern calligraphy. But then, my main goal was to learn traditional calligraphy.
Here’s a simple question to ask yourself to help you decide because, I can’t decide for you.
Do I want to just write for fun and post on Instagram? If your answer is yes, then modern calligraphy suits you.
But if you can follow a set of rules to write for formal events, then its traditional calligraphy.
Create a Realistic Daily Calligraphy Routine (Even with a Busy Schedule)
What may be realistic to me may not be to you depending on your lifestyle, all you need to do is keep it simple and doable.
Here is a List of Things that can Help You Out
- Even if it’s only 15 – 20 minutes each day, just set aside a specific time. Mine was usually 30 minutes before bedtime, like the last thing I do before bed. I noticed that I usually replay the practice in my head before sleep finally sweeps me off. I think it helped me learn fast though because I was able to write the oval loop easily.
- My tools are always kept at a spot where I can easily grab them without reducing the setup time.
- Break practice into small, focused sessions. First, I learned the strokes, when I was confident, I moved to letters and words. Don’t jump, just start from the basics and grow. Everything about the foundational strokes you need to know first is covered in this post on calligraphy basics: strokes every beginner must learn.
- Set an alarm on your phone so that you’ll be easily reminded to stay consistent.
- Combine practice with daily activities, if you love coffee, you can take sips while practicing but I don’t do this though. I prefer full time focus since it’s only 30 minutes.
- Track your progress, I love this part. Keep a journal or notebook to stay motivated.
- Give room for flexibility, if you miss a session, practice the next day without stress
Now that we are set, let’s dive into each week’s plan.
How to Practice Calligraphy Daily (30-Days Plan)
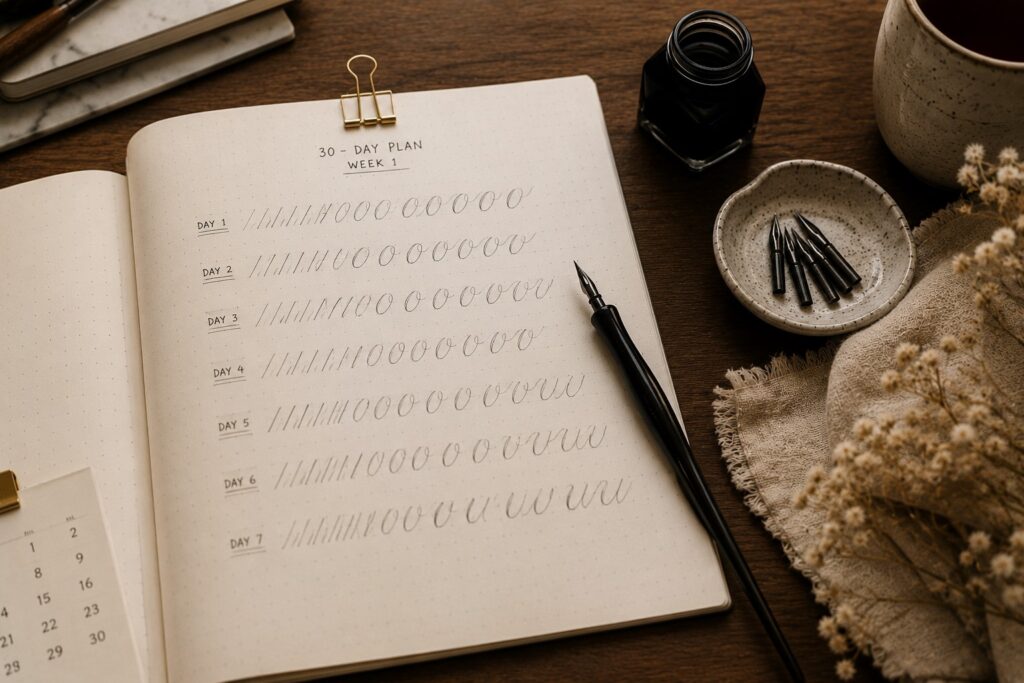
Week 1: Build Strong Foundations
Day 1:
Understand the basic calligraphy strokes: Your first day may be theory based, you just need to know or see what each stroke looks like. There are 8 main types of calligraphy strokes;
Upstroke
Downstroke
Ascending
Descending
Overturn
Underturn
Compound curve
Oval stroke
A detailed guide explaining all 8 types of calligraphy strokes and how to write them is available in this post on calligraphy basics: strokes every beginner must learn.
Day 2:
Practice upstrokes and downstrokes: This is where the practical starts but start with the basics first. Before you start practicing the strokes, draw guide lines with a ruler and pencil if the paper you are using is blank. Then carefully, draw the upstroke with light pressure and downstrokes with heavy pressure. Understanding exactly why these two strokes work the way they do is covered in full detail in this post on calligraphy basics: understanding upstrokes and downstrokes.
Tip: Practice the upstrokes on several rows for the first 5 minutes before moving to the downstroke. If you do this, you’ll notice that some of your upstrokes are heavier than the others, all you need to do is adjust the pressure and continue.
Day 3:
Learn proper pen pressure control: You can go on YouTube to watch how experts are moving their hands slowly with a relaxed wrist and arm movement.
Always observe your ink flow, watch how the nib responds to the different pressures you apply on the pen and adjust your grip and angle as needed. Pairing this with beginner calligraphy exercises to improve control will train your hand to manage pressure transitions much more naturally and quickly.
Day 4:
Practice straight lines and curves: When drawing vertical lines, focus on thick even pressures on down strokes while the on upstrokes, lighten the pressure. Also, practice horizontal lines for consistency in spacing and length.
For curves, start with simple curves like overturns and underturns, then move to compound curves to connect upstrokes and downstrokes, when you are good, you can move to ovals and loops,
Repeat in sets of 5–10 per row, focusing on smoothness, even thickness and pressure transition between thin and thick lines.
Day 5:
Start introducing basic lowercase letters: Now that you are good with the strokes, it’s time to start writing letters. I jumped most of the alphabets and started with simple letters like i, l, t, u, n and o. Can you see that the above letters are made up of straight lines and simple curves?
Once individual letters feel comfortable, practice combining them into simple words. I started with simple words like; lot, on, to, in, etc and then moved. It may seem like you are learning two letter words as though you are back in nursery one but aren’t you a nursery one calligraphy student like this? Lolz, just kidding.
Day 6:
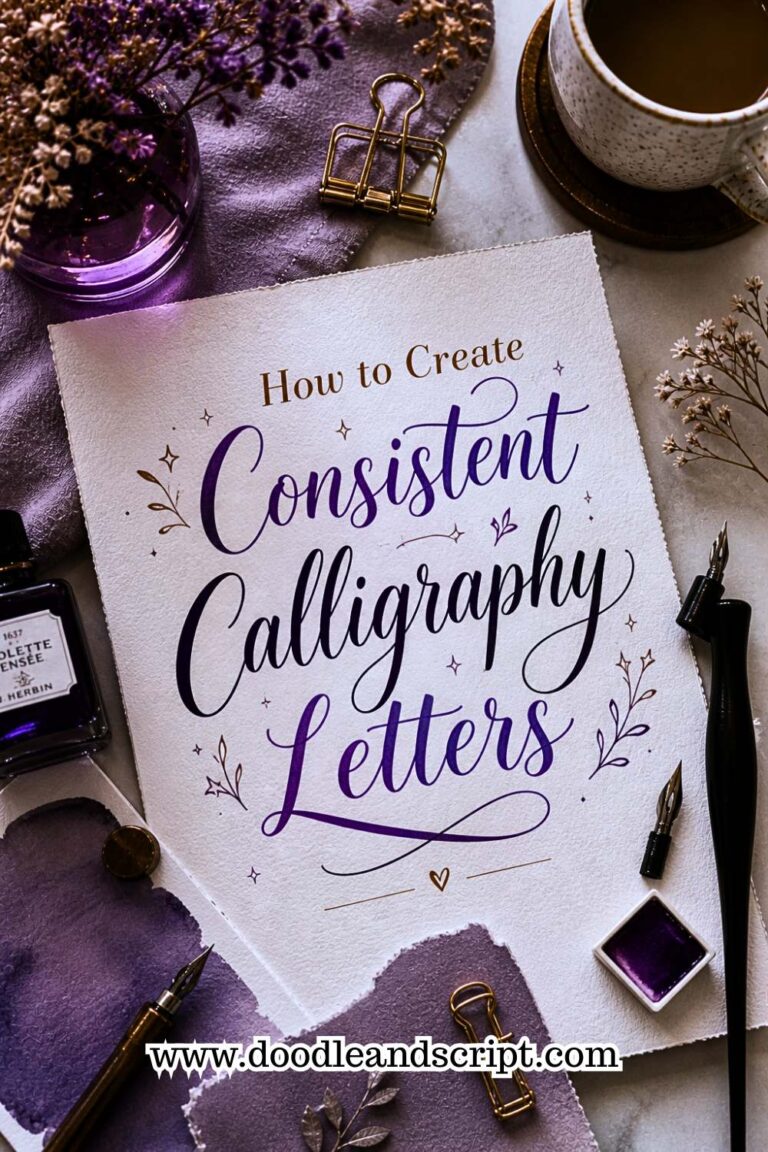
Practice letter spacing and consistency: As you write, ensure that the letters are not too crowded and uneven, you want it to be readable as well even as a beginner. This is one of the most important habits to build early, and this guide on how to create consistent calligraphy letters explains all the small details that make a big difference in how uniform your letters look.
Day 7:
Review your first week work and identify improvement areas: Yeaaa!, you made it to the last day of week one. Congratulations, that’s how winners move. Now, seat back, don’t practice today, just look at all your practice papers. Hope you didn’t trash them on tough days. Can you see that your day 6 upstroke was lighter than your day 2? Isn’t that progress to you?
Week 2: Mastering Letter Formation
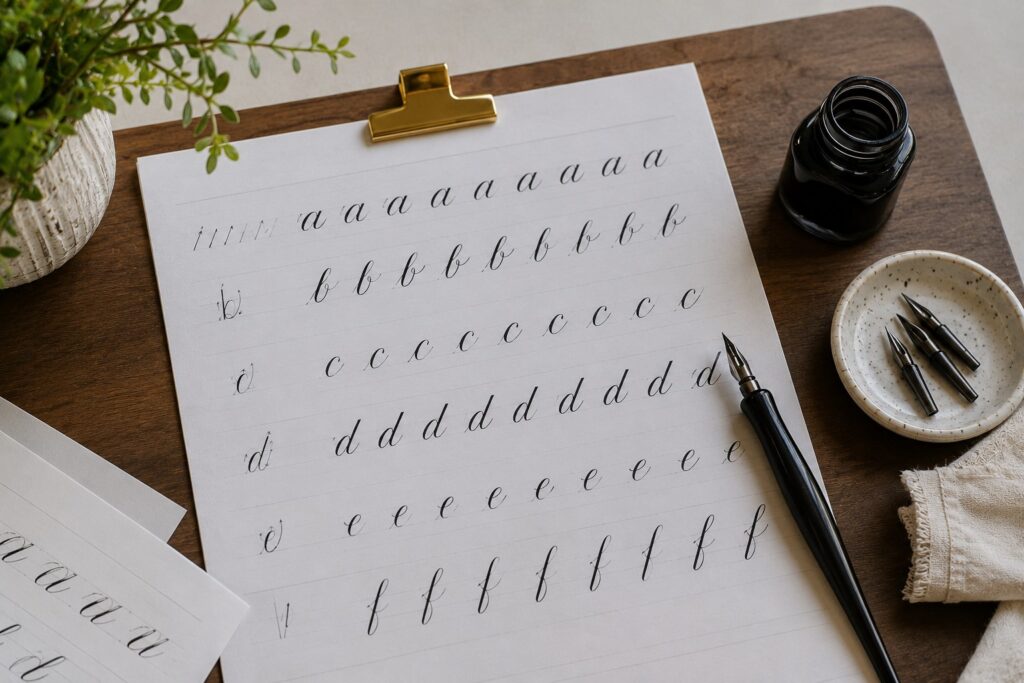
Day 8 & Day 9:
Practice lowercase alphabet: In week one, we selected a few letters for you to practice, now we’ll move to letters that require stroke combinations. Practice a – z, don’t be overwhelmed, let’s break it down. Day 8, try to write a – m and day 9 complete n – z. For a full stroke-by-stroke breakdown of every letter in both groups, this post on how to create your first calligraphy alphabet will guide you through each one clearly and simply.
Day 10:
Improve letter consistency and size control: Here, guidelines matter a lot, it helps you understand how tall or short a letter should be, so don’t joke with them. Use this time to fit in all your lowercase letters like a, e, n within the x-height line to make them uniform and also your writing looks neat and balanced.
Day 11 & 12:
Practice connecting letters smoothly: Let’s say you want to write the word “all”, try and see how you can connect the “a” to the “l” then to the second “l”. This will help in building your muscle memory. Working through calligraphy drills every beginner should practice during these days will make your letter connections feel much more natural and fluid.
Day 13:
Fix common beginner mistakes: If your upstroke and downstroke look alike in terms of thickness, it means that you are pressing too hard on every stroke, you need to start adjusting your pressure when writing upstrokes. A full list of the most common errors and how to correct them is covered in this post on beginner mistakes in calligraphy and how to fix them.
Day 14:
Weekly review and progress check: And we are done with week two. Do the same thing you did on the last day of week one and warm up for week 3.
Week 3: Developing Style and Confidence

Day 15:
Introduction to uppercase calligraphy letters: Do you know why I didn’t mention uppercase letters in week 1 and 2? Because they are a little bit difficult for beginners and you have to familiarize yourself with lowercase letters before moving to uppercase letters. Everything about how to approach uppercase letters after mastering lowercase is explained in detail in this guide on how to create your first calligraphy alphabet.
Day 16:
Practice basic flourishes: uppercase letters use a lot of flourishes to stay stylish but you need to start simple. Then I usually use trace papers and I still use them now sometimes.
Focus on ovals, loops and S-curves because they form most flourishes. And most importantly, avoid overcrowding so that they don’t overpower your letters, remember you’re still in the beginner phase. Knowing how to avoid common beginner calligraphy mistakes at this stage will keep your flourishes looking intentional rather than messy.
Day 17:
Improve rhythm and flow in your writing: Instead of learning something entirely new today, use it and re-practice the old ones. Practice how to connect letters smoothly with even spacing and a steady hand motion. If you can achieve a loose grip and relaxed wrist, your writing will begin to flow effortlessly. This is also a great day to revisit tips on how to improve calligraphy fast; sometimes a small technique adjustment is all it takes to break through a plateau.
Day 18, 19 and 20:
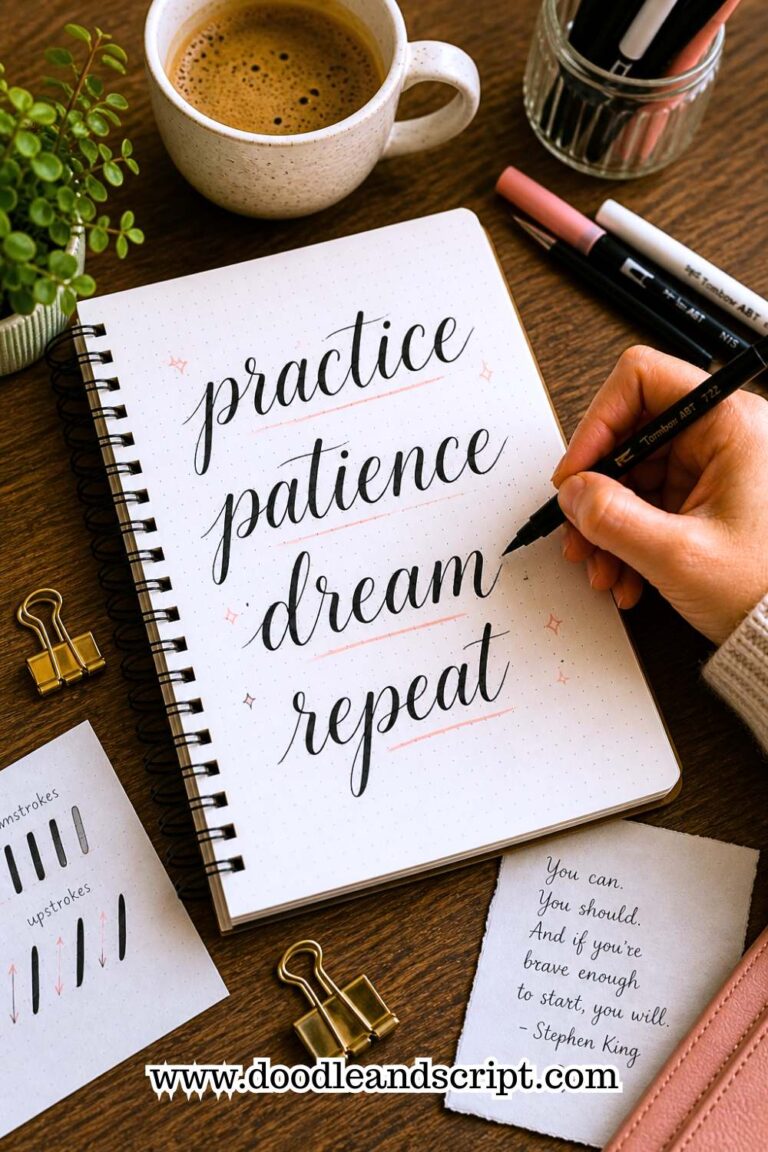
Write longer words and short phrases: Now, you’ve moved from two letter words to longer words. Then, I used to write short positive affirmation phrases like, “I can write calligraphy well” You can do yours too. I am giving you 3 days for more room of practice, there’s no rushing here, only consistency.
Day 21:
Weekly review: What I want you to do here is, compare your week 1 to week 3, is there any difference? If yes, we can now proceed to week 4. I am feeling excited for you right now.
Week 4: Creativity and Real Projects

Day 22 and 23:
Write quotes in calligraphy: Start simple quote projects, I would recommend starting with quotes that you love that’s short and meaningful.
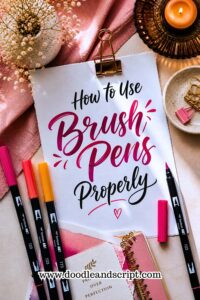
Make important words bigger, bolder, ensuring even gaps between words and lines for a cleaner look. Then add finishing touches like flourishes to make it look decorative. If you need brush pens for this stage and aren’t sure how to handle them properly, this guide on how to use brush pens properly covers everything from pressure to maintenance.
Day 24 and 25:
Practice layout and composition: Here’s how to do it;
I usually start with light rough sketches of where each word will go before the main writing.
Ensure that your words are aligned, anywhere you want to place your words, be it centred, left-aligned, or right-aligned, just make sure it is consistent throughout the page.
Make important key words bigger or bolder so create visual hierarchy.
Use guidelines to keep your work neat at all times.
Balance your spacing across letters, words and lines.
Avoid overcrowding, let the letters breathe so they can be readable.
Day 26:
Experiment with different types of calligraphy tools: Here you want to know what tools make you feel comfortable. Try out different brush pens, dip pens, inks and papers. I did this and I discovered I made better letterings with Rhodia grid papers than canson marker paper. I still use canson papers though but when working on projects, I use Rhodia pads. Yours might be different, just try them out. If you’re trying brush pens for the first time at this stage, a brush calligraphy beginner tutorial is a great companion to help you get the best results from your new tools.
Day 27:
Creating a mini calligraphy project: Mine was a valentine greeting card to my boyfriend then but husband now, he loved it. If you’re looking for style inspiration for your mini project, exploring faux calligraphy for absolute beginners is a fun and creative way to experiment with letterforms without needing special tools.
Day 28:
Final weekly review: You’ve come this far, now is the time to review each week’s work and polish the ones you think are your best work.
Final Days: Mastery and Habit Building
Day 29:
Go back to your Day 2: Rewrite the basic strokes you wrote on day 2 work to see improvement. If you stay true to yourself, I bet there’s gonna be an improvement and at this point, you will be proud of yourself.
Day 30:
Just create a final calligraphy piece to showcase your progress, this can serve as your portfolio builder if you are looking into earning with calligraphy. At this point, continuing to work on how to create consistent calligraphy letters as a daily habit will keep your progress moving forward long after this 30-day plan is complete.
Final Thoughts
It’s not hard and it’s not gonna be easy either, especially in staying consistent, you just have to stay true to yourself in order to pull this off. When i started, I didn’t have hours and hours every day. What I had was determination, a few quiet moments at night, and the willingness to practice daily no matter how small the progress felt.
So, I made a decision that I would commit to a 30-day calligraphy practice plan. And that decision changed everything.
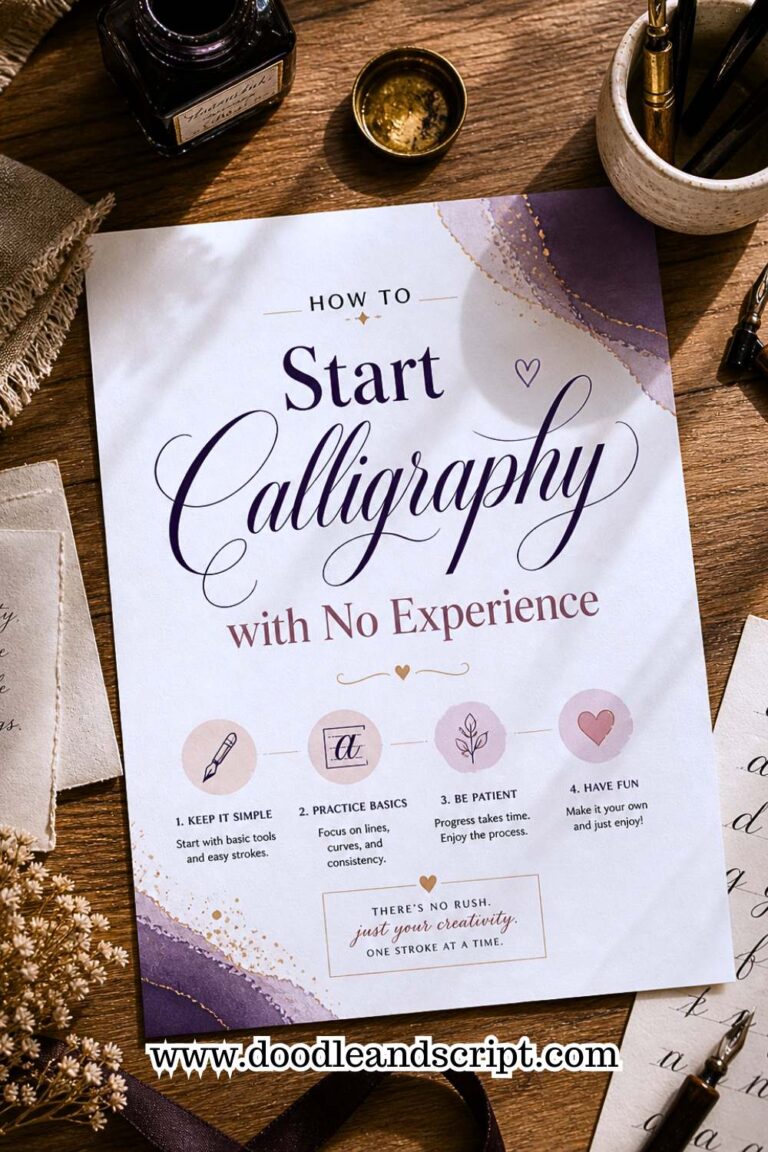
Oh! Did I tell you to evaluate your progress after 30 days of practice and identify the skills you’ve learnt? You need to, I did not guarantee you perfection but getting hold of the basic skills. And if you ever feel stuck or unsure about what to work on next, revisiting how to start calligraphy with no experience is always a great reset to make sure your foundation is as solid as it needs to be.