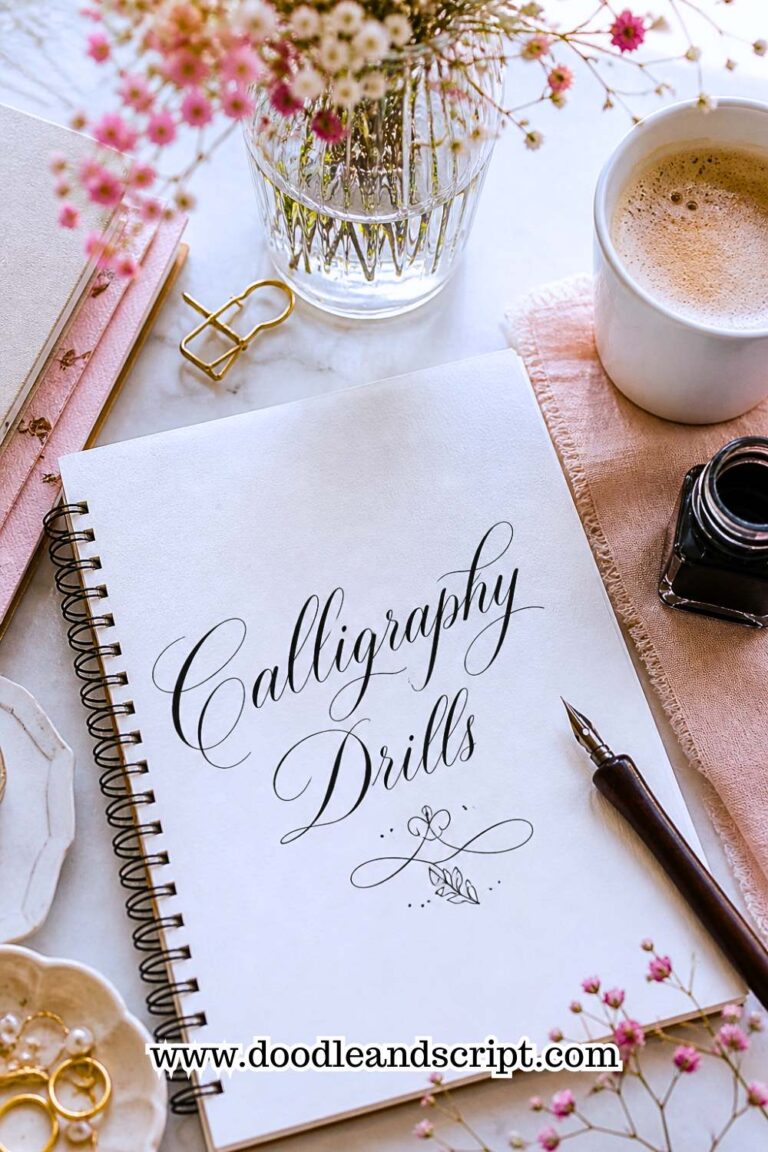
How to Learn Calligraphy at Home (Step-by-Step Plan)
When I started, I didn’t have the budget to pay for calligraphy classes so I learned the basics at home and as I progressed, I went on for more one-on-one classes and mentorship to fully become a professional. So, you can learn calligraphy anywhere, at home, free of charge or paid, it all depends on you.
Though I faced a lot of challenges learning all alone from home. If I was to start over with just a pen, paper and that little chair and table at the corner of my room, this is how I would learn calligraphy all by myself.
This guide will cover the step-by-step process on how to start from scratch all by yourself without feeling overwhelmed. From picking your tools, setting up your space, choosing learning resources, and creating a practice routine that actually works for you.
By the end, you’ll have all the confidence you need to start your calligraphy journey, without stress or confusion. Trust me, once you start, it’s addictive, in a good way!
How to Learn Calligraphy at Home
There’s a saying that, once you don’t plan, you are actually planning to fail and if you see calligraphy as a long-term path and not just a random hobby then you need to lay the foundations first, so here you go;
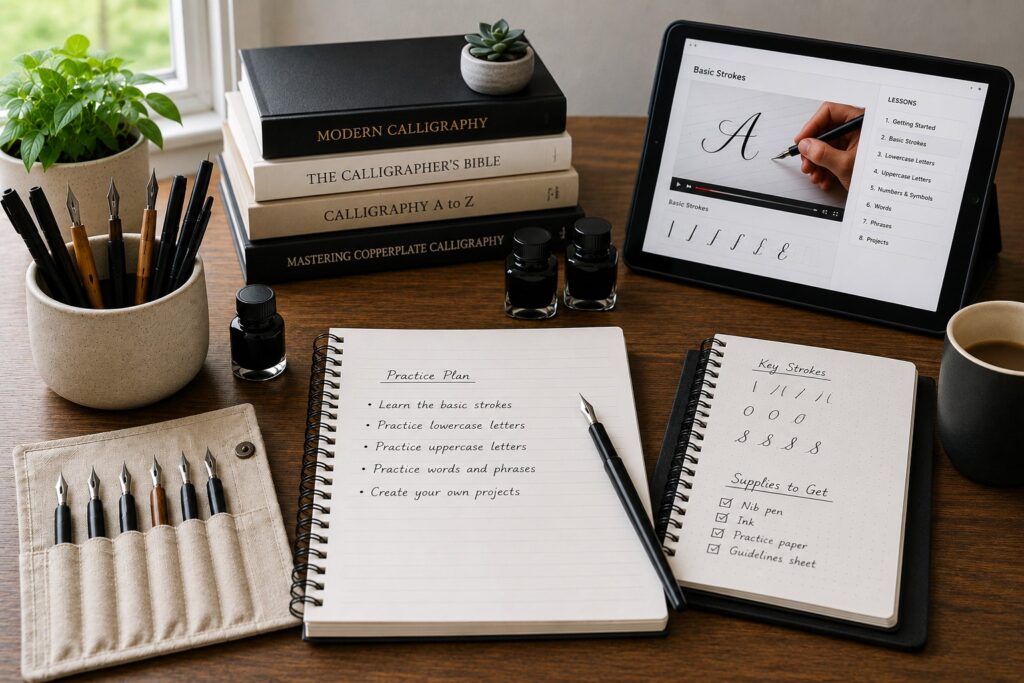
Step 1: Setting Up Your Calligraphy Workspace
I. Choosing a quiet, comfortable spot
If you’ve been following my write-ups, you must have seen me mention that what motivated me to start calligraphy was seeing my physically challenged Uncle smile by helping him out at his gift store. As time went on, I realized that it’s beyond just packaging customers’ gifts and labelling them with beautiful letterings. It was more, and whenever I go back home from my uncle’s store. I would hide in a quiet yet comfortable corner in my room to write.
If you’re just figuring out how to start calligraphy with no experience, having a dedicated, quiet space is honestly one of the first decisions that will set the tone for your entire practice.
II. Ensure proper lighting for detailed work
Good lighting can’t be overemphasized, be it during the day or at night. You need to set up a proper lighting system, if your reading lamp is bright enough, you can use it at night, you don’t have to spend much. I usually sit opposite the window where I can get enough light on to my paper during the day.
III. Organize your desk
Calligraphy requires your attention 100% when practicing. A scattered desk may make you get tired easily and experience hand aches even when you’ve not written much, this will make your output to be poor; shaky and uneven strokes.
IV. Keeping essential tools within reach

All your writing essentials should be kept within your arms length or where you can quickly grab without having to stand up or move around. Your pen storage should be placed at the top right side of your table or left side depending on whether you are right-handed or left-handed. You could get a mini book shelf to keep https://doodleandscript.com/how-to-hold-a-calligraphy-pen-correctly-step-by-step/your papers and ink containers instead of crowding your desk.
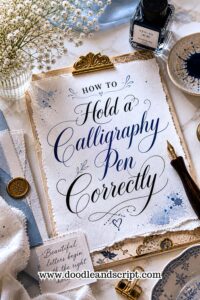
Speaking of tools, if you are still wondering how to hold a calligraphy pen correctly, that is something you want to sort out before you even sit down to practice. A wrong grip will affect everything; your strokes, your pressure, your comfort, and ultimately your output.
There’s this small rechargeable table top fan my mom gifted me on my birthday and I placed it just at the corner on the desk. The fan is blowing me while my creativity is flourishing. The thing is, just to make your space look nice and neat so that you will be more motivated to keep going.
V. Use an ergonomic chair
Never ever forget your health, get a chair that will protect your spine and make you comfortable while practicing.
Step 2: Choosing Your Learning Resources
In this age and time where the internet has literally made everything simple, to learn calligraphy from home, you just need to plug into the internet. Here’s a breakdown of some of my favourite resources to learn calligraphy from:
Online Learning Platforms:
Far back when I started, I only relied on trying to copy other calligraphy prints, I didn’t know there were platforms with structured lessons like Skillshare, Udemy, and Coursera. They offer beginner-friendly courses that guide you step by step, from basic strokes to full alphabets. Many courses also include practice sheets, so you can follow along and build your skills gradually.
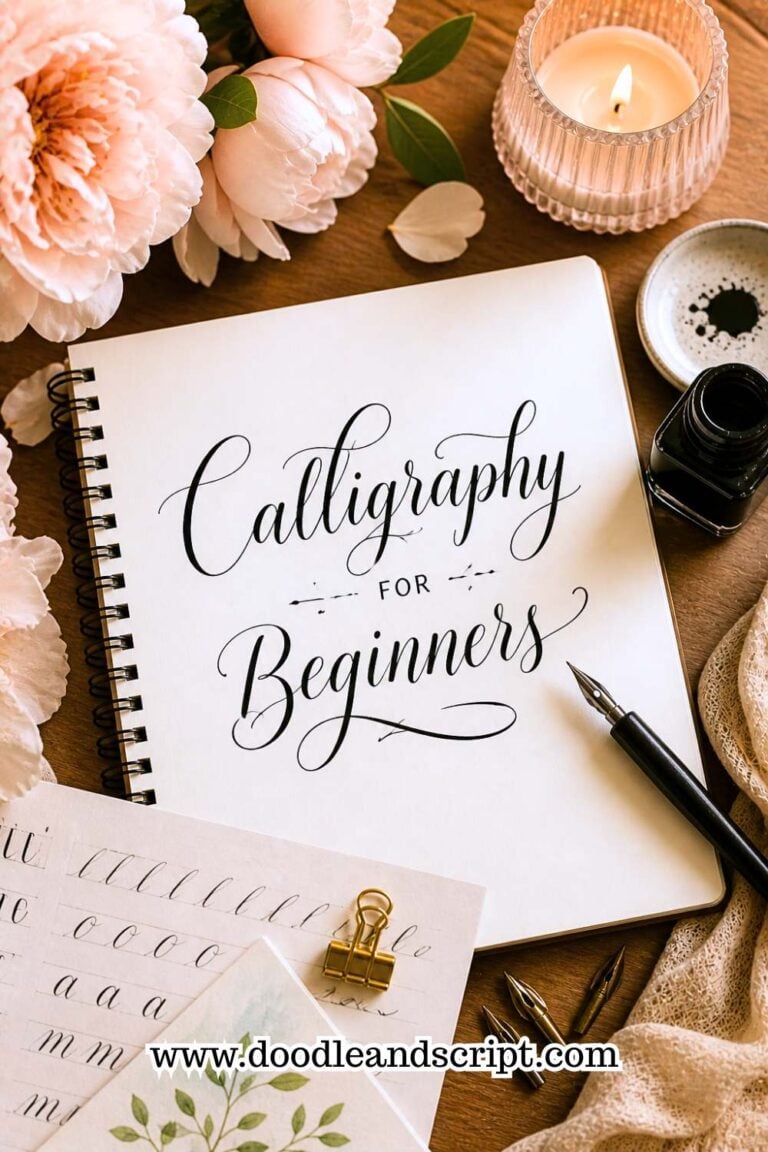
If you are completely new to all of this, I’d recommend starting with a solid calligraphy for beginners: complete starter guide before jumping into any course, so you already know what to expect.
Free Video Tutorials on YouTube:
If you don’t have the budget to go for paid online courses or you just want to learn at your own pace, then your saviour is YouTube. It is an ocean of knowledge where you can fetch from at no cost. There are a lot of professional calligraphers who often share tips, demos, and worksheets.
You’ll find everything on YouTube; from faux calligraphy tutorials for absolute beginners to advanced brush lettering techniques. Faux calligraphy is actually a great starting point because you don’t need any special tools, just a regular pen and paper.
Printable Worksheets and Practice Guides:
This is exactly what I used to learn when I started; worksheets and guides. Since my uncle saw that I developed an unusual interest for calligraphy, he invested in them to help me. To tell you the truth? There’s nothing like having a practice sheet in front of you. It helps you focus on strokes, letter formation, and spacing and you can even reuse them until your letters start to feel natural.
Worksheets are especially great when you’re working on calligraphy basics: strokes every beginner must learn. Practicing upstrokes, downstrokes, curves, and loops on a structured sheet makes a huge difference in how quickly your hand adapts.
Calligraphy Apps for Digital Practice:
I haven’t really used digital apps yet, and I don’t really know why, maybe because it’s done on a tablet not on a paper. But if you want to go into digital art, apps like Procreate and iFontMaker are good and they allow you to practice calligraphy on a tablet device. Other lettering artists say it’s a mess-free way to experiment with styles, play with colors, and even create your own lettering designs. One day, I will try it out and let you know how it goes but you can start right ahead.
Social Media Inspiration:
The first place I run to for inspiration is Pinterest, it’s my favorite, you can check out Instagram and Tiktok too. Use these platforms to see what others are doing, this will spark up ideas in your head and keep your practice exciting and fun.
You’ll come across both modern calligraphy vs traditional calligraphy (Explained) styles on these platforms. If you’ve ever wondered what the difference is between the two, I have a full breakdown that explains both styles side by side so you can decide which direction suits your personality and goals better.
Online Communities:
Don’t do it alone, you may easily give up along the way when faced with challenges of constant uneven strokes. It gets more enjoyable when you are doing it with like minded fellows.
- Back then, I came across this dude at the beach, writing on the sand, and at first, I thought he was just playing with the sand and having fun but curiosity made me walk closer. Then I noticed they were not just everyday alphabet but beautiful slanted lettering just like calligraphy on paper. When I asked him some questions, he said it was calligraphy, and that was the first time I saw calligraphy written on sand. It was so beautiful, people at the beach even took pictures of it.
- We got talking and he introduced me to an online community of other calligraphers; I was so happy to join a group of supportive calligraphy enthusiasts. You can join Facebook groups, Telegram groups or even Discord servers where other calligrapher’s hangout to share their progress, ask questions or even join their mini-challenges. It won’t only motivate you but help you to stay consistent.
Live Online Workshops:
Here, you get real-time feedback from instructors, which can make a big difference when learning tricky strokes or styles. And, this works best if you like interactive learning.
Blogs and eBooks by Professional Calligraphers:
Don’t underestimate the value of well-written blogs and eBooks like this one you are reading from right now. Many professional calligraphers share detailed tips, step-by-step tutorials, with simple, easy to understand illustrations/pictures and advice for beginners. With blogs, you’ll learn new techniques or understand the “why” behind each stroke.
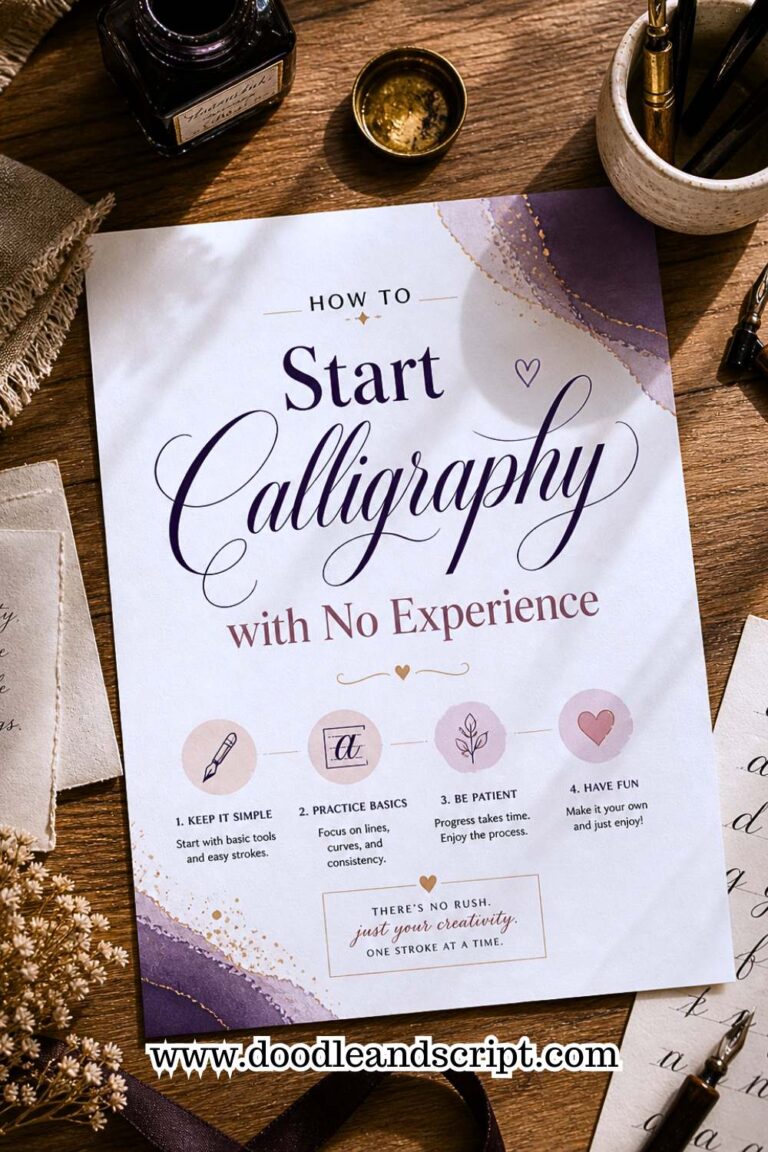
Step 3: Avoid getting overwhelm
As you start, you’ll feel excited; want to lay your hands on different tools, try out different techniques, styles and watch so many tutorials online, to the extent that it may feel like you need to learn everything at once. The truth is, you don’t.
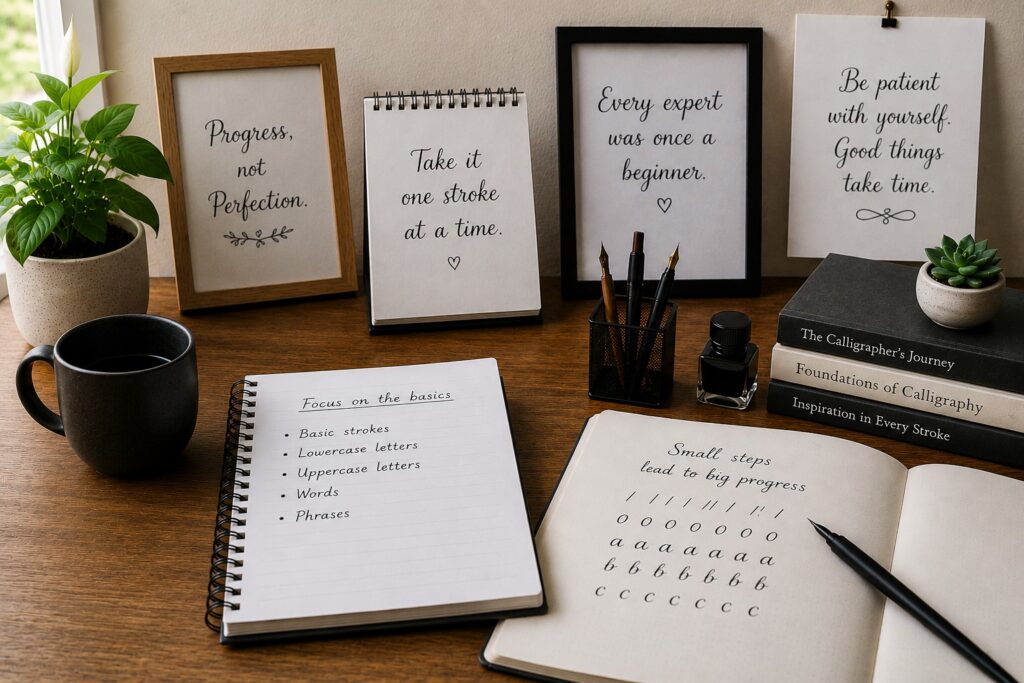
Calligraphy is a skill that grows slowly with practice, and the best way to enjoy the journey is to keep things simple in the beginning.
Set Realistic Goals as a Beginner:
Instead of trying to master the whole 36 alphabet and numbers in one sitting, focus on something simple like practicing basic strokes or a few letters and combinations.
Choose One Style at a Time:
While it may be tempting to try all the styles of calligraphy at once, I would recommend you start with just one style, first. Once you feel comfortable with the basics, you can explore other styles later. This keeps your learning process focused and less confusing.
For instance, you could start with a brush calligraphy beginner tutorial before moving on to pointed pen or copperplate. Brush calligraphy is forgiving, expressive, and a great confidence builder for new learners.
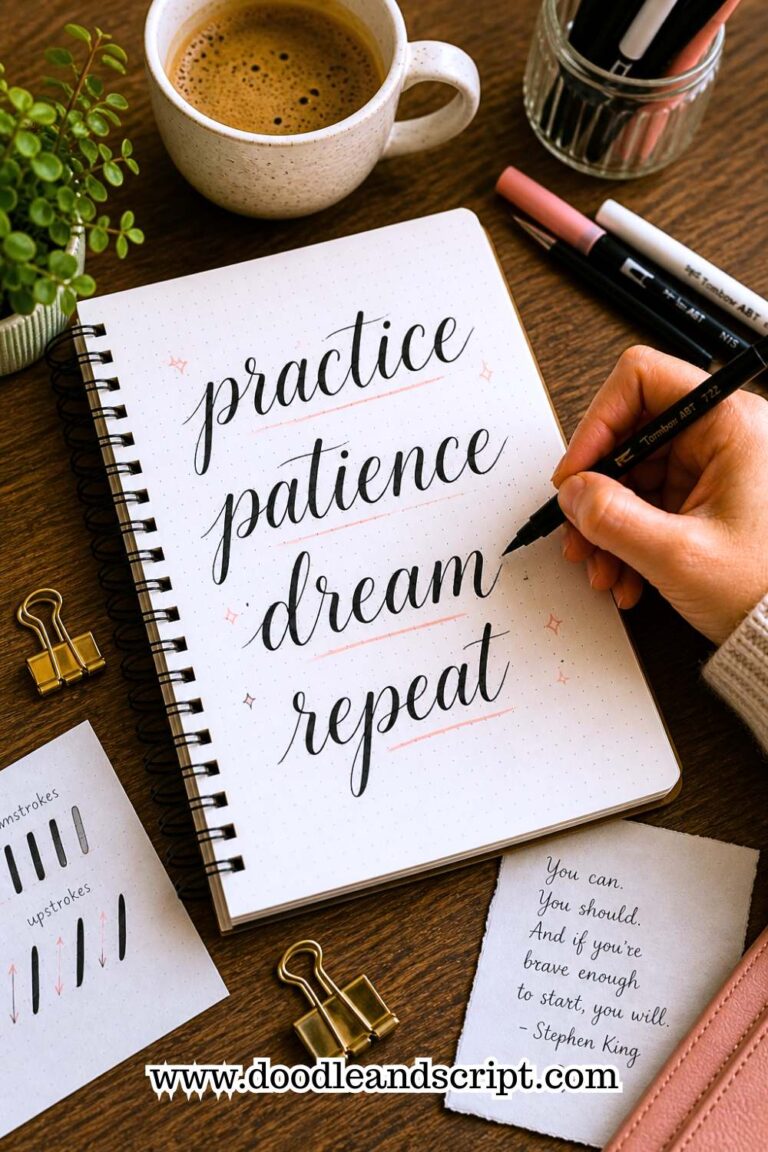
Practice in Short, Consistent Sessions:
Personally, long hours of learning are boring and most times results in fatigue. I prefer a 30 mins to 1-hour intensive learning instead of 5 hours of endless studying because, at some point, I will just get tired and forget everything.
In fact, short and consistent practice sessions like 15–20 minutes a day can help you improve your strokes, letter shapes, and control. If you need structure, I put together a 30-day calligraphy practice plan that breaks everything down day by day so you never run out of things to practice or feel lost about what to work on next.
Track Your Progress with a Practice Journal:
I have a journal for everything, from gratitude journals to note books that I write about the bad days. I have this big hard cover exercise book where I jot down notes from tutorials. Oh, don’t be surprised, I am still learning even as a professional. I have a separate journal that I use to track what I worked on each day, and another for different projects that my clients loved and the ones I got bad reviews from.
- If I have journals, then as a beginner, journalling is a must, it will help you see how much you’ve improved.
- There was a time I picked up one of the journals I had during my beginner days, and seeing the drastic progress keeps me moving.
Take Breaks When You Feel Frustrated:
Yes, you’ll get frustrated along the way, there’ll be a time that the style you saw on social media that you want to recreate doesn’t click and you’ve tried for days and then you feel like giving up. I have been there, whenever that happens, just take a short break, refresh, relax your hand, and come back later with fresh eyes.
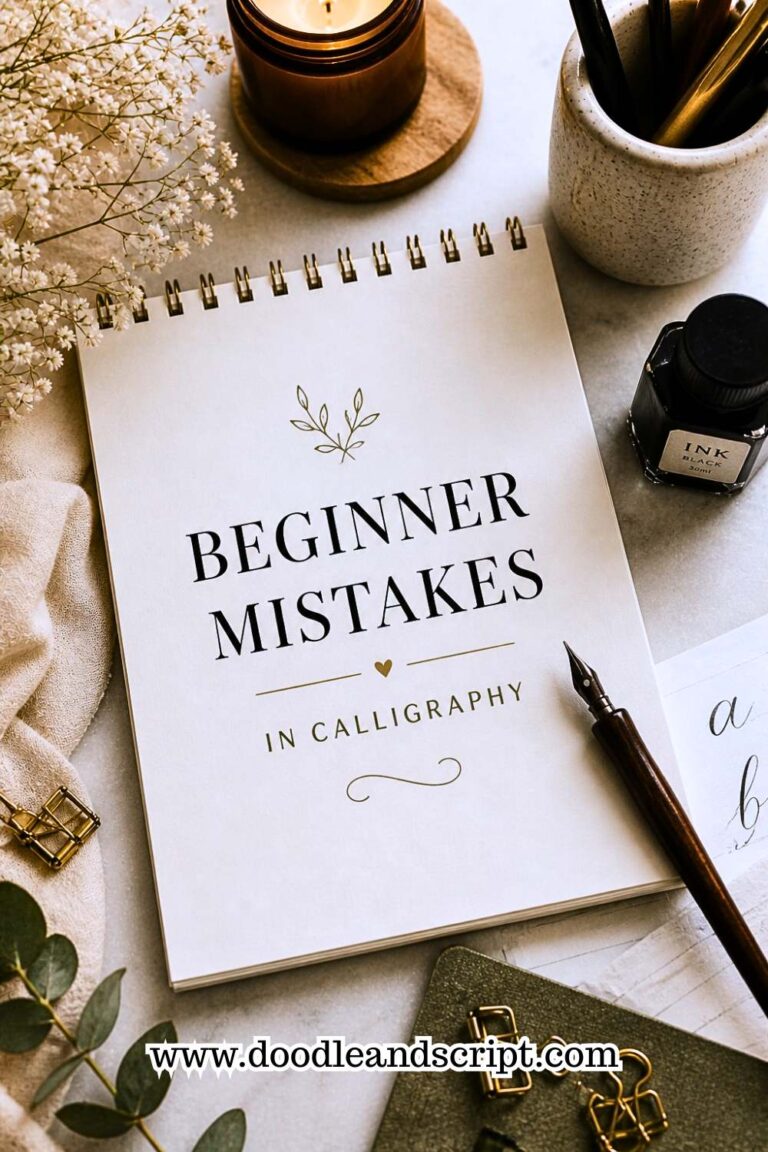
Most times, frustration comes from repeating the same beginner mistakes in calligraphy without knowing how to fix them. Understanding what you’re doing wrong and why is half the battle. Once you identify the problem, fixing it becomes a lot easier and less discouraging.
Avoid Comparing Yourself to Experts:
Every professional calligrapher you admire today, started as a beginner. Instead of comparing your work with others, focus on your own improvement.
Step 4: The actual learning Process

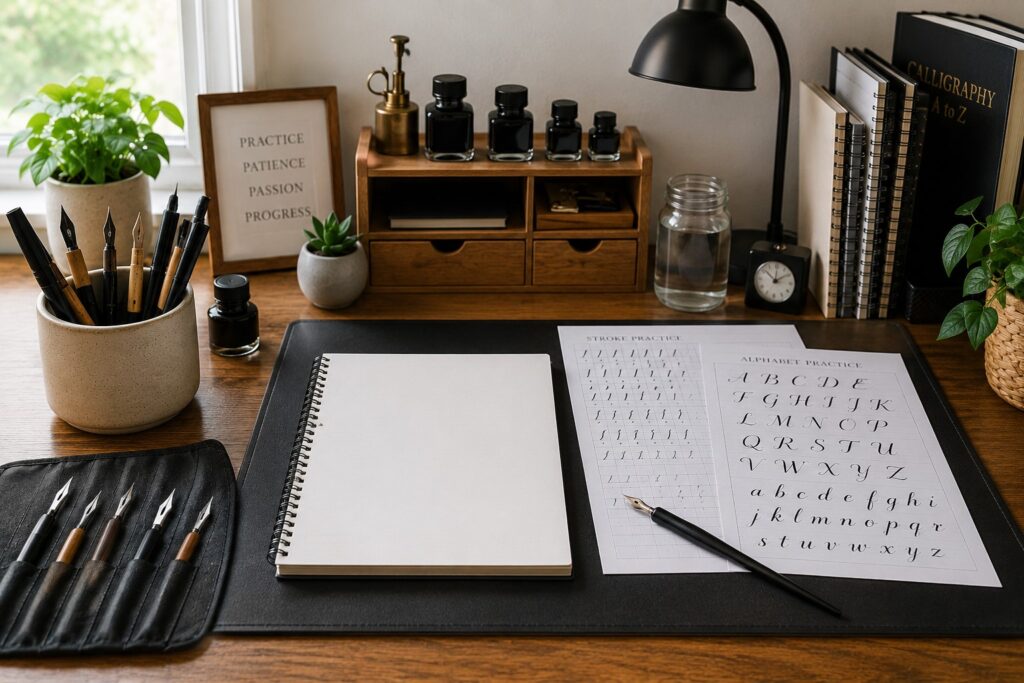
Start with Basic Strokes and Drills:
Lay the foundation first, practice the basic strokes like upstrokes, downstrokes, curves, and loops. Do these drills repeatedly till your hand can control pressure and movement.
One thing that truly helped me was focusing on calligraphy basics: understanding upstrokes and downstrokes before anything else. These two strokes are the backbone of almost every letter you’ll ever write, so getting them right early on saves you a lot of frustration later.
You should also incorporate regular calligraphy drills every beginner should practice into your routine. Drills might feel repetitive but they are what build the muscle memory and hand control that make your letters look effortless.
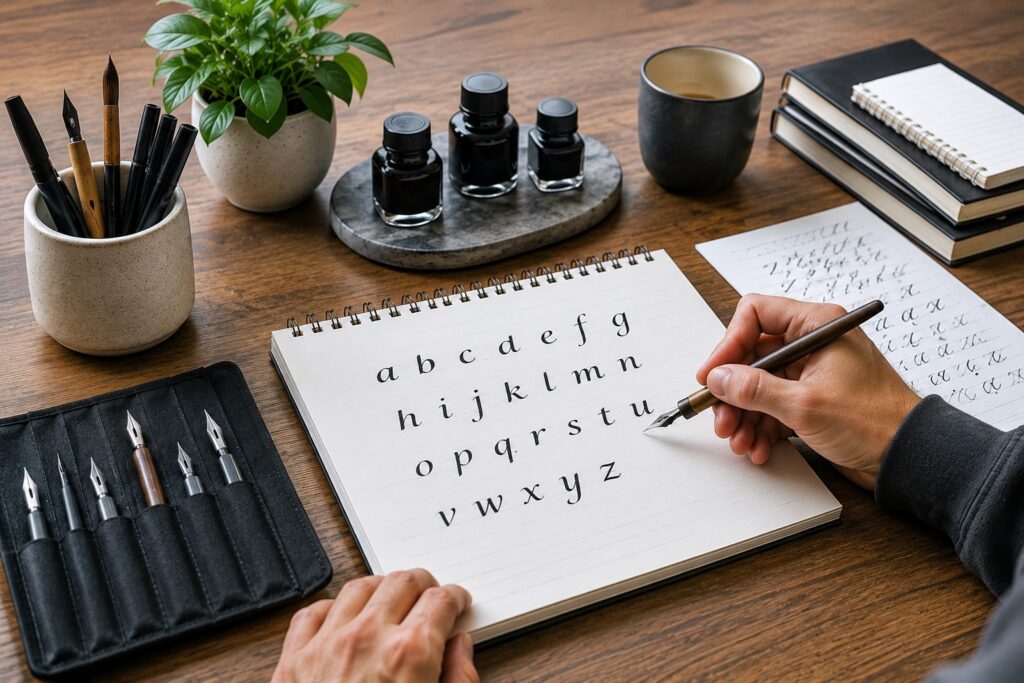
Move to lowercase letters of the alphabet:
They’re usually simpler and easier to control as compared to uppercase letters. Focus on forming each letter carefully and pay attention to spacing and consistency to build your muscle memory.
This is also the perfect stage to start working on how to create consistent calligraphy letters. Consistency in size, spacing, and slant is what separates amateur lettering from polished, professional-looking work.
Move to Uppercase Letters Gradually:
They are often tricky and have more decorative shapes and flourishes, so take your time with them, don’t rush.
Combine Letters to form Words and Short Sentences:
Now it is beginning to make sense, once you feel confident with your strokes, start practicing letter combinations and words, this will help you understand spacing, rhythm, and how letters flow together.
- When I moved from faux calligraphy to learning traditional calligraphy, I practiced short quotes and simple phrases like motivational quotes, favorite song lines but the ones I love the most are positive affirmations to improve my calligraphy skills.
This is also a great time to work on how to create your first calligraphy alphabet. Designing your own alphabet from scratch is such a milestone moment; it makes everything feel real and personal.
Gradually Experiment with Modern Calligraphy Styles:
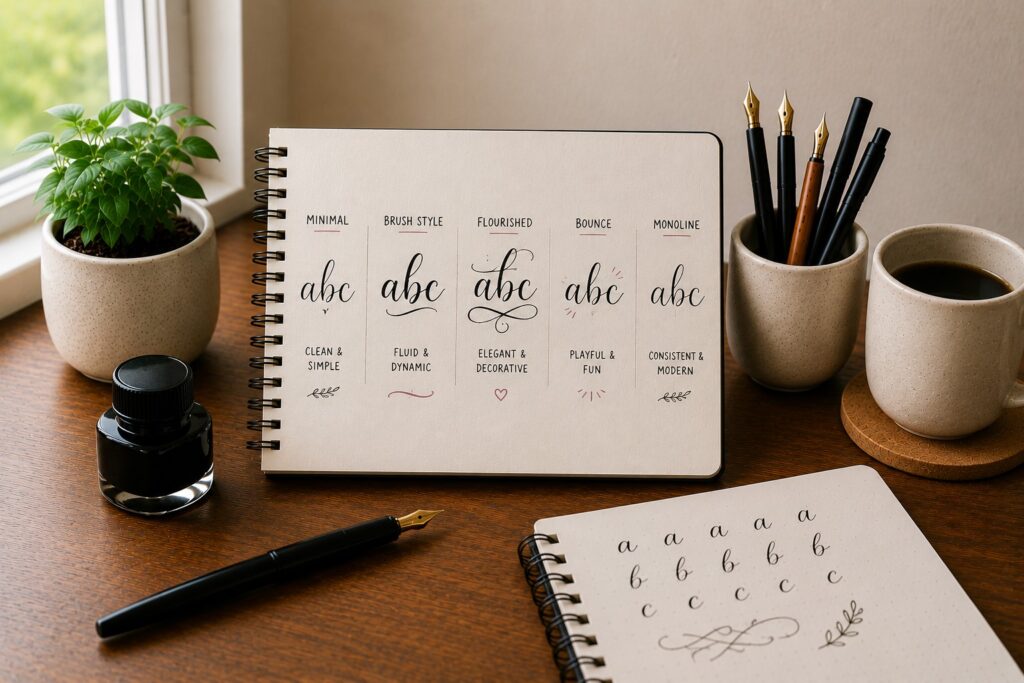
Start exploring modern calligraphy styles, once you’re comfortable with the basics. Experiment slowly till you develop your own unique style while still keeping your lettering balanced and readable.
At this stage, you’ll also want to know how to use brush pens properly if you haven’t already. Brush pens are one of the most popular tools for modern calligraphy and knowing how to control the tip, apply the right pressure, and avoid fraying will completely transform the quality of your lettering.
As you experiment, focus on beginner calligraphy exercises to improve control; these will help you handle different tools with ease and give your letters that smooth, intentional look. You should also pay attention to how to avoid common beginner calligraphy mistakes at this stage, as experimenting with new styles often brings new errors that can slow down your progress if not caught early.
If you ever feel stuck or like your progress has plateaued, go back to the fundamentals. Review tips on how to improve calligraphy fast and challenge yourself with targeted drills focused on your weak spots. Progress in calligraphy is rarely linear, but it is always consistent when you stay intentional about your practice.
Final Thought
It is very easy to learn calligraphy at home because resources are everywhere on the internet. All you need is to go on YouTube and learn, start with the basics, practice regularly, and allow yourself to improve little by little.
Every expert you admire started exactly where you are right now; with a blank page, a pen, and the desire to create something beautiful. Your journey starts today, right from the comfort of your home.